Advice
Gallery11
Blown globes: it’s a pain when the light in your bathroom gets unexpectedly snuffed out, but it can be downright dangerous if the various lamps on your car quit shining bright.
It’s generally easy to tell when a headlamp globe blows out, given the road in front of your car will become noticeably dimmer at night, but what’s the best way on keeping an eye on the rest of your globes when you’re in the driver’s seat? What’s more, how do you go about fixing it? WhichCar shows you how.
If, like most people, you simply jump in your car, flip on the lights and drive away, it can be difficult to tell when your tail lamps, brake lights, parking lights and indicators stop working. The easiest way is to start your car, put the hazard lamps on to get your indicators flashing, and switch on the headlamps so both your head and tail lamps are illuminated. Walk around the car and it should be quickly apparent if a globe is busted.
11
If you have a friend to help, get them to press the brake pedal as you walk around, as well as put it in reverse while holding the brake on. Even if you don’t, most cars will have a warning light in the instrument cluster that will tell you when a brake light is not working – though it won’t necessarily tell you which globe needs replacing.
A blown indicator globe can also be detected if you notice the rate of flashing has suddenly increased. If the clicking noise of the indicators seems faster when indicating in one direction, that’s your clue – the side that clicks faster is the side where a globe needs replacing.
It’s worth performing this inspection every two months or so. Remember – having non-functioning lights technically makes your car unroadworthy, so when you notice a globe is blown replace it as soon as possible.
Replacing a globe
The exact procedure for replacing a globe can vary greatly from car to car, and can be tricky for cars with higher-tech illumination like LEDs, xenon or lasers – those are best serviced by a dealership. For most mainstream cars, however, regular incandescent globes similar to those found in your home are still common, and easily replaced on the driveway.
11
Your owner’s manual is your best resource when it comes to properly replacing your globes, though most cars follow the same basic conventions when it comes to lights.
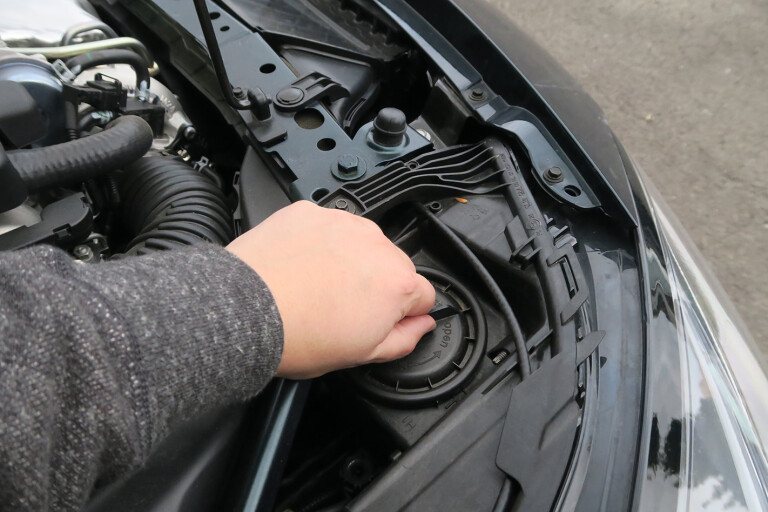
Headlamp, parking lamp and front indicator globes are typically accessed from the engine bay, with a removable cap on the rear or top of the headlamp housing (above) allowing enough room to reach in and grab them. There may be individual caps for the low beam, high beam and indicators, or there may just be one – it can vary.
11
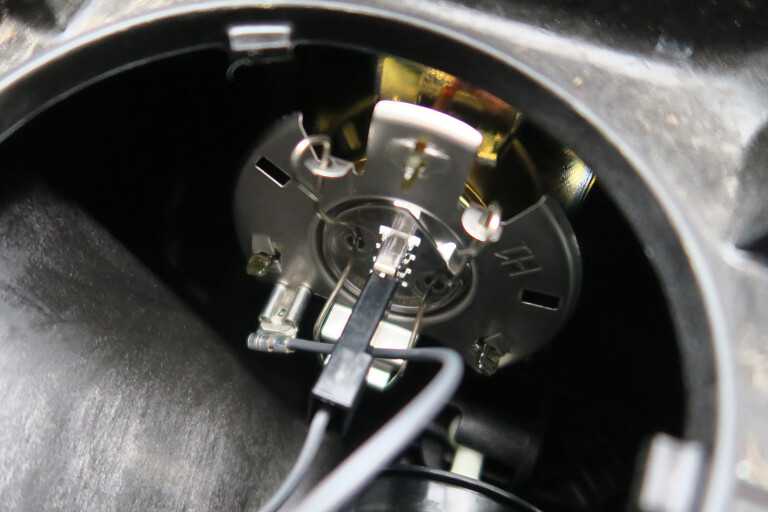
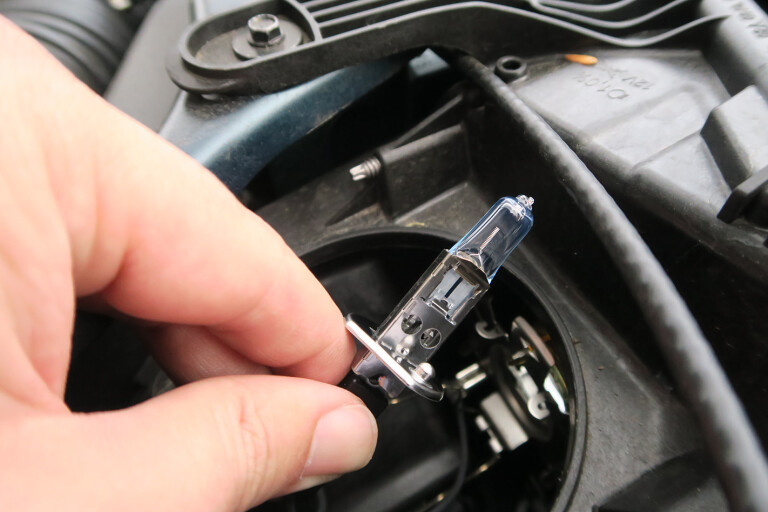
Low beam and high beam headlamp globes are typically held in with a wire retainer (above) that needs to be unclipped and moved out of the way in order to pull out the globe. The wires that supply power to each globe should pull off easily, though some may require you to depress a tab before pulling.
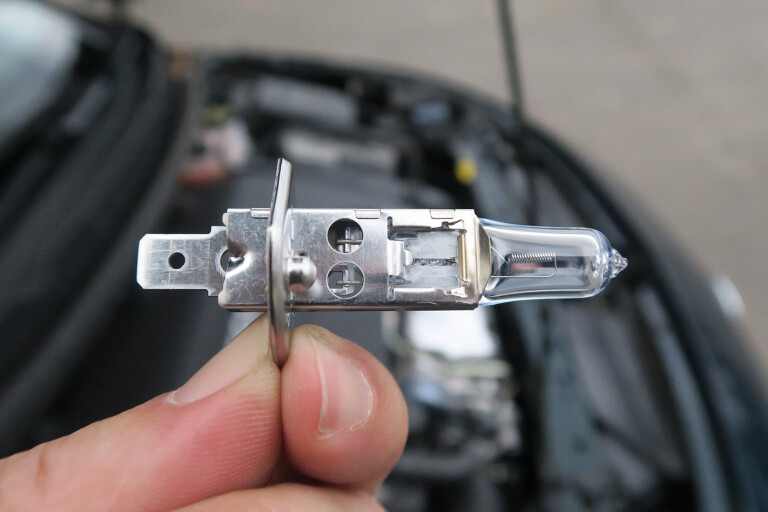
When installing new globes, particularly headlamp globes (below), be sure not to touch the globe’s surface with your bare skin. Oil from your skin can cause hotspots on the glass when the globe is on, and can cause the globe to fail prematurely.
11
If you do happen to touch them with your fingers, wipe them clean with some methylated spirits before installing them.
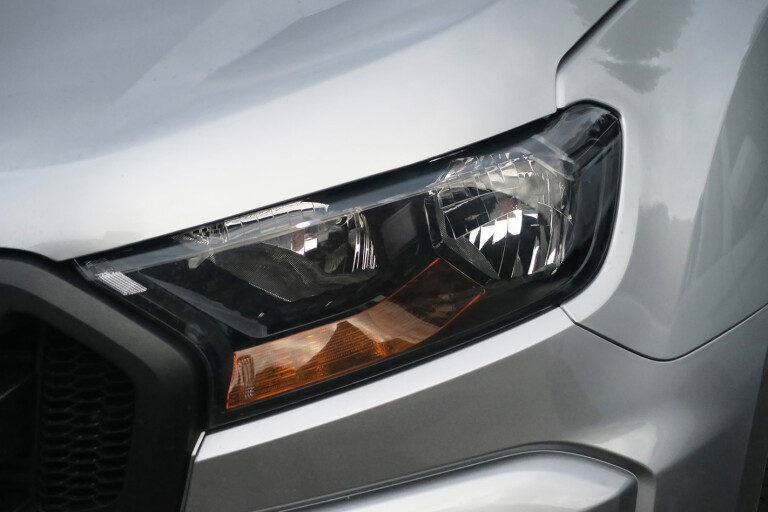
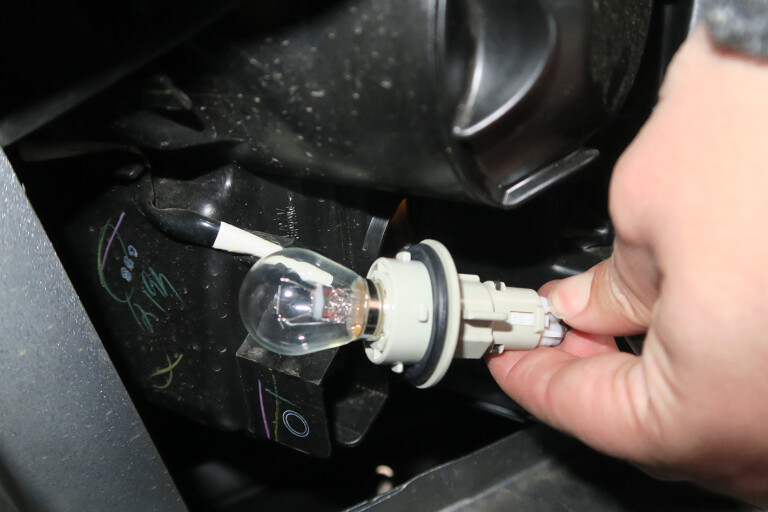
Indicator and parking lamp globes (below) typically twist out of their housings with minimal effort, and the globes themselves use a bayonet-style base much like a household lamp. With no tricky wire retainers, they’re usually quite easy to replace.
11
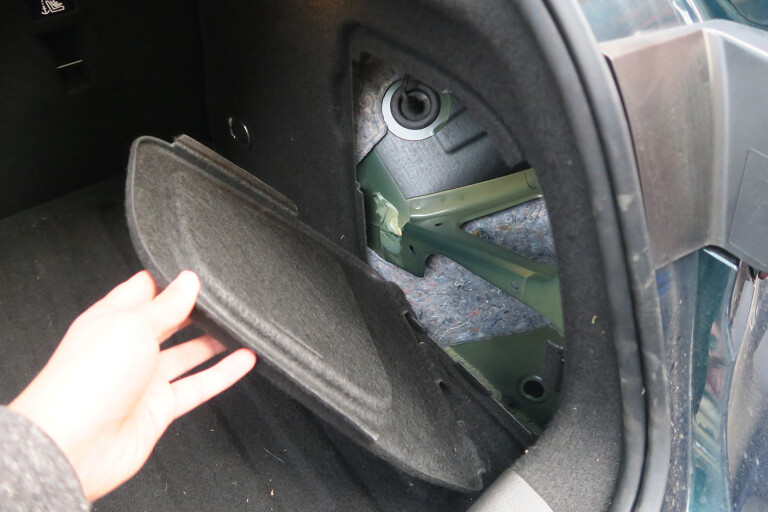
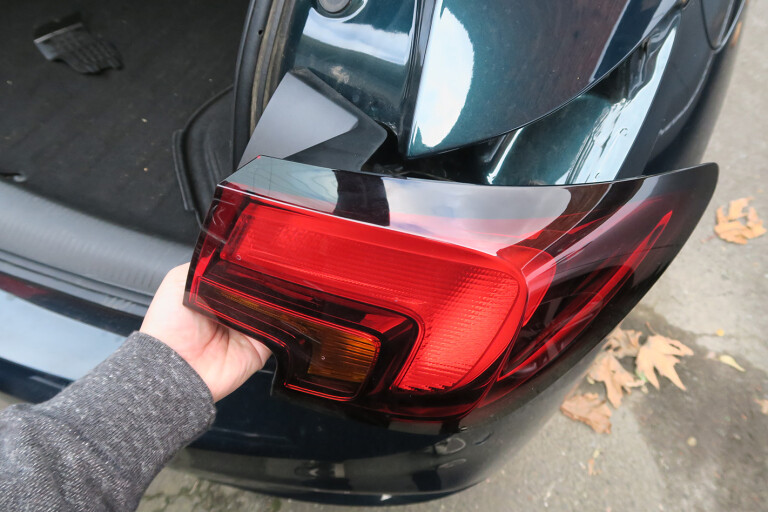
Tail lamp globes can be trickier. They’re often hidden behind the boot trim, though most cars will have a fairly conspicuous panel covering them.
On the Holden Astra hatch we’re using as an example here, there are large carpeted panels on either side of the boot area that can be easily pulled away.
11
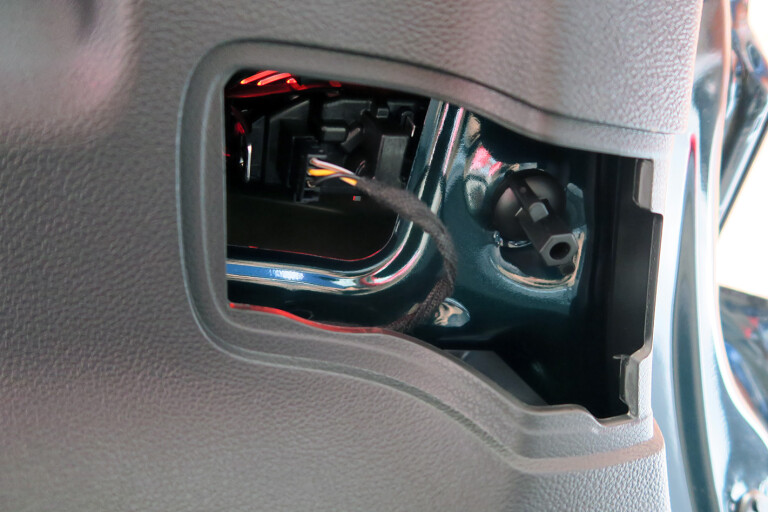
Once access is obtained, follow the wiring to the area directly behind the tail lights. You’ll either see a set of sockets and plugs for the tail lamp, reversing lamp, indicators and stop lamp globes, which should simply untwist and unplug much like their counterparts at the front.
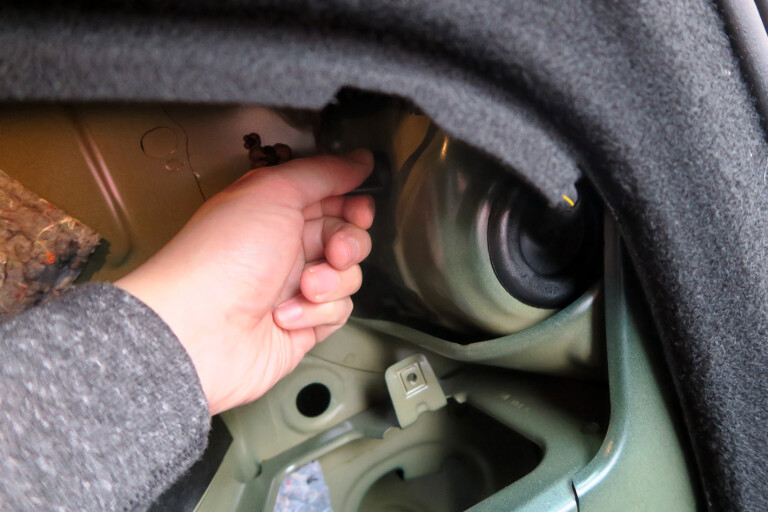
However some cars, like this Astra, need the tail lamp housing itself to be removed before you can access the globes.
11
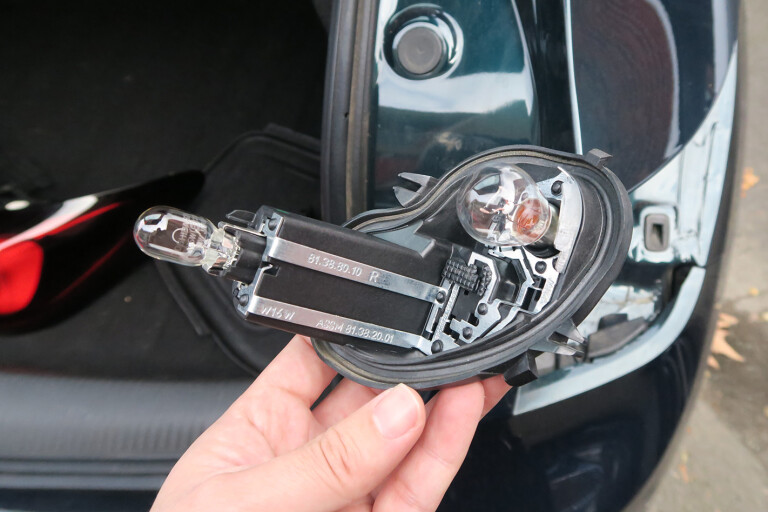
The Astra requires a large plastic nut (above) to be turned until the tail lamp cluster comes free, though some cars may require basic tools to do the same.
Once separated from the body, a plastic panel on the back of the cluster will need to be removed to reveal the globes themselves.
11
Note that on hatches, SUVs and wagons, some globes may be housed in the tailgate rather than on the body. Again, there should be some obvious access panels on the interior trim.
On sedans, the high-level brake light that shines through your rear window is often accessed from the underside of the parcel shelf, and from inside the boot.
11
Always match the wattage rating for the globe you’re replacing. The watt output of a light globe determines how bright it is and having too few watts means a feeble lamp that won’t be as easily seen, while too many watts can dazzle other motorists or even melt the lamp housing.
If replacing a headlamp globe, make sure the type matches up with the manufacturer recommendation (halogen types, for example, are different to regular light globes). You can find those details inside your owner’s manual.
Again, be sure to match the wattage.
11
If your car is used, it doesn’t hurt to reference the manual just to make sure the previous owner didn’t replace a globe with the wrong type. Also make sure to note whether the globe in question is a dual-filament type that outputs two different light levels – brake lamps often use these, but sometimes front parking lights and corner indicators use them as well.
Once you’ve changed your faulty globe, be sure to check that it functions – there’s nothing worse than spending time fixing up your car only to have it still malfunction because a wire wasn’t plugged back in correctly.
Please enable JavaScript to view the comments powered by Disqus.
COMMENTS