
To us car folks, a schmick engine bay is high on the priority list, and that means having a nicely painted engine too.
 1. THE GEAR
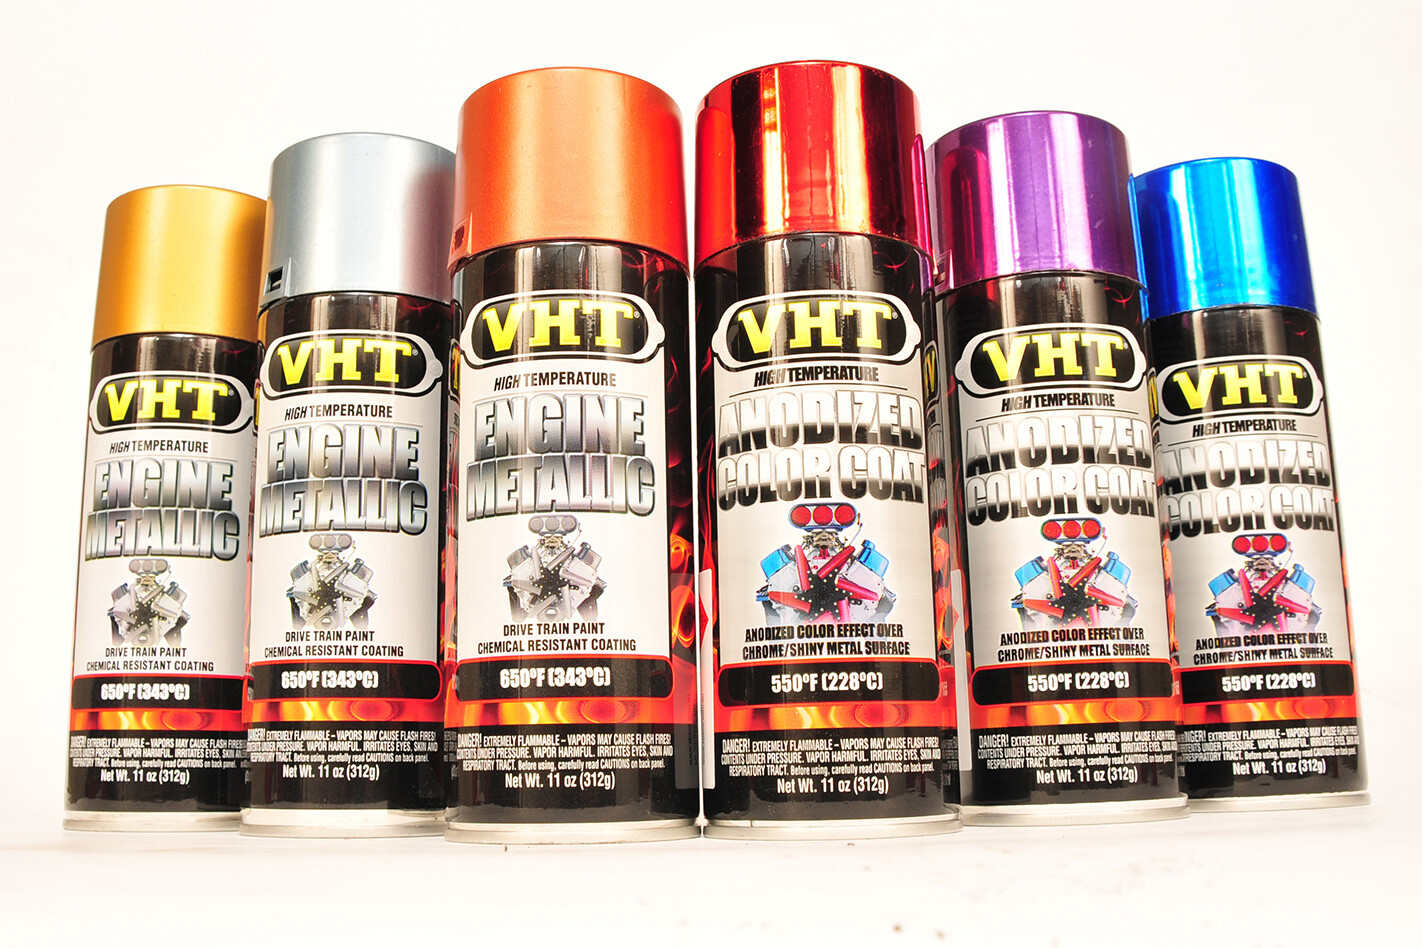
For general street duties, good old VHT engine enamel will do the trick. As the VHT website (www.speco.com.au) says, the finished coat is only as good as the surface it’s on. So clean away all traces of grease, oil, loose paint and rust.
2. PREP TIME
Always de-shine existing paint by giving it a light sand with about 180-grit, feathering any rough edges as you go. If the paint underneath flakes, it’ll take the new top layer with it, therefore you should only spray over paint that has good adhesion. When properly cured, VHT enamel works well straight over bare metal. However, if you’re chasing the best finish, start with its special engine undercoat. For added gloss, VHT then recommends finishing off with its clear top coat.
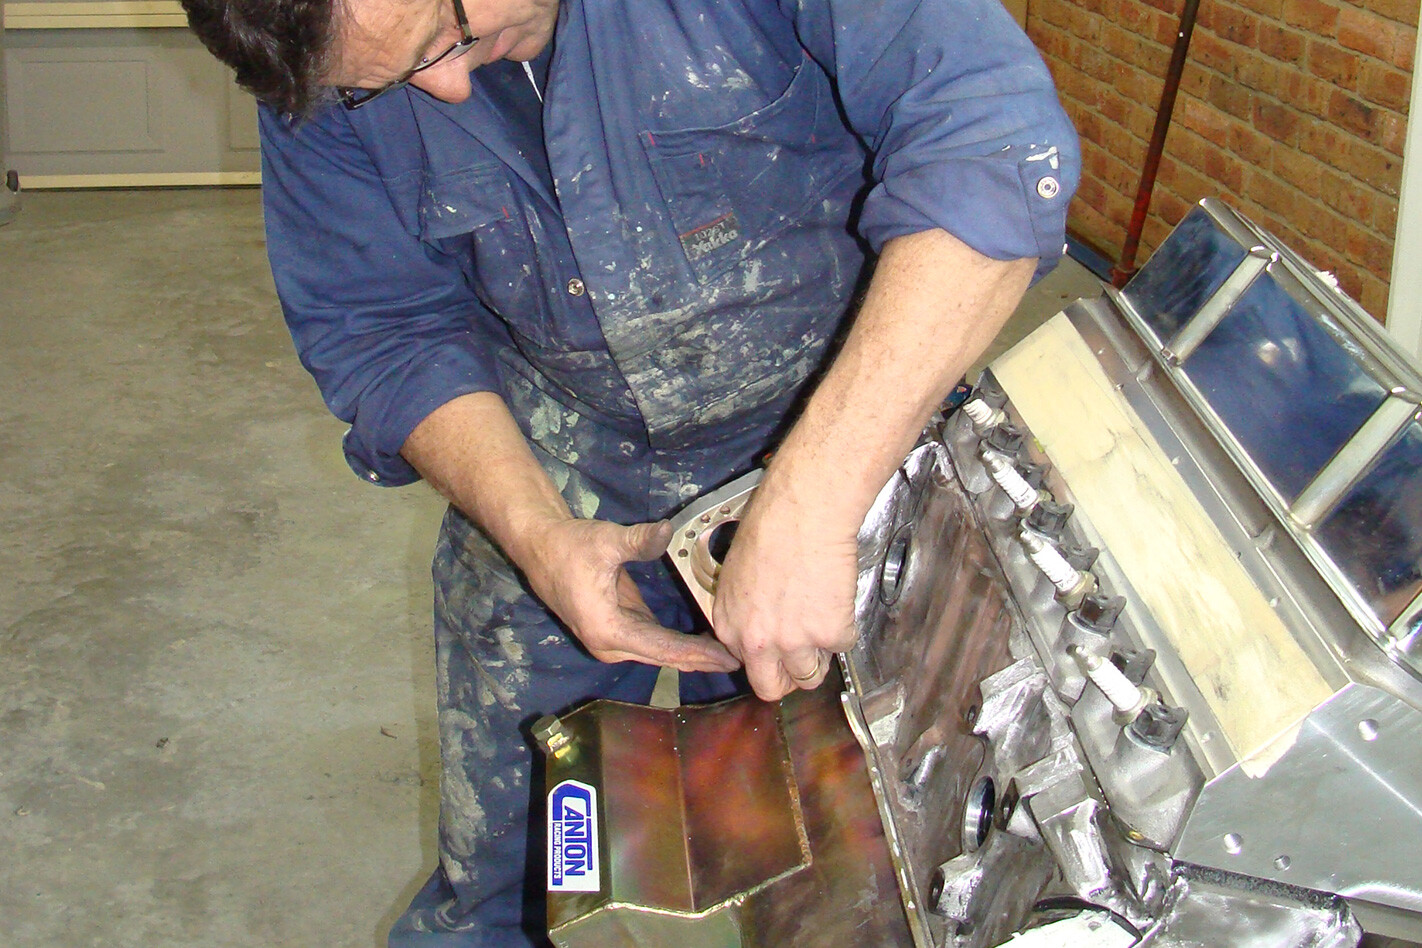
3. THE MACHINIST
Most machining processes are done in a pool of cutting fluid, and cast iron has pores, which soak up this fluid, plus any oil. Get your machinist to give everything an extra cycle or two in their hot water washer to get all the deposits out of those pores.
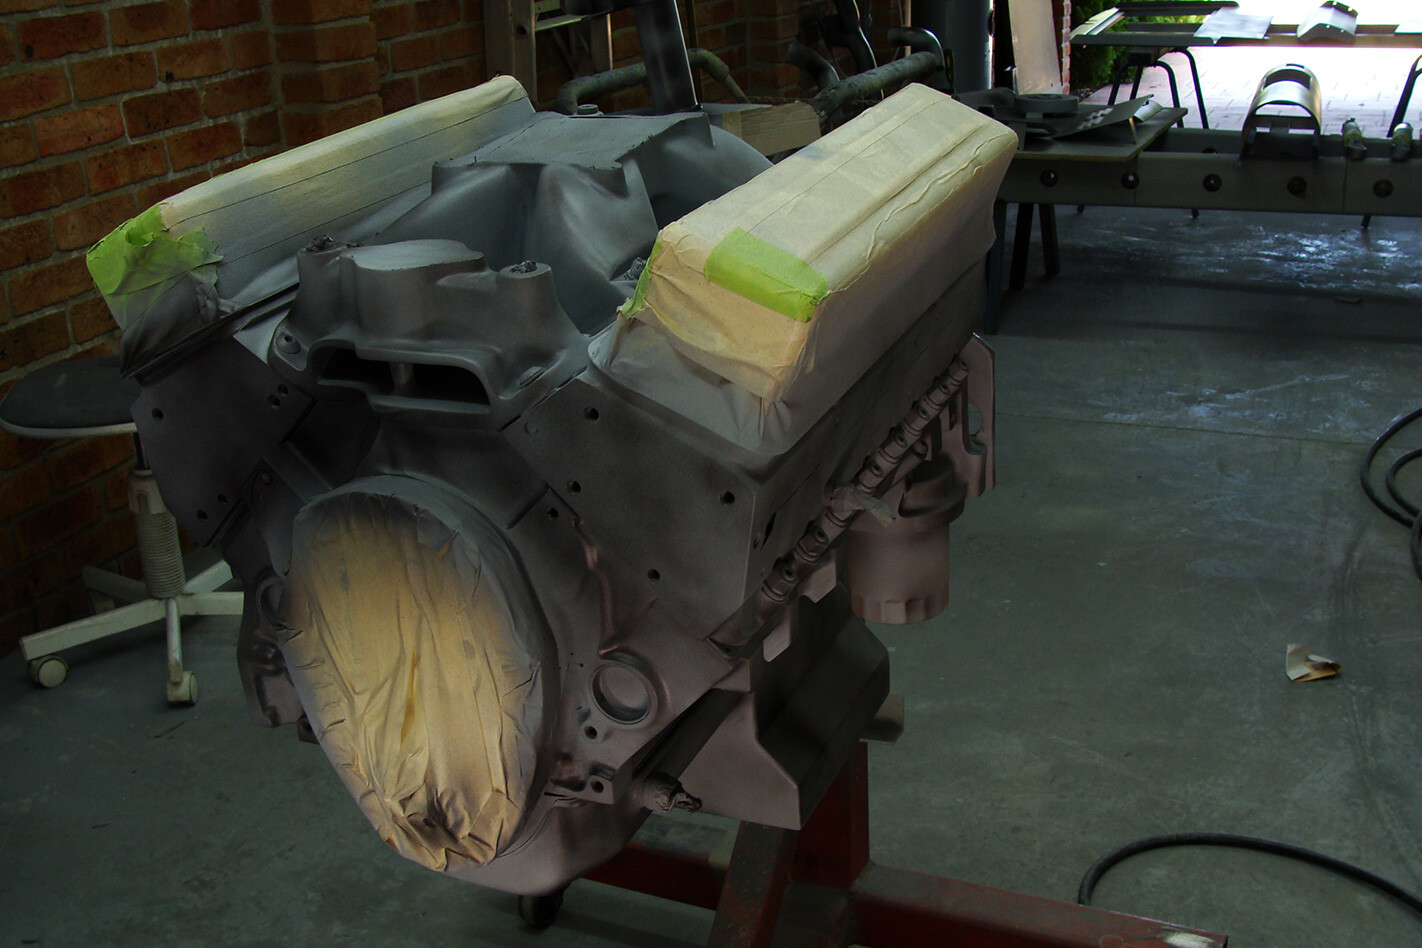 4. COVER UP
Mask off any areas you don’t want to get overspray on, especially all openings as you don’t want paint getting inside the engine.
5. KEEP IT CLEAN
Before spraying, thoroughly wipe everything down with a good cleaner such as thinners or wax and grease remover and blast it with compressed air as you go to make sure it’s thoroughly dry. Once wiped down, don’t touch any surface that’s to be painted as your fingers will leave oil residue. Finally, run over it with a tack cloth just before painting.
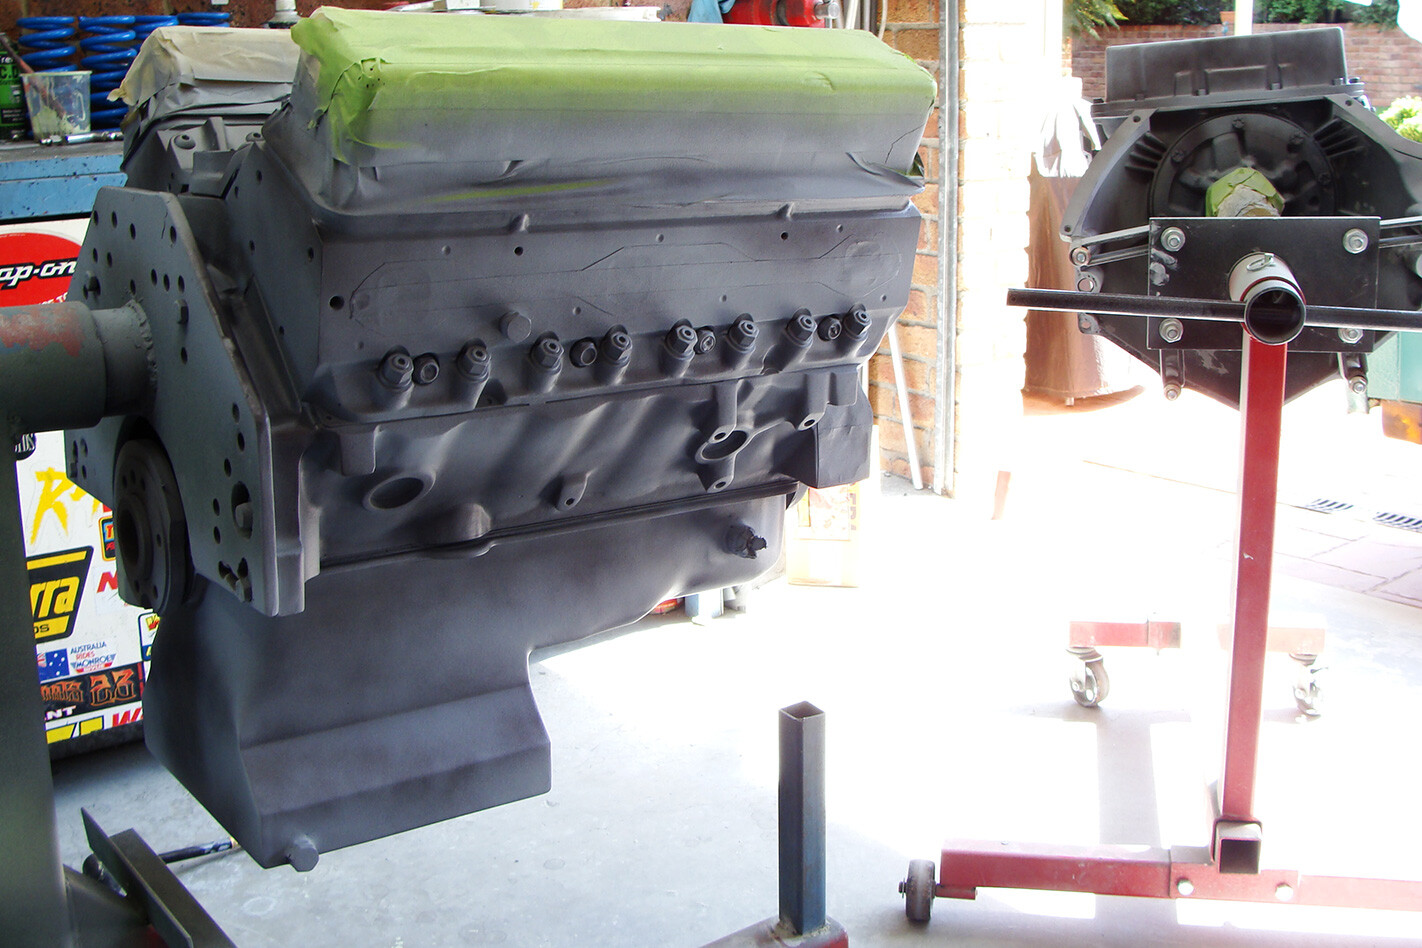 6. LAYERS, LAYERS, LAYERS
Engine enamel is thin. Attempting full coverage in one coat invariably leads to runs so bank on at least two applications, possibly three. To avoid runs, do all the fine detail areas first, then come back and do the larger, flatter areas. Having the motor on a rotating engine stand will give you the best access to all those nooks and crannies. In cold weather, drag out the heaters and get the room nice and hot as paint flows better onto a warm surface. But turn the heaters off before spraying as most paints are flammable.
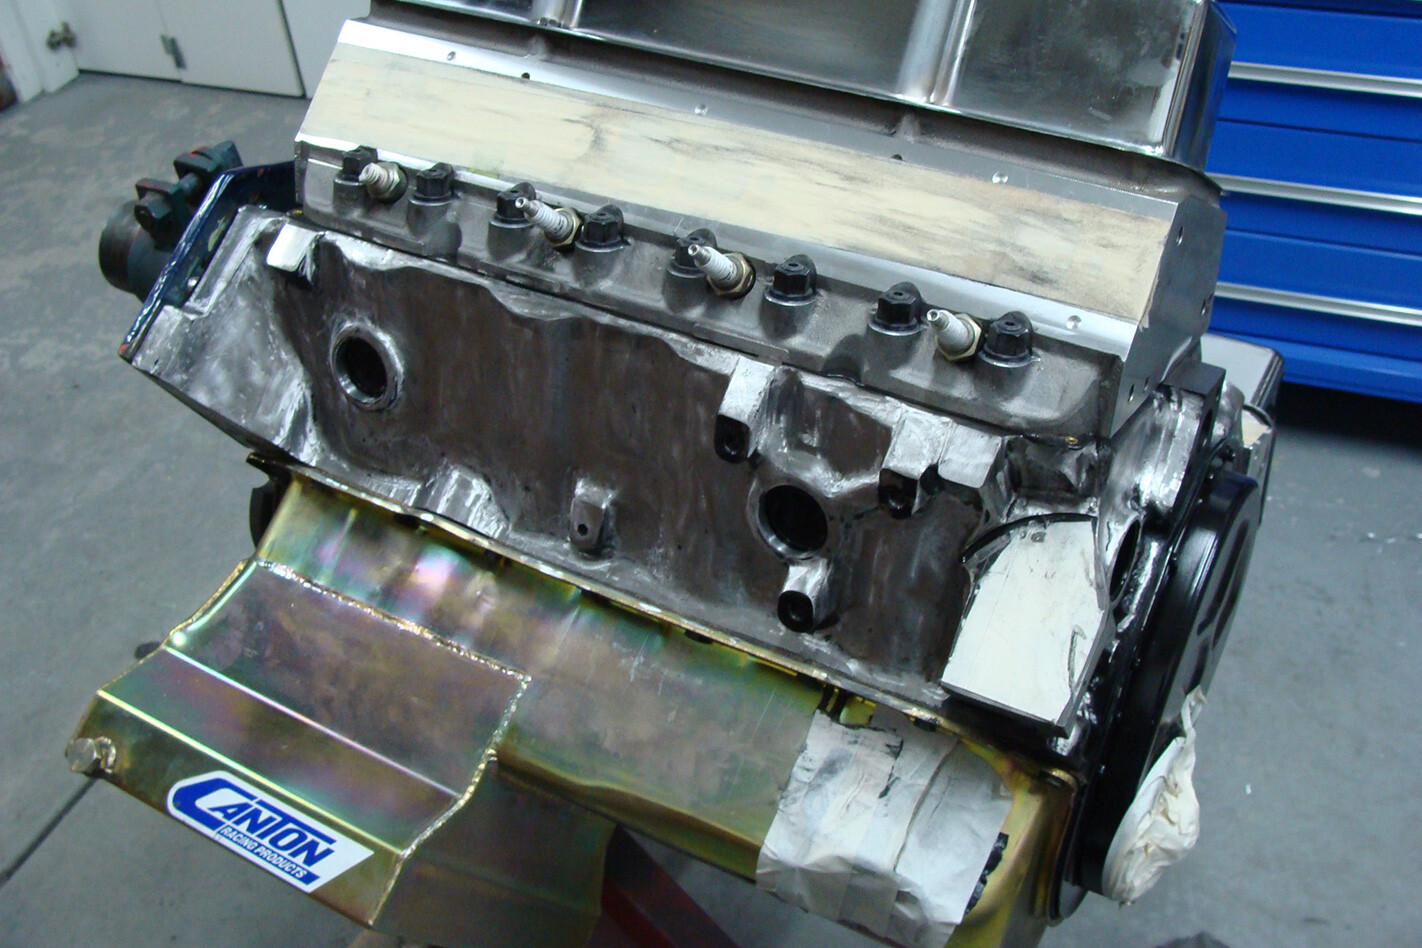 7. MAKE IT SMOOTH
If you’re chasing an elite finish, it’s a different story. Once again, the end result can only be as good as the surface you’re painting — time to drag out the Dremel tool and die grinder to smooth and blend all those casting marks and rough edges.
 8. ASK THE EXPERT
For those chasing an elite-level finish, we consulted multiple Street Machine Summernats Grand Champion, Peter Fitzpatrick for some tips.
“Don’t do it!” he laughs. “The rough casting offers superior cooling via the greater surface area but besides that it’s the worst job I’ve ever had to do. Trilogy’s engine took a month of eight-hour days, smoothing everything.”
He also recommends going very slowly as alloy and cast iron are quite soft and it’s easy to grind a groove into the surface, which you’ll then have to blend in and smooth out.
“The metal’s softness combined with the inaccessibility of many areas means you end up doing a lot of it by hand. Getting in and around bolt holes and bolt bosses is a complete bitch.”
 9. OPTIMUS PRIME
Excessive build thickness will shorten the paint’s longevity, so go for combined etch-primer and primer. Then go in and sand it back until it’s nearly all gone. Same with the high fill, and keep colour coats to a minimum.
Even after all that, the repeated heating and cooling will lead to discolouration, cracking and peeling — there’s no avoiding it — but optimal prep, good painting technique and premium materials will improve longevity.
10. THE CURE
Allow the paint to cure for as long as possible; the longer you leave it the harder it’ll get, so you’re less likely to damage it during reassembly.
If you need to disassemble parts from an engine that’s been two-packed when fully assembled, you’ll need to carefully cut the paint so the parts can separate without tearing.
MORE HOW TO:
HOW TO SWAP AN LS1 INTO YOUR HJ KINGSWOOD – TECH TALK
HOW TO BUILD A TORQUEFLITE TRANSMISSION
HOW TO INSTALL NITROUS
HOW TO ANNOY A CAR GUY IN FOUR WORDS

Comments