This article was originally published in the February 2019 issue of Street Machine
THE factory fitment of steel bumpers on classic cars was often woeful at best.
Huge gaps were deliberately left by the factory to reduce the risk of the bumper caving in your bodywork if you were to give something a little nudge. Thankfully, this is pretty easily rectified by realigning and tucking your bumpers, which can really help with the overall flow and visual aesthetics of your vehicle.
To illustrate this, we’ll look at the techniques used to tuck a rear bumper on an XC sedan.
BUMPER
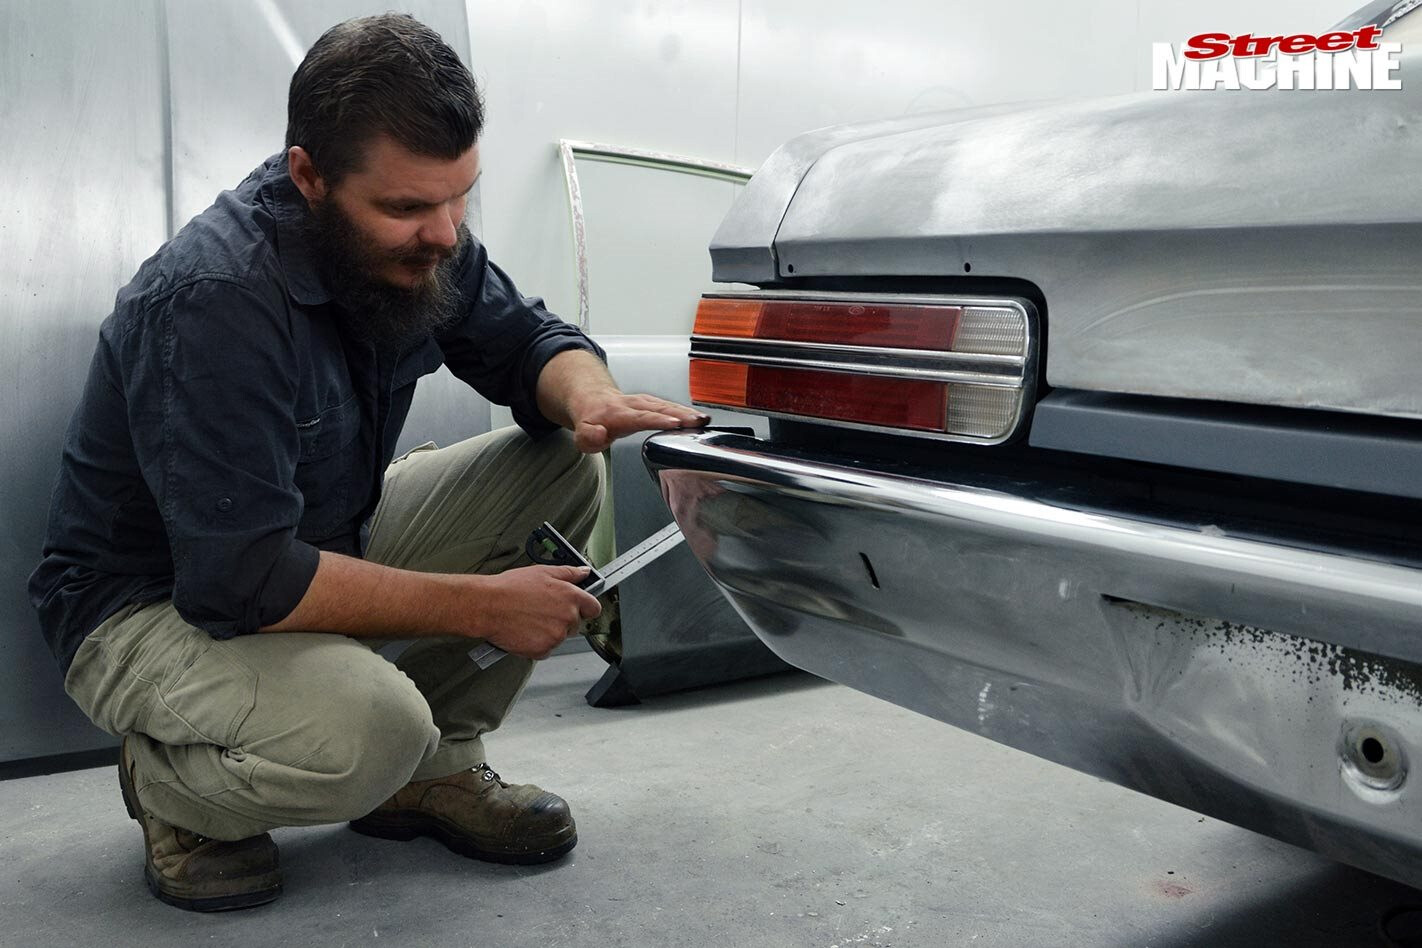
 The bumper is first stripped of chrome and rust via sandblasting. It’s pretty clear at this point that modifying just the mounting brackets is not going to be enough
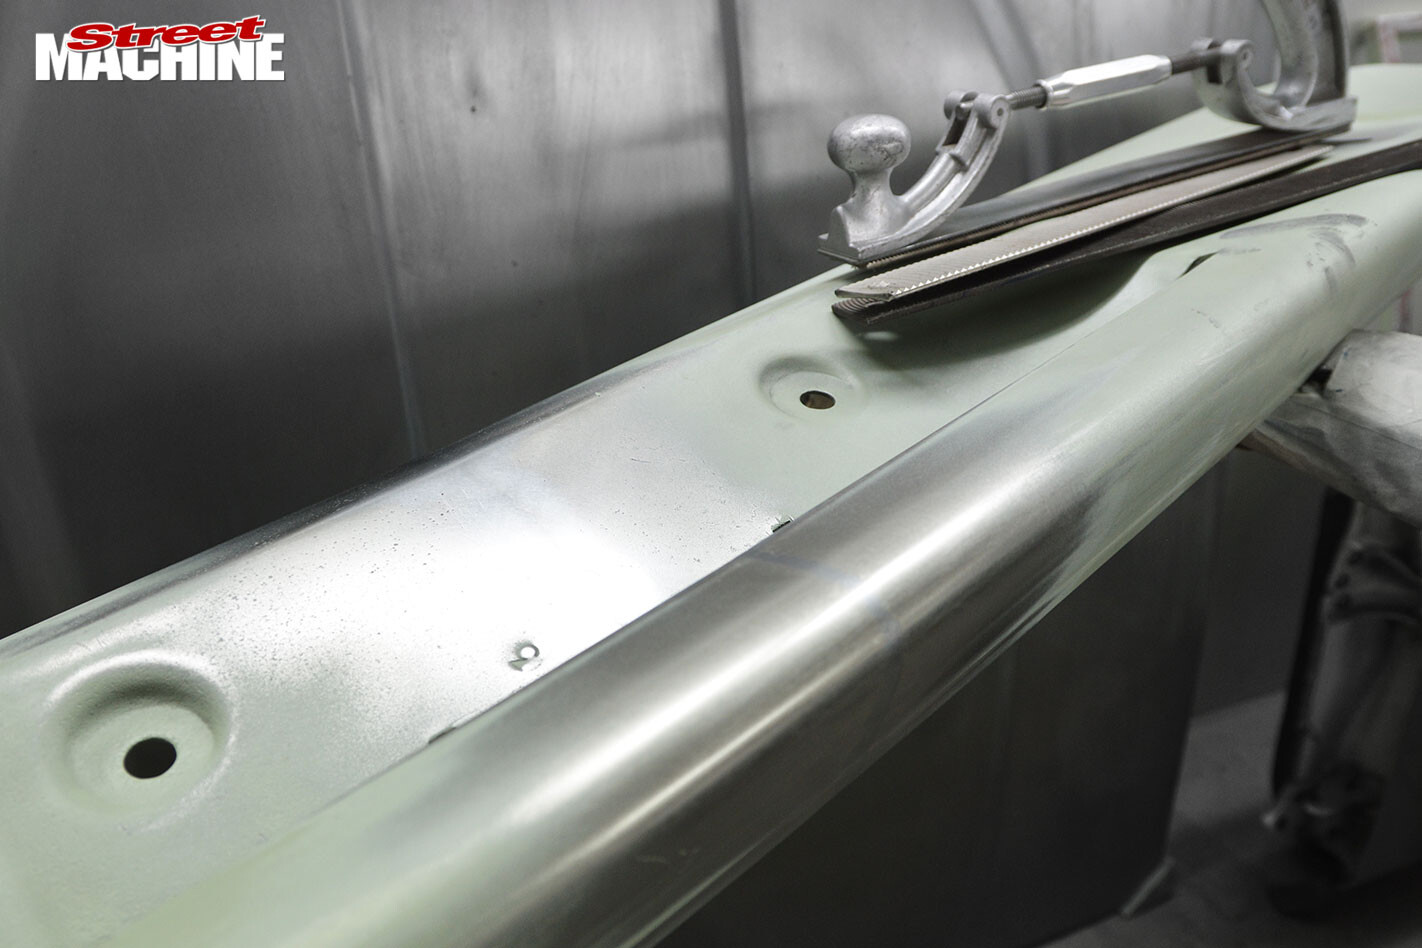
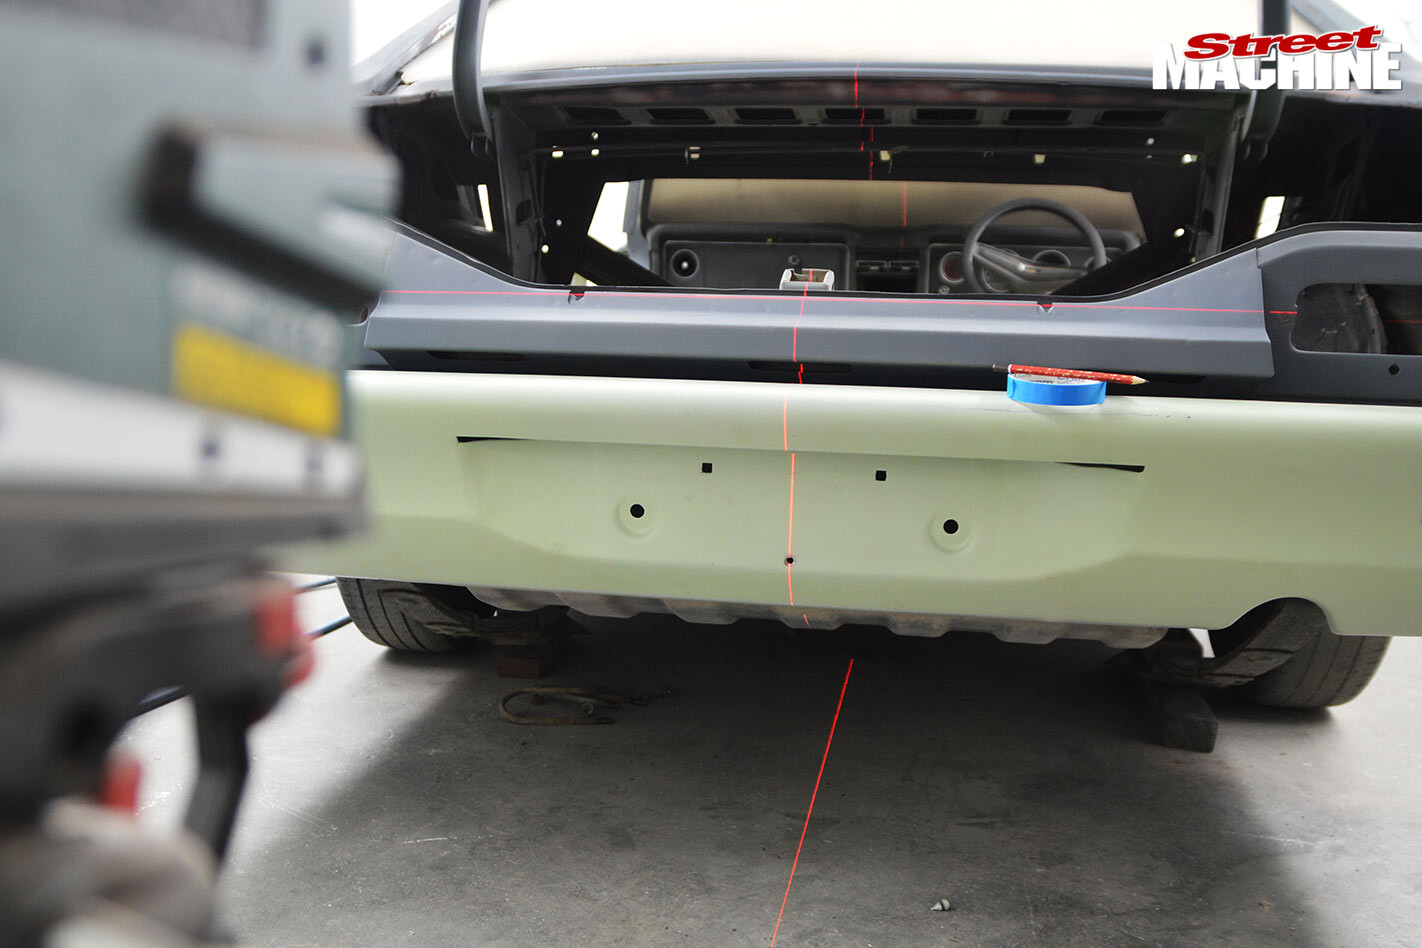 A laser level is a quick way to find and mark out the centre point of the bumper. A few measurements later, it’s decided to bring both sides in by 9mm
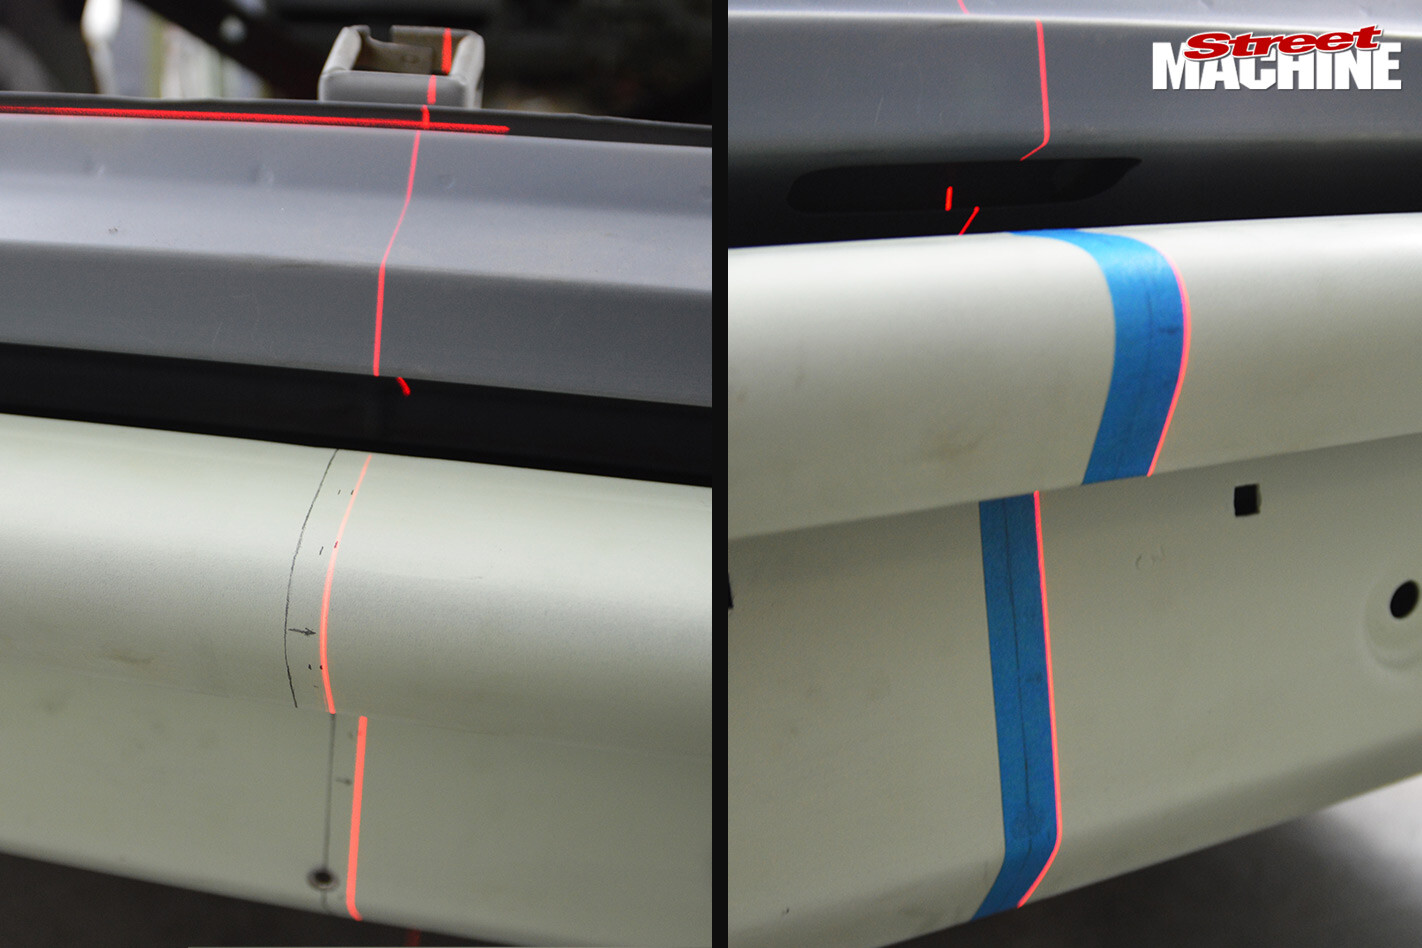 9mm is marked out from either side of the centre point, and some 18mm-wide tape is then laid down as a guide for the section to be removed
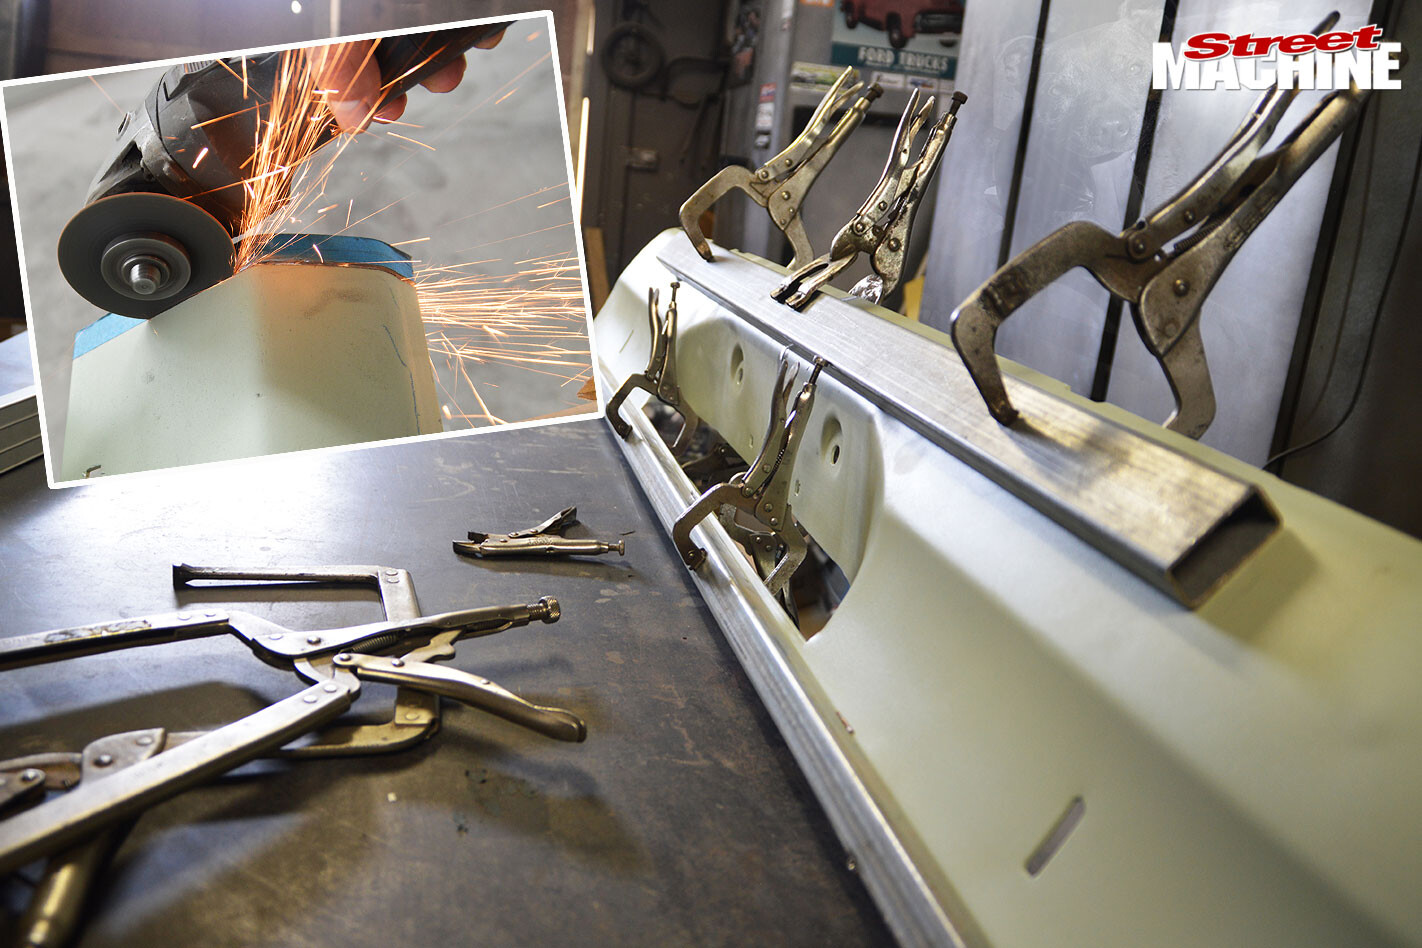 A 1mm cutting disc removes the centre section, dividing the bumper into two pieces. Everything is squared back up by clamping the bumper pieces together using a couple of lengths of square tube. With all the joins chamfered and tack-welded into place, work moves on to the inner reinforcement
BUMPER REINFORCEMENT
 On this car, all the locating holes for both the bumper and the bumper mounts are found on the bumper reinforcement. Cutting 18mm out of the centre would normally be the go, but I want to retain the factory number plate light, so 9mm is removed from each side instead. Drilling new holes for the mounting brackets isn’t going to work due to the pressing surrounding the original holes. Instead, the spot welds will be drilled out and the whole backing piece of the reinforcer moved
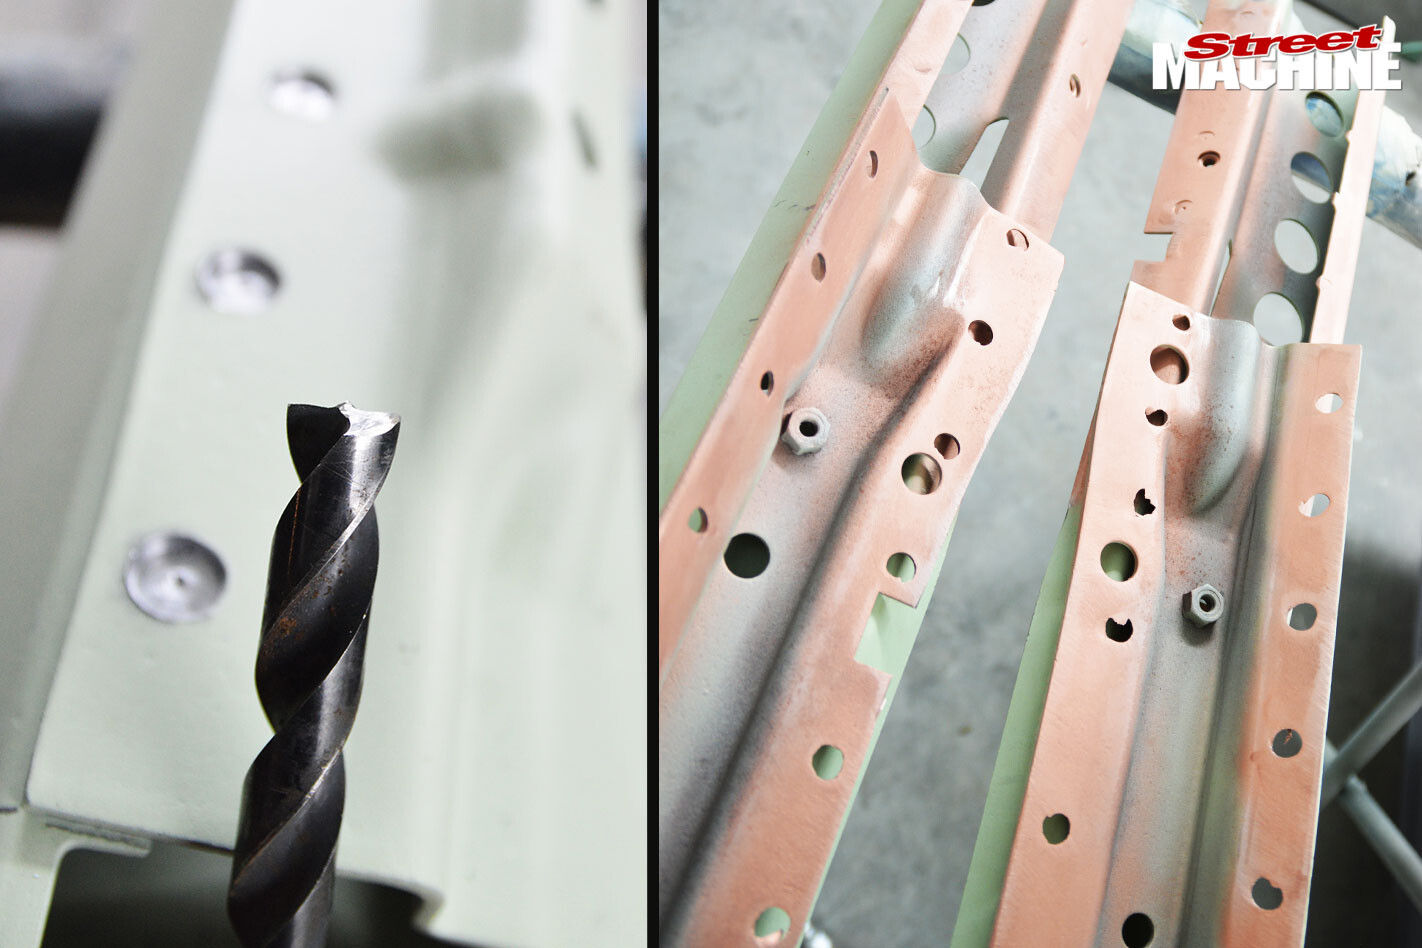 Any drill bit can become a spot-weld bit if you have a grinder; this 12mm bit is knocked into shape and put into action. With the welds drilled out, the metal is then split, cleaned and primed. Both sides are moved outwards 9mm per side and plug-welded
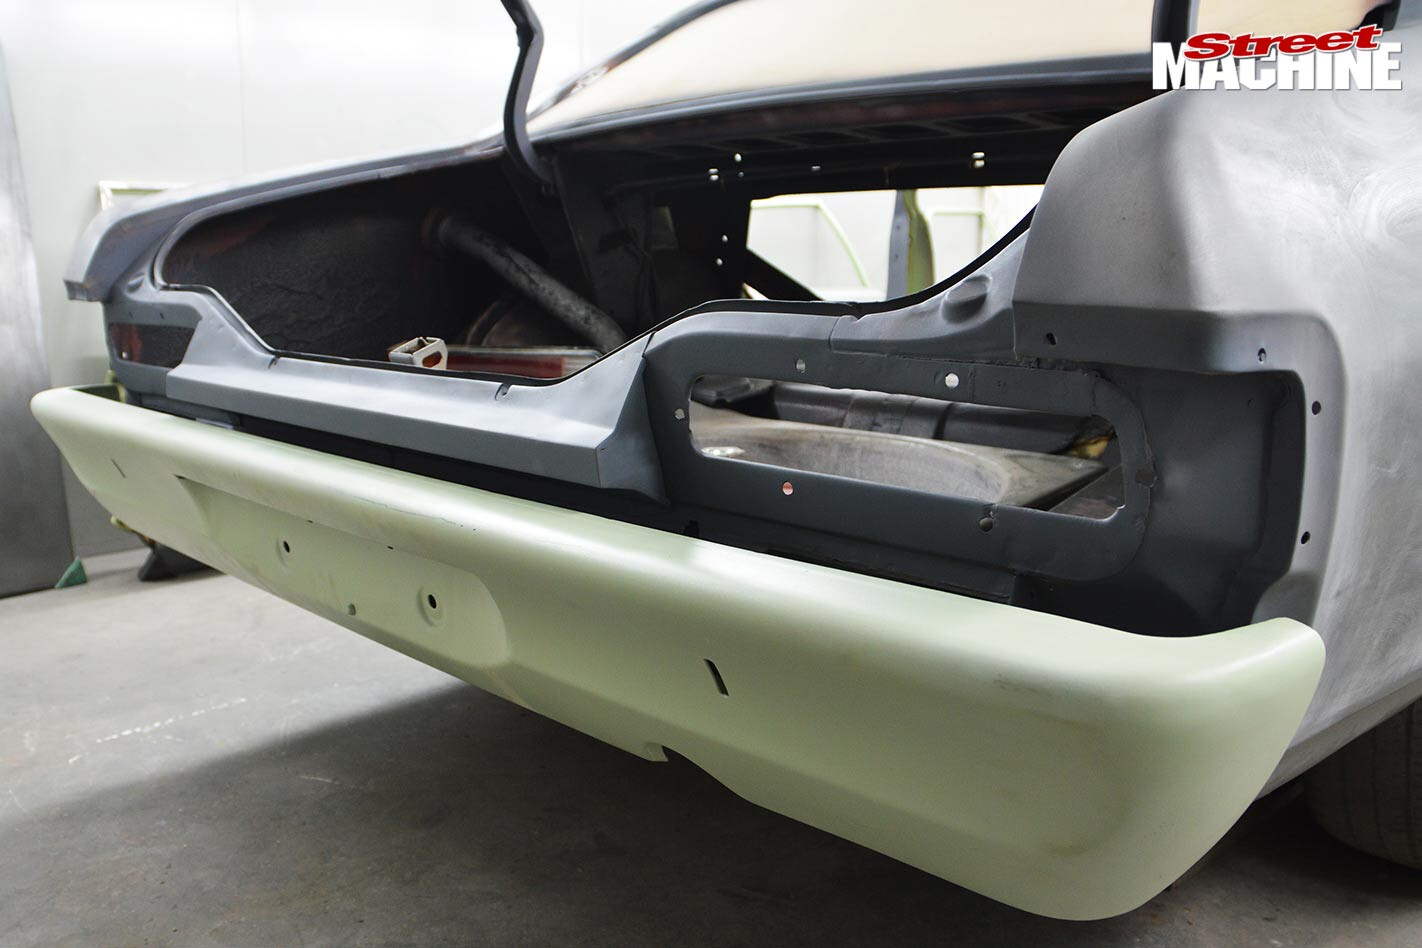
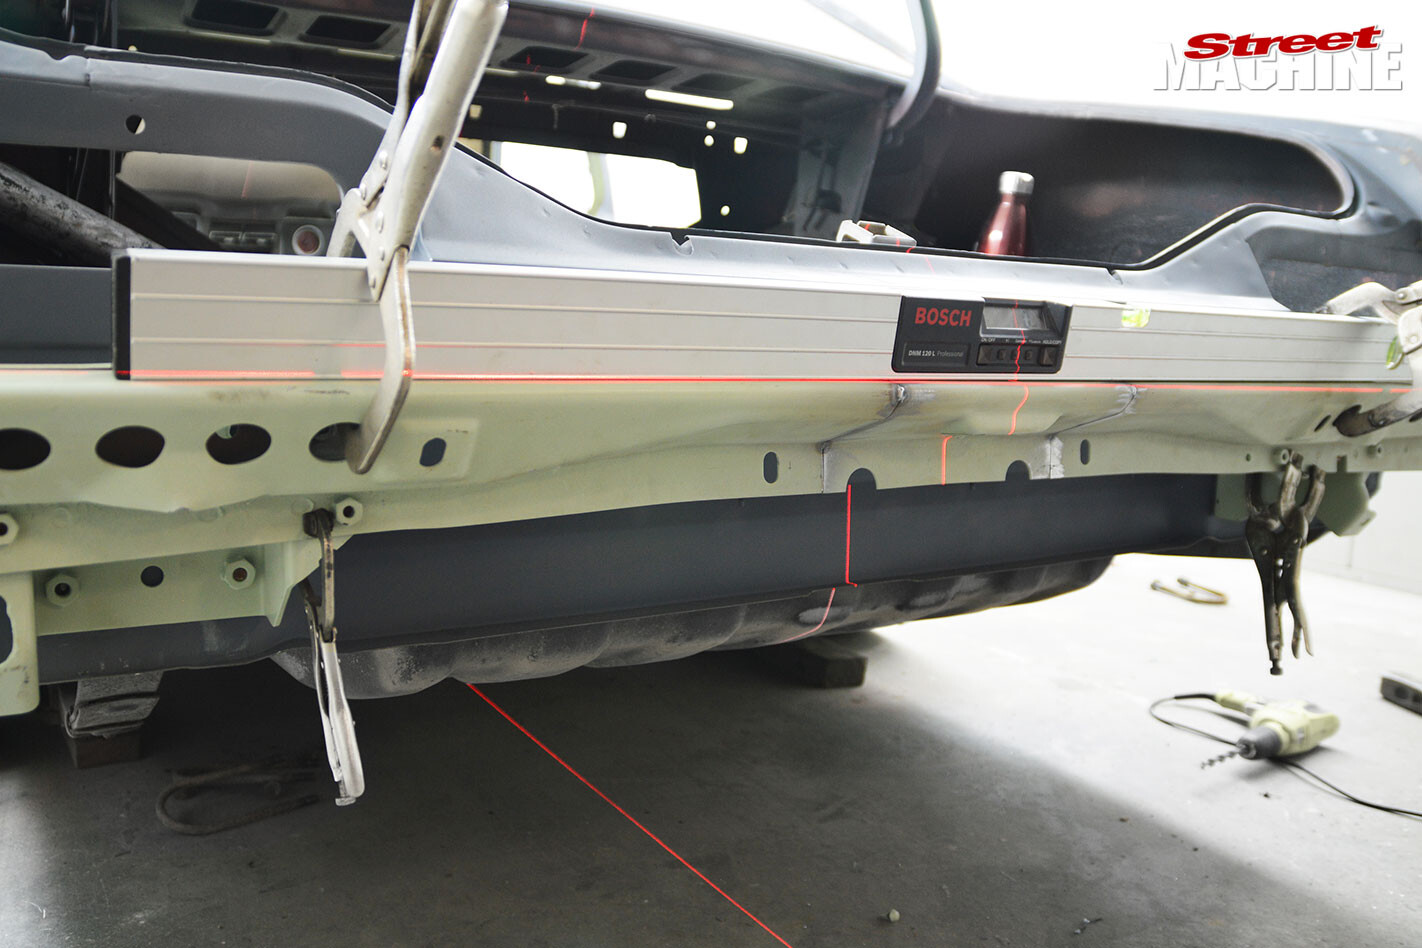 The bumper brackets and reinforcer are bolted together and reattached in place on the vehicle to double-check fitment. Remember: Measure twice, cut once!
MOUNTING BRACKETS
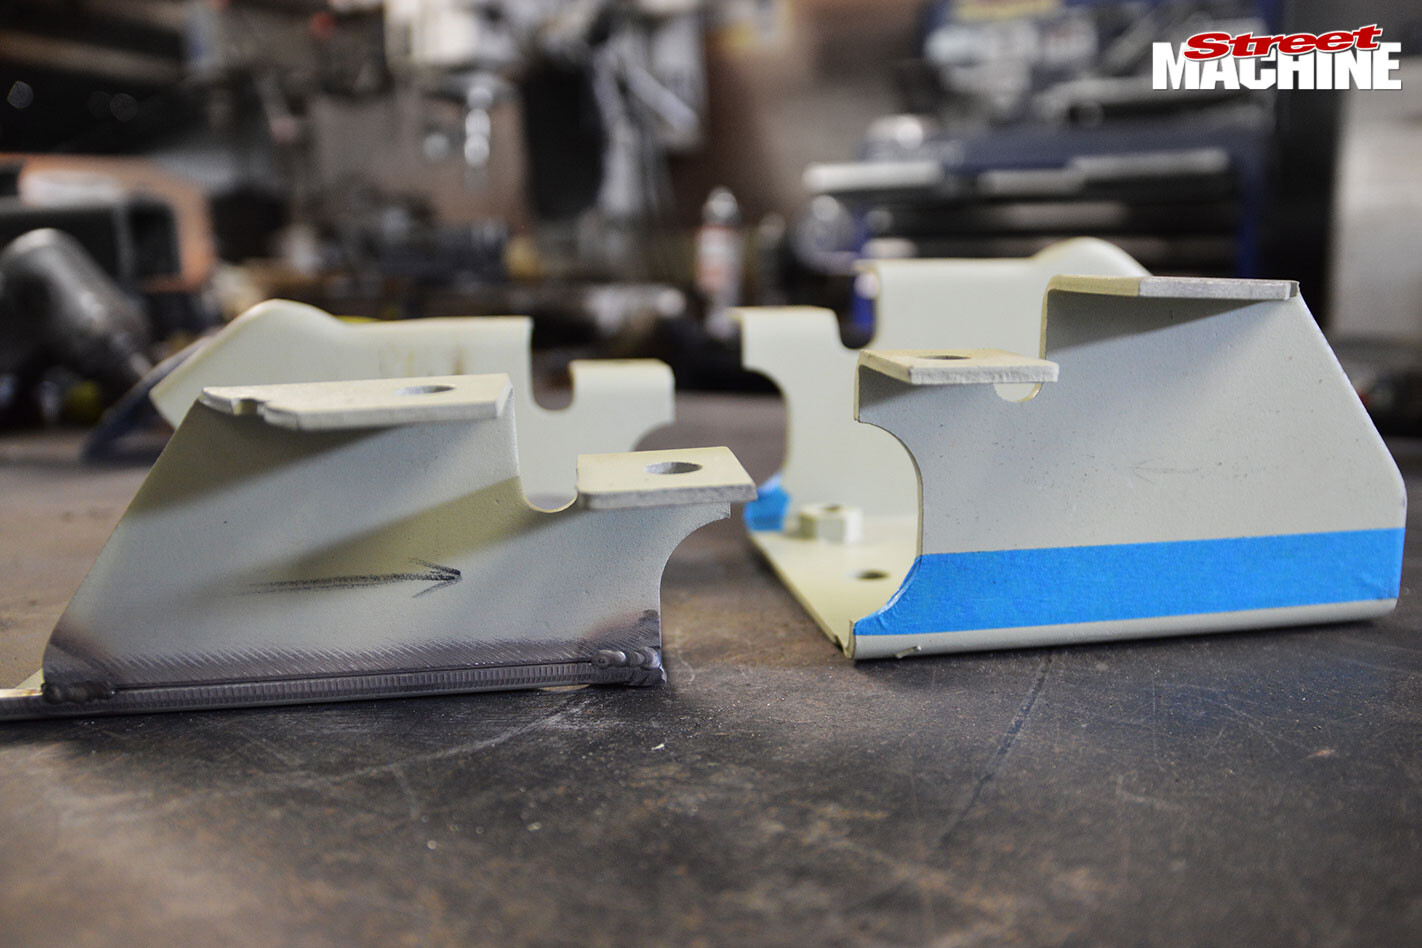 The bumper mounting brackets bolt from the vehicle to the bumper reinforcement. We want to move the bumper 15mm up and 18mm inwards, so an 18mm-wide section at the bottom of each bracket side is marked out with tape, cut and removed. What remains is moved 15mm upwards. Everything is then given a chamfer and tack-welded into place
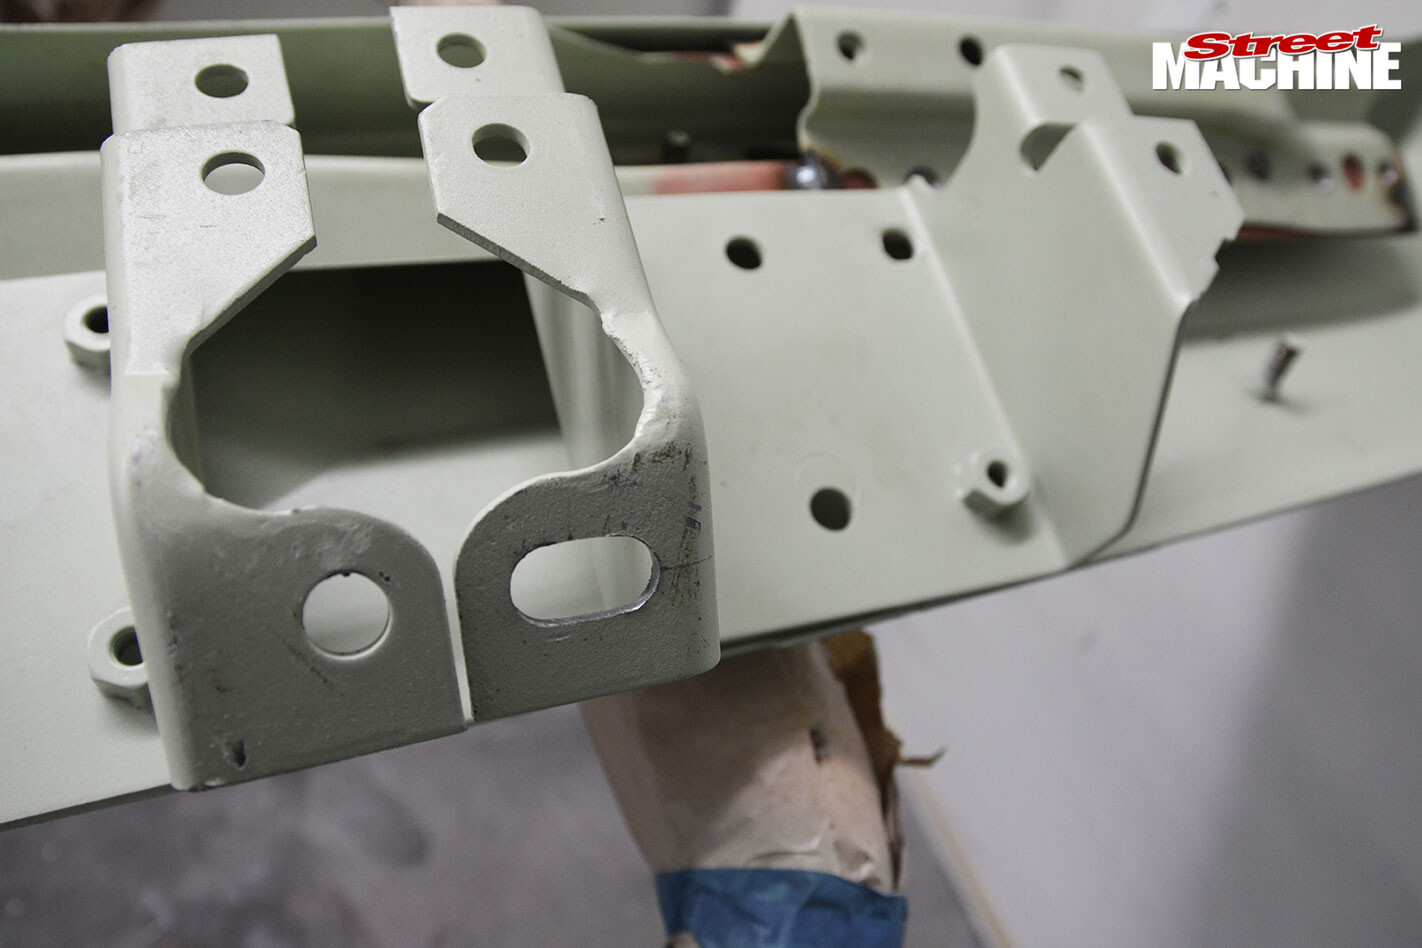 The lowest bracket hole is then slotted to accommodate the lower lug of the bumper. The middle two holes are aligned with the reinforcement and the reinforcement is then drilled to suit. Some nuts are welded on the back for the middle bolts as per factory
 Everything is then bolted back together once again and fitted to the Falcon. A few millimetres are shaved off both ends of the bumper to better suit the body contour. Once the fitment looks good, the bumper is removed again and disassembled, and everything then gets TIG-welded. A MIG will also suffice; turn up the heat for maximum penetration. After a quick sand/grind and metal-file, things are now looking spot-on
BEFORE & AFTER
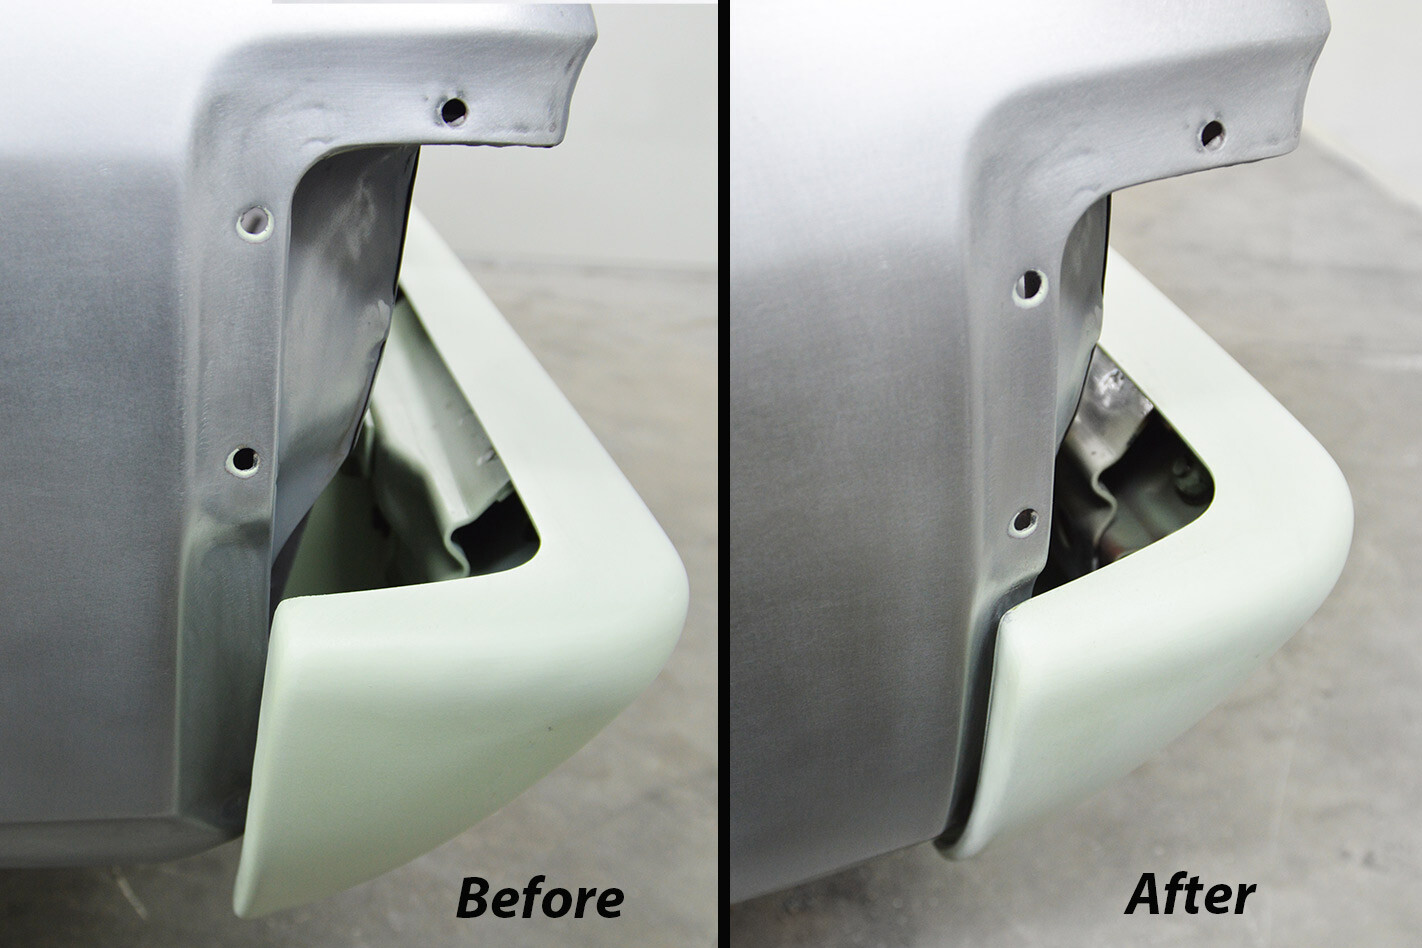 As you can see in these before/after shots, the bumper now fits snugly and is a lot more pleasing to the eye
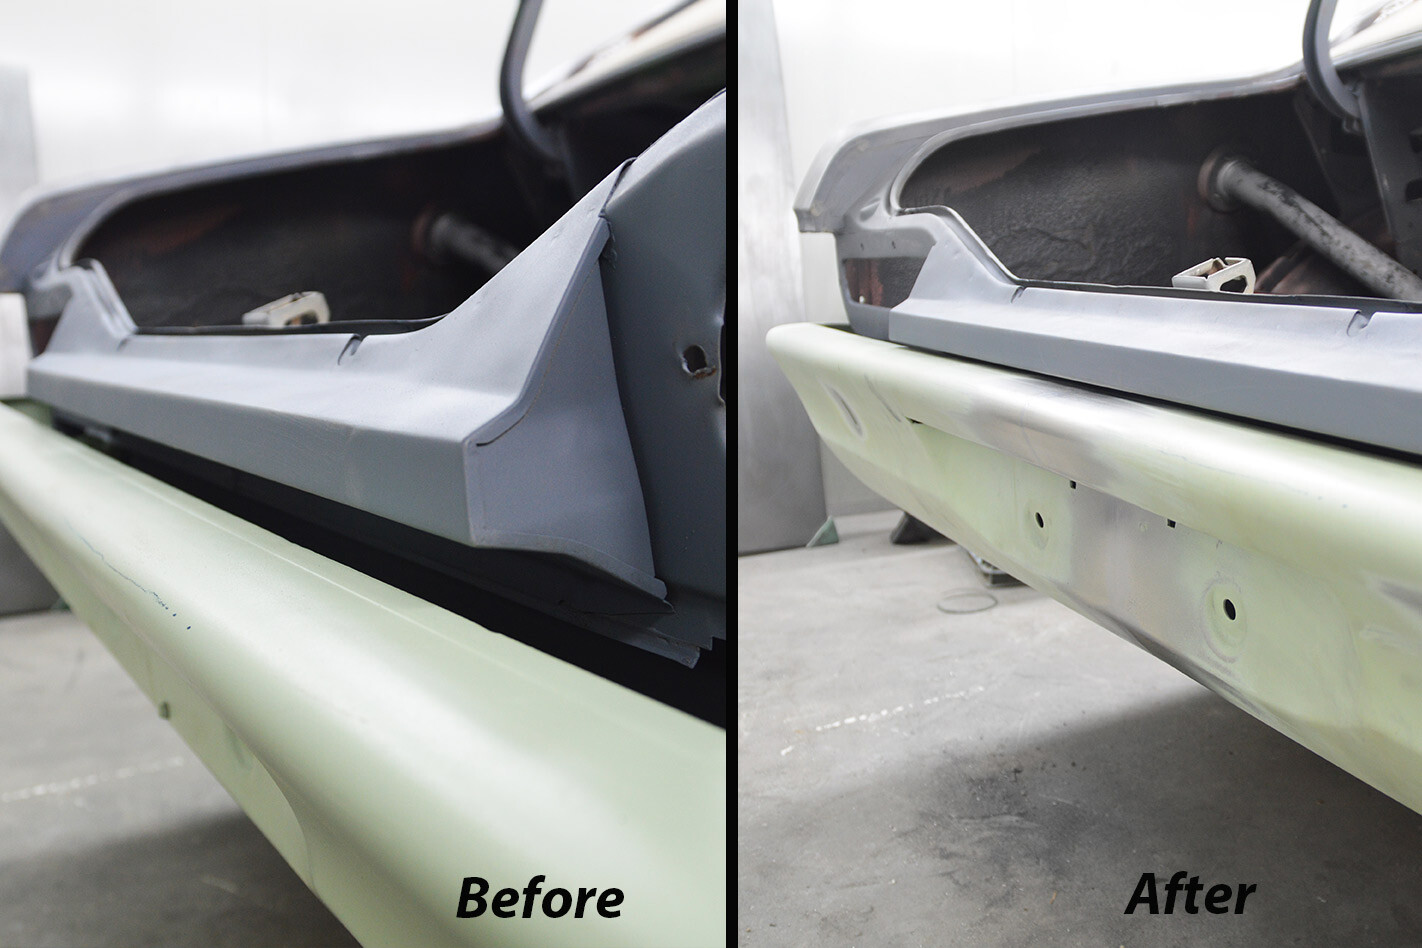 Of course, this is just a brief guide, but techniques like the ones outlined here can be applied to any vehicle to get the look you desire. Just remember to leave enough of a gap so that possible future material such as paint or chrome-plating can still be added to both vehicle and bumper. Happy tucking!

Comments