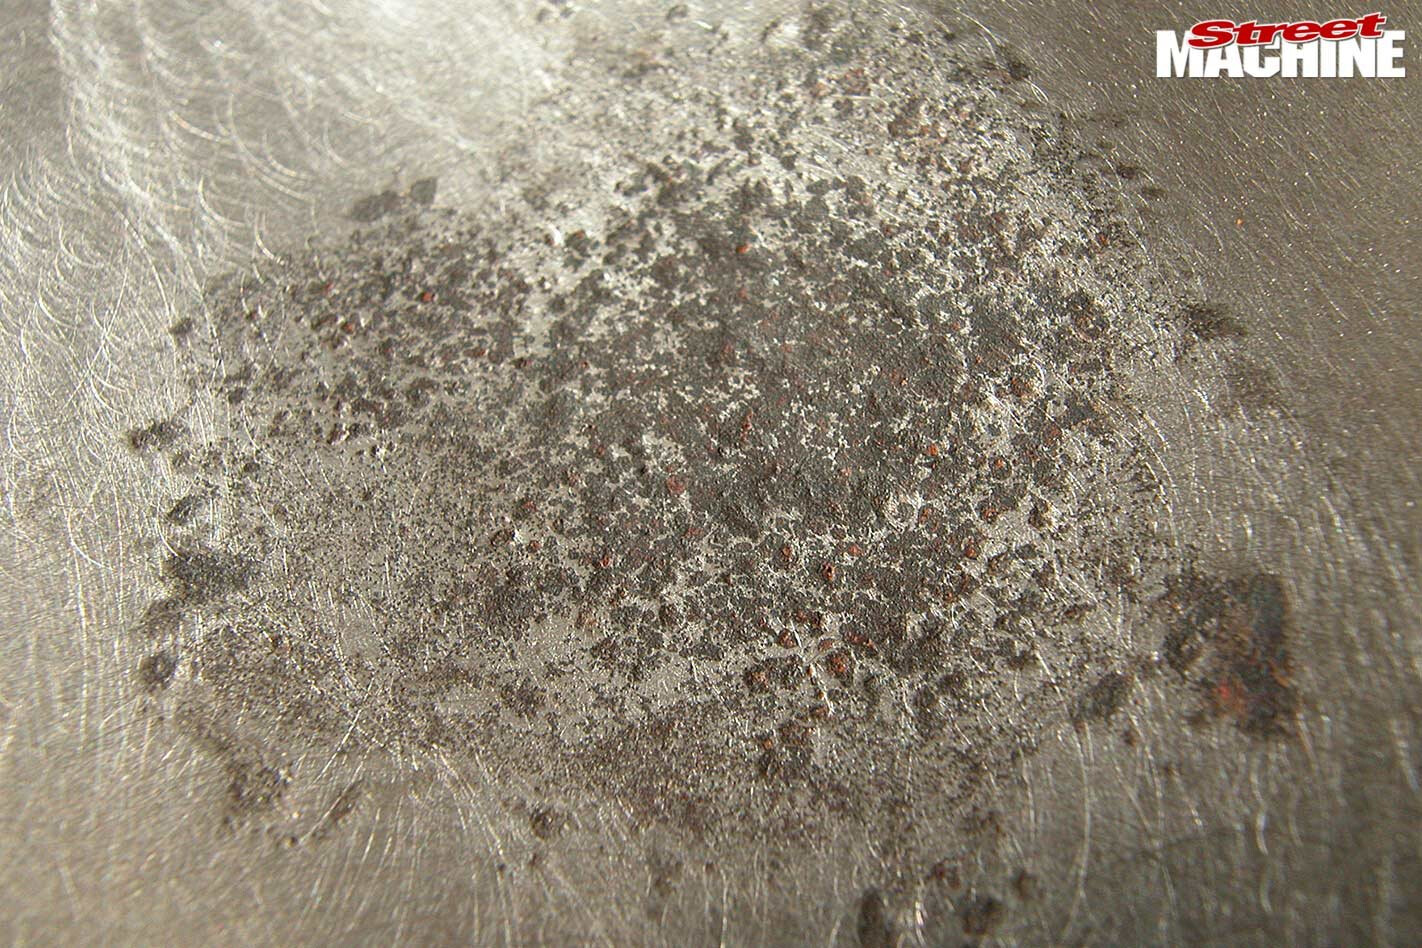
MOST people know rust as the orangey-brown scaly stuff that either breaks through the paint or eats away entire sections of their pride and joy. This is not always so; paint-strip any panel and chances are that under perfectly good paint you’ll find pitted or blackened areas. Yep, that’s rust! If you ignore it and simply paint over it, you’ll pay the price later on as it will come back twice as bad.
This article was first published in the May 2005 issue of Street Machine
Since there’s usually plenty of good metal left, cutting out the offending area and replacing it with new metal is a bit drastic in these cases. Instead, treatment with a good rust converter will banish the offending tin worm and convert it into something harmless.
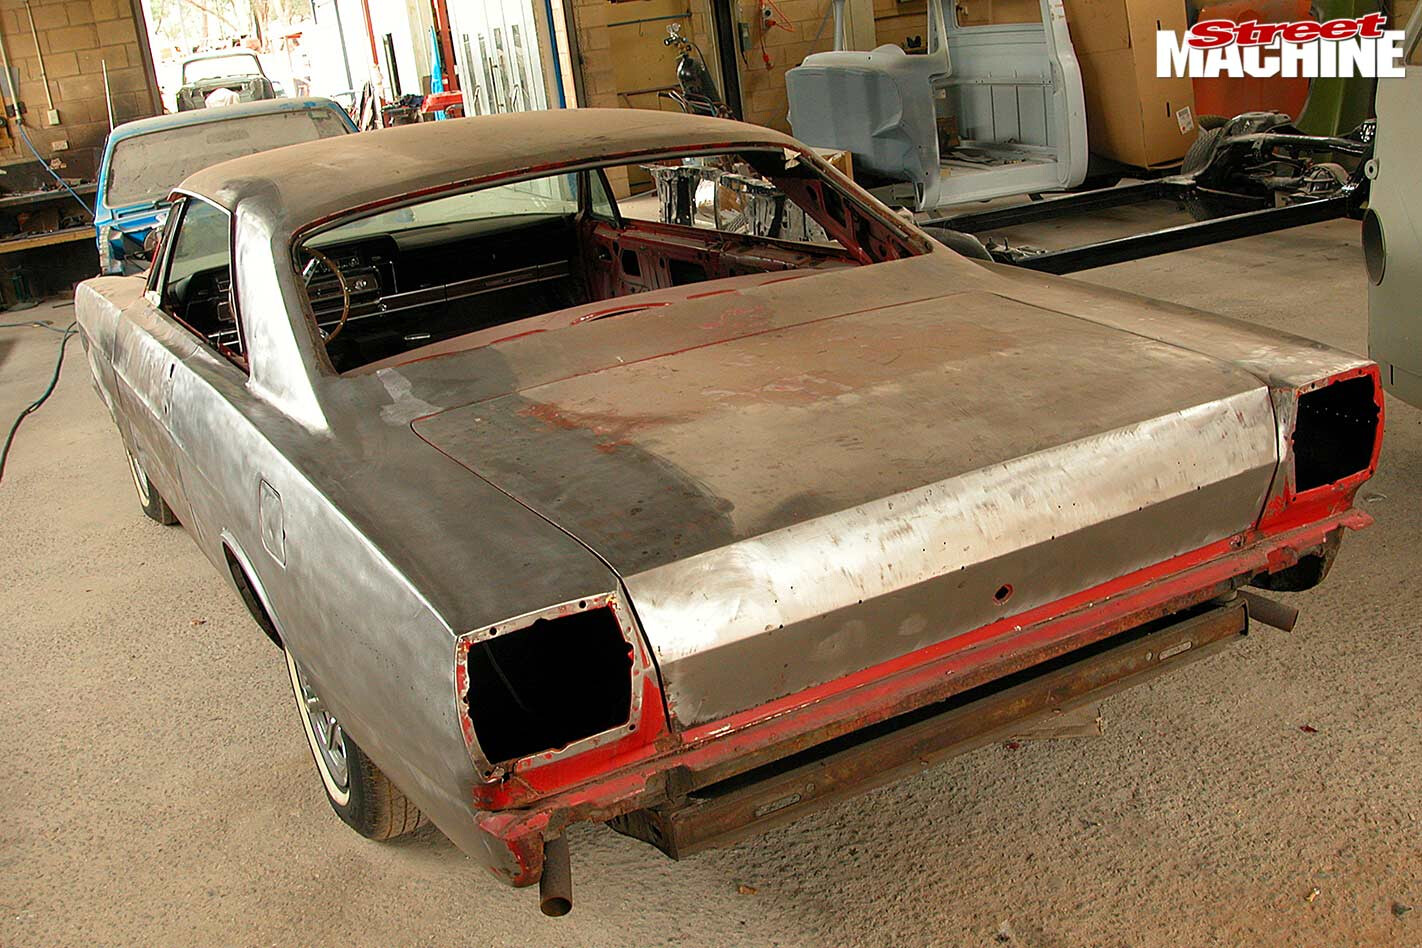
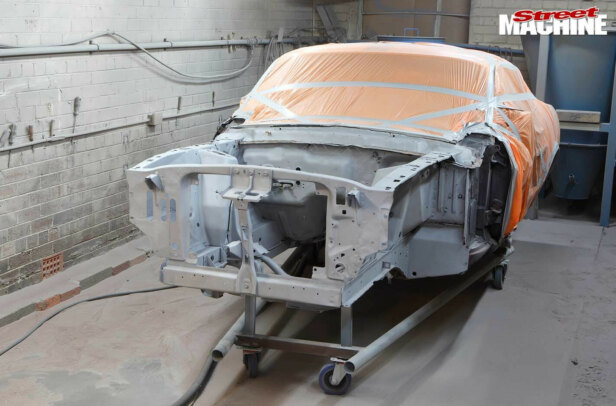
Waddington Street Rod & Restoration Centre invited us along while it treated a problem area found atop the passenger-side rear quarter of a 1966 Galaxie hardtop it’s currently restoring. Dave from Waddington explained the first step in the process is to remove any loose rust that might be present. This is done with a woven steel brush in a reversible electric drill. The reason for using a reversible drill is that running a used wire brush in reverse causes the tips of the brush to dig in more. However, you have to be careful not to overheat the metal, otherwise you run the risk of buckling or distorting the panel and making much more work for yourself. Basically, it should never get hotter than a drinkable cup of coffee in a ceramic cup.
 The wire brush tends to leave a polished effect on the surface of the metal, which is less than optimal for paint adhesion. Dave says hitting it with some 80-grit, free-cut sandpaper is the best approach. Once again you must be careful not to overheat the metal. Clean the work area with compressed air after each step.
Unfortunately, if you used the wire brush and sanding disc to remove all the rust you’d be left with a hole. So treating the remaining rust with a quality converter is a more sensible plan of attack. While Waddington’s has had good success with Wurth’s Rustguard, there are a couple of different types on the market that work quite well — Rustoleum, POR-15, Deoxydine, Killrust, Ranex, and others.
Whichever type you use, be sure to follow the instructions precisely, as exact procedures differ slightly between brands. The Wurth product is simply brushed straight on using a disposable brush. When first applied it’s a bluish-white but turns a purplish-black as it reacts with the rust. When all the white has disappeared the Rustguard has done its job and you can give the repair area a final sand in preparation for priming. If the pitting is still very deep, you’ll need to apply a skim of body filler over the area to smooth things out. From there, it’s a matter of applying a primer/sealer, etch primer, and priming again before laying on the top coats. Be sure to carefully inspect all panels before painting and thoroughly treat any problem areas — if you do, that fresh new coat of paint should protect your streeter against rust for another 20 years or so.
STEP-BY-STEP
 STEP 1. Paint-strip a panel and it’s not uncommon to find a dark, pitted area like this under good paint. It’s the beginning of a rust problem and must be addressed
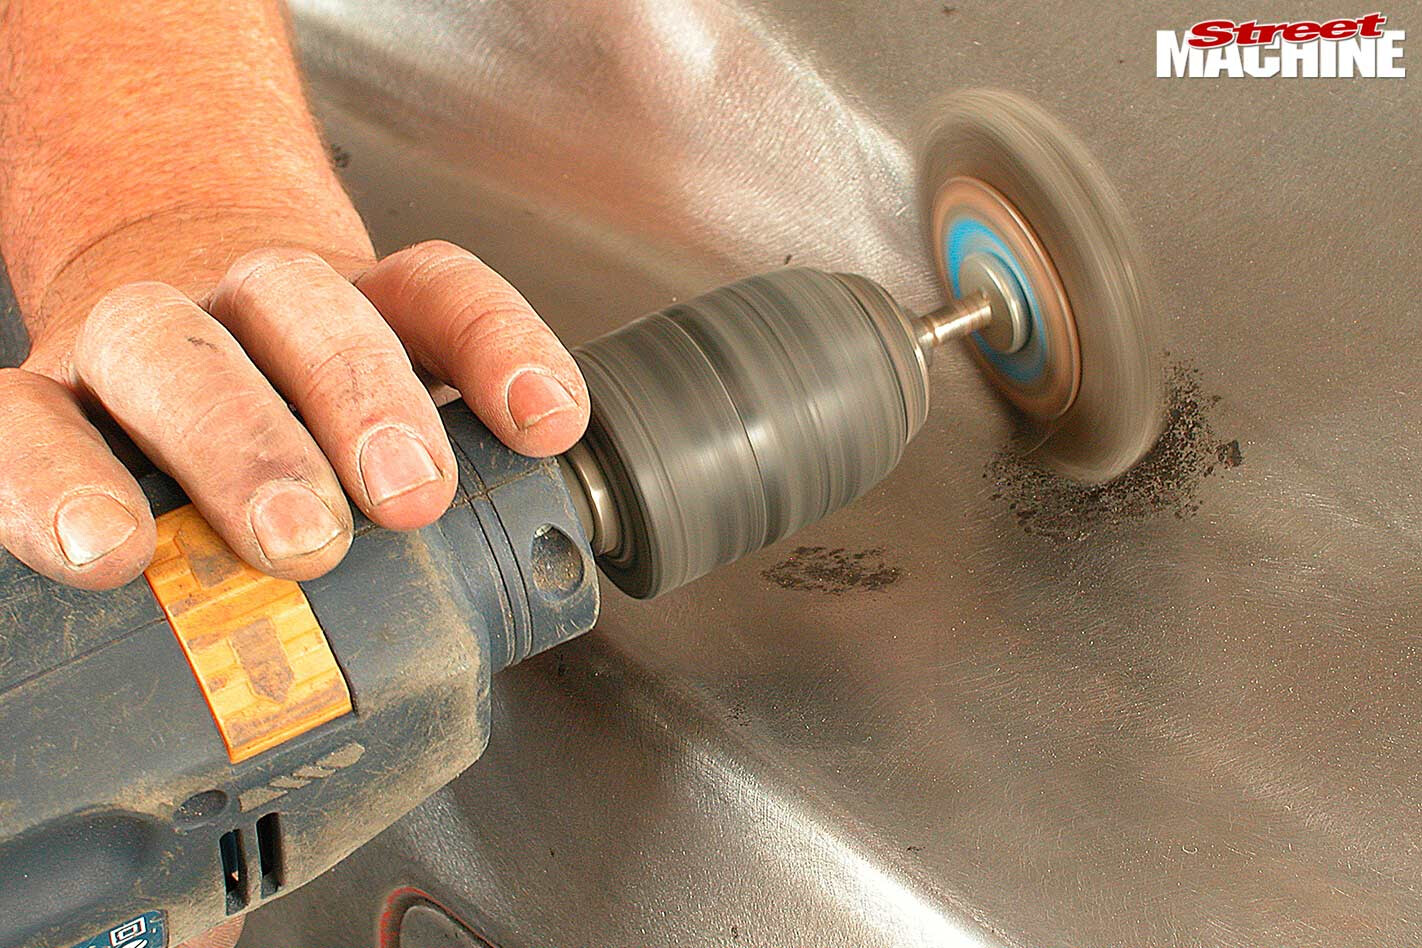 STEP 2. Get in and clean up the coarse, scaly material using a rotary wire brush mounted in a drill. Get it to dig in, but be careful not to excessively heat the steel
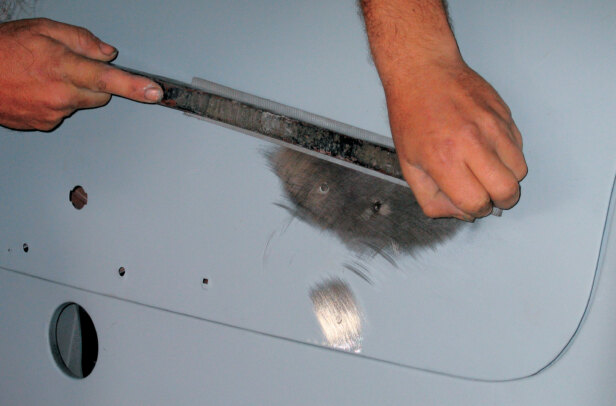
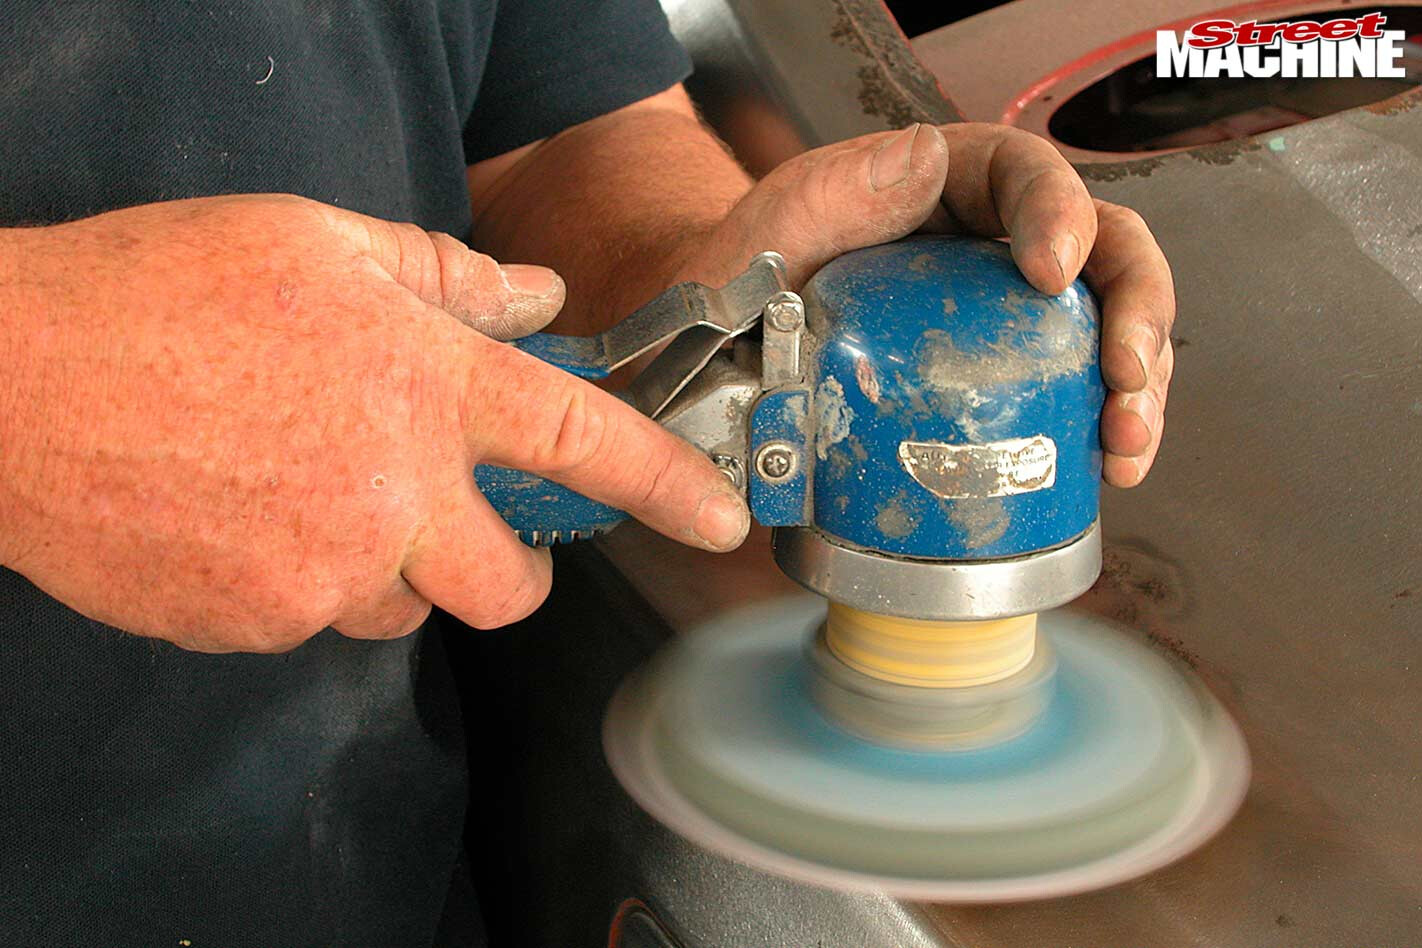 STEP 3. The wire brush leaves a polished finish on the surface, which must be roughened up. Use 80-grit on a Stick-Disc — once again watch the heat
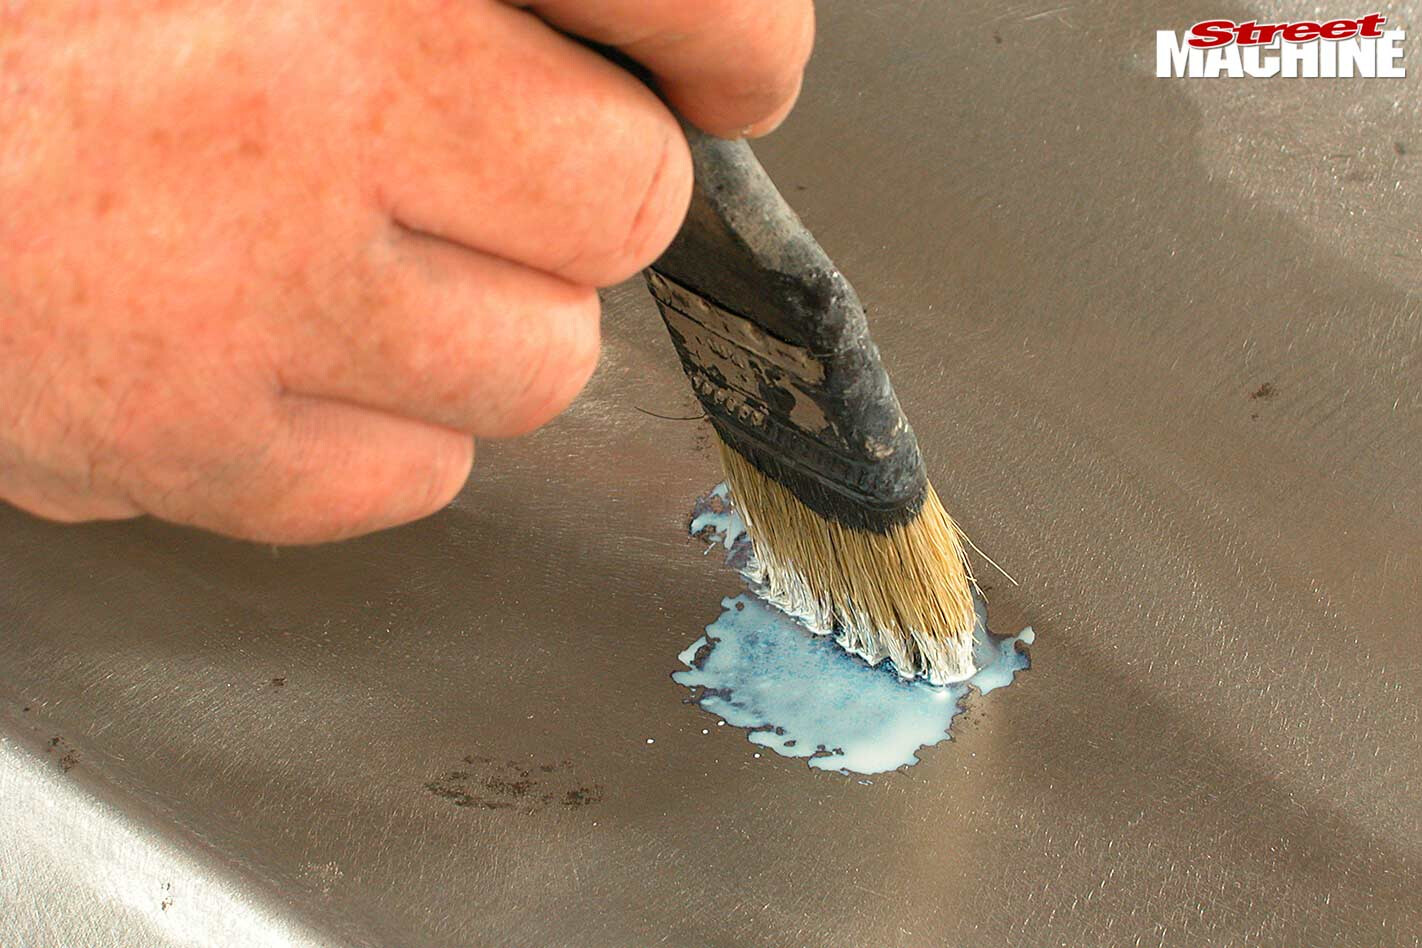 STEP 4. The Wurth rust converter brushes on white. Make sure you work it into all the pits
 STEP 5. It changes colour as it converts the rust, giving the area a purplish-black colour once done. Sand and fill if necessary, before priming and painting
Comments