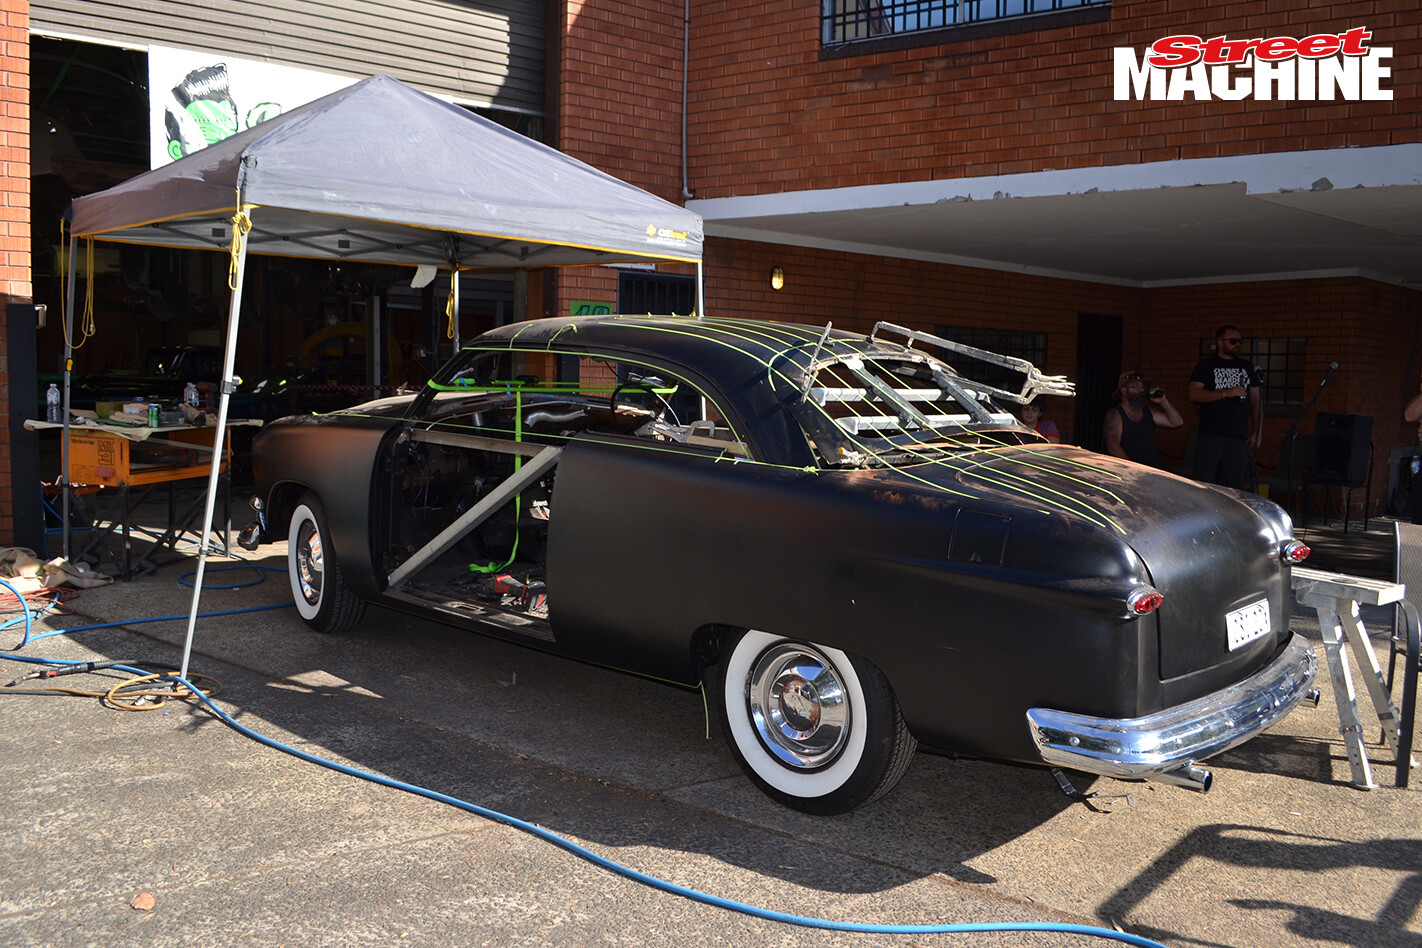
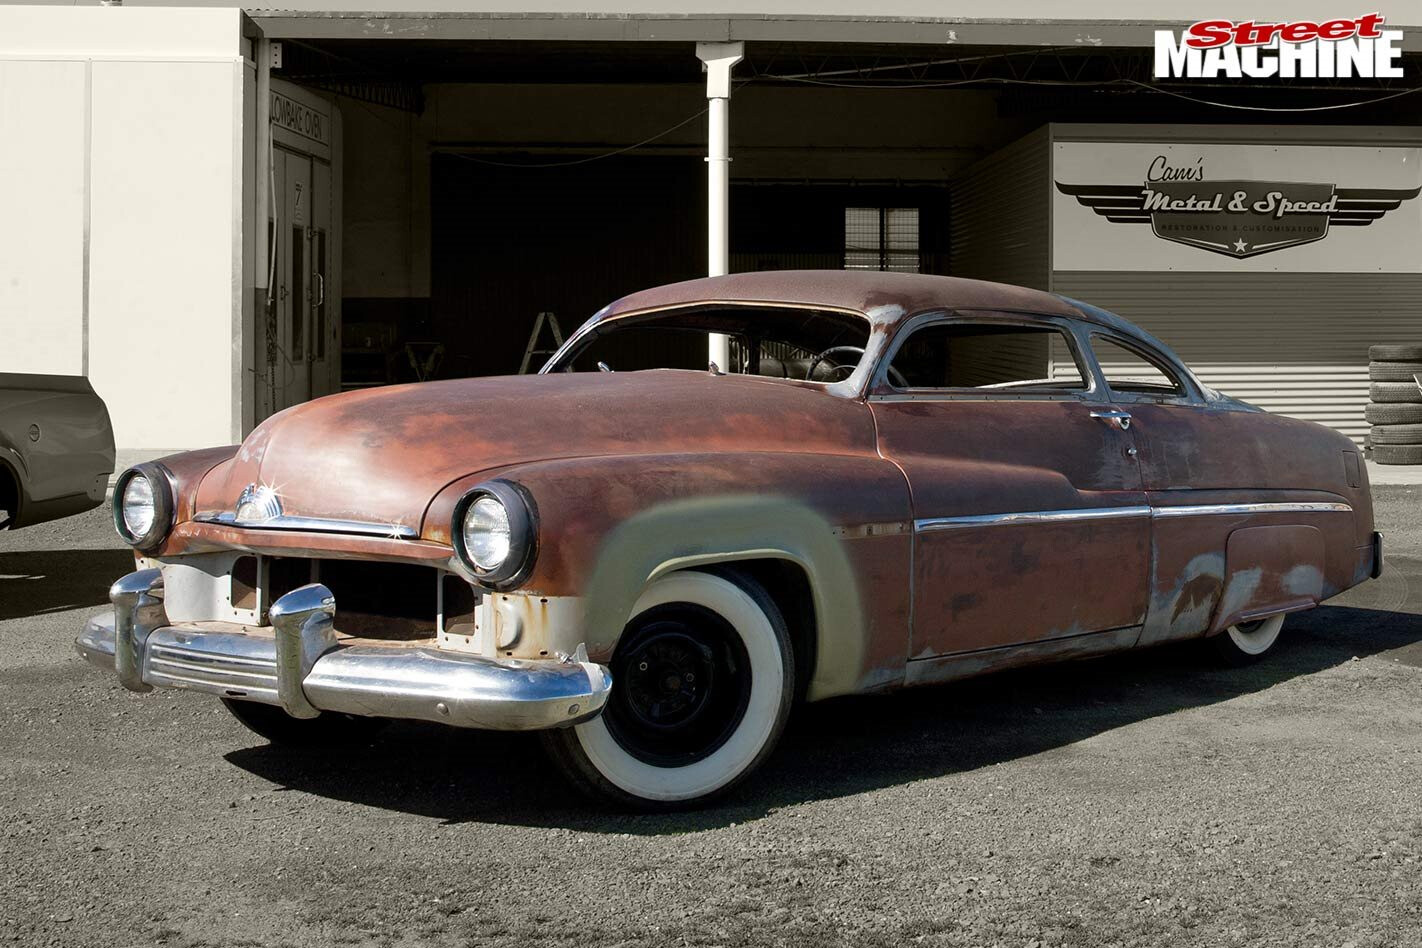
THE chop started like most good things do – with two blokes shooting the breeze. I’d driven my 1951 Ford over to Lucky’s Speed Shop to say hi to owner Ben Erdahl. The twin spinner had been on the road about 18 months after a rebuild which saw rust repairs, new paint and a change of powertrain from a destroyed flatty to a 351 Cleveland. When Ben asked me what plans I had for it next I told him that I was a bit tired of people thinking I drove a restored vintage car and that I’d like to chop it some day.
Without even drawing a breath he turned to me and said, “I’ll do it – let’s chop her at the Christmas bash.”
And true to his word Ben did the chop at the 2015 Lucky’s Speed Shop Christmas party a couple of months later. This is a brief guide to how he and his crew did it.
 Right from the start it was decided the chop couldn’t be too radical. My wife and I clock up about 400kms a week in the shoebox with a baby in the back. So while we wanted it to look totally badass, it needed to be practical. The last thing we wanted was to end up with something we avoided driving because it was uncomfortable over long distances or too hard to get the bub in and out. With that in mind Ben suggested a four-inch chop at the A-pillar.
 Ben uses tape to mark out visualisation lines or as he calls it “visually spit balling” the amount of drop. The top green horizontal line indicates the new door frame; the blue line is the edge of the new window, while the thin green lines show the gutter and the shape of new rear passenger window.
 The visualisation lines are taken off and Ben applies tape at the narrowest, straightest section of the A-pillar. Two pieces of two inch tape are wrapped edge to edge to ensure four inches is evenly marked around the pillar. The same is then done for the other side.
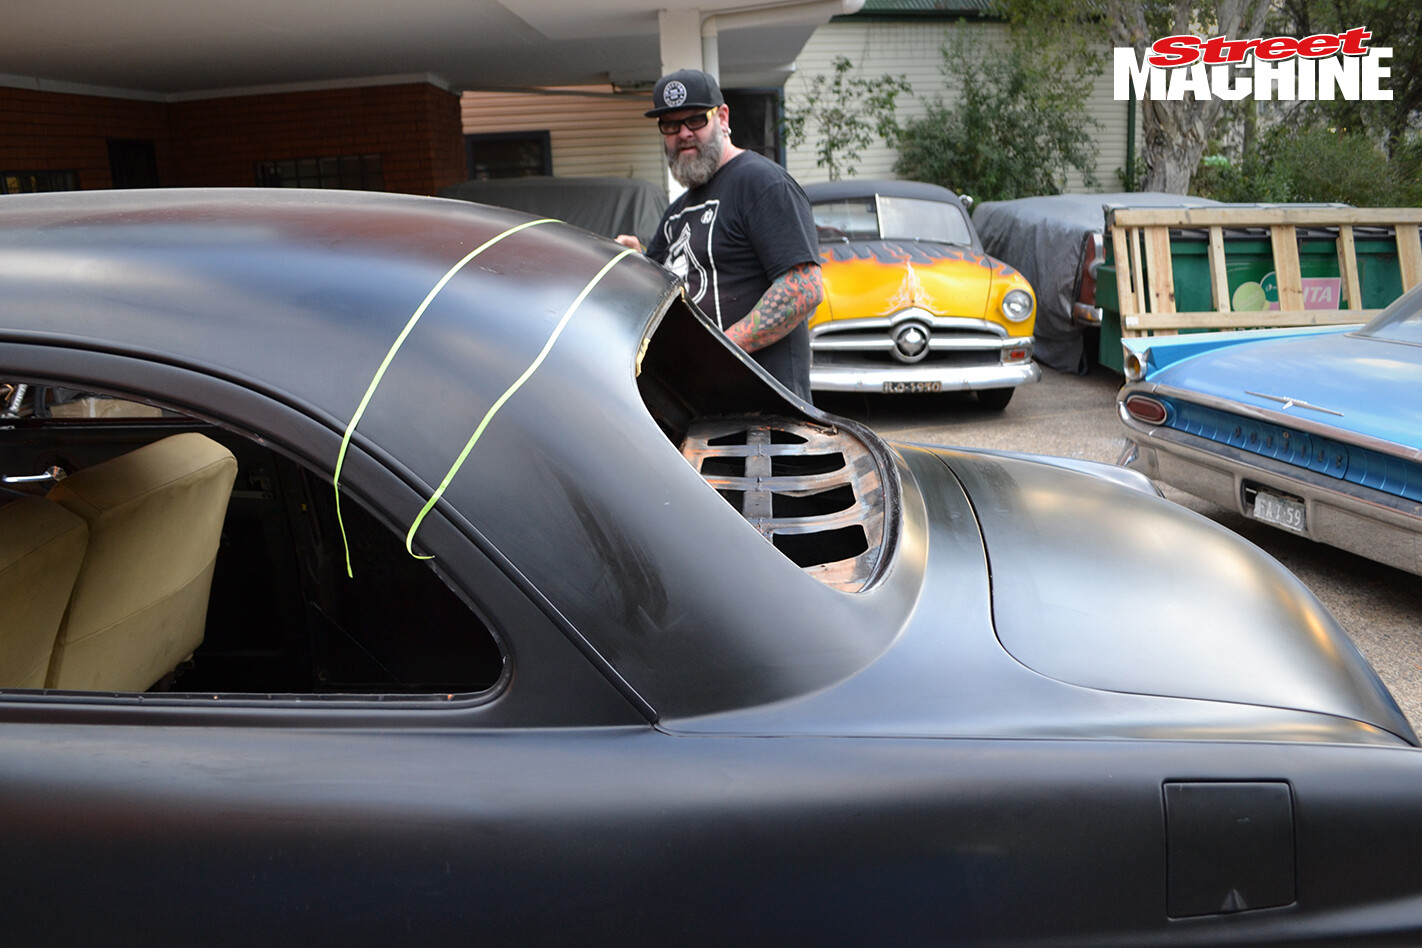
 A chop doesn’t just lower a roof, it also removes the hump caused by the way the roofline turns into the C-pillar. Ben’s demonstrating the increasing thickness in the roof and the aim of the chop is to get rid of this fullness.
 The part of the roofline curve with the tightest radius is located and an area either side is marked out – somewhere within this zone is where a cut will be made in the removal of the rear window.
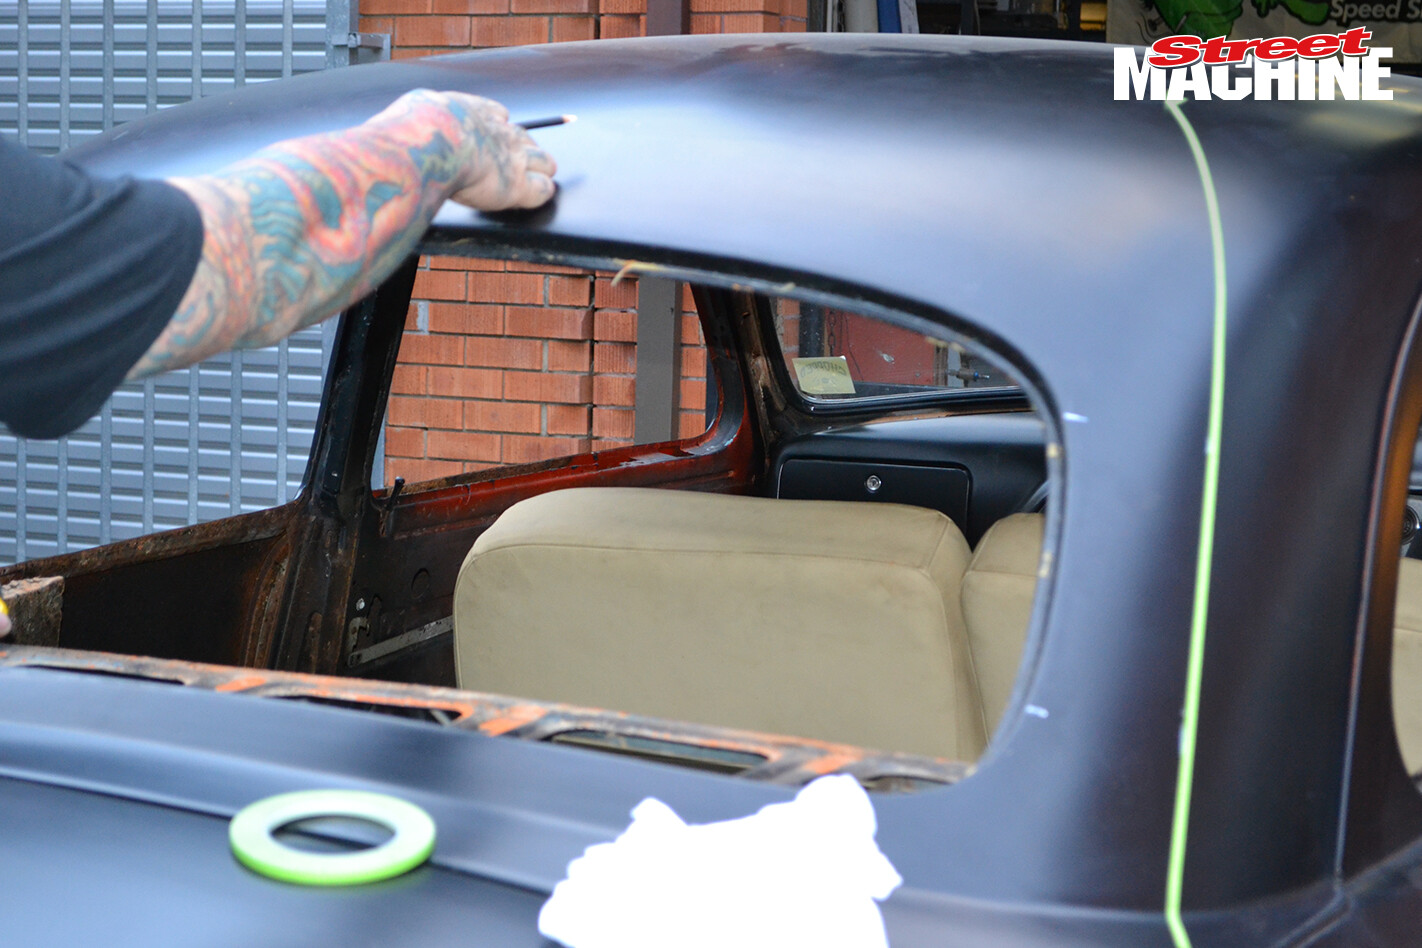 The part of the C-pillar with the tightest radius is located and marked – this is done for both sides. These mark the cut lines either side of the rear window.
 Laying out the cuts on the door corners. It’s easy but lots people get it wrong.
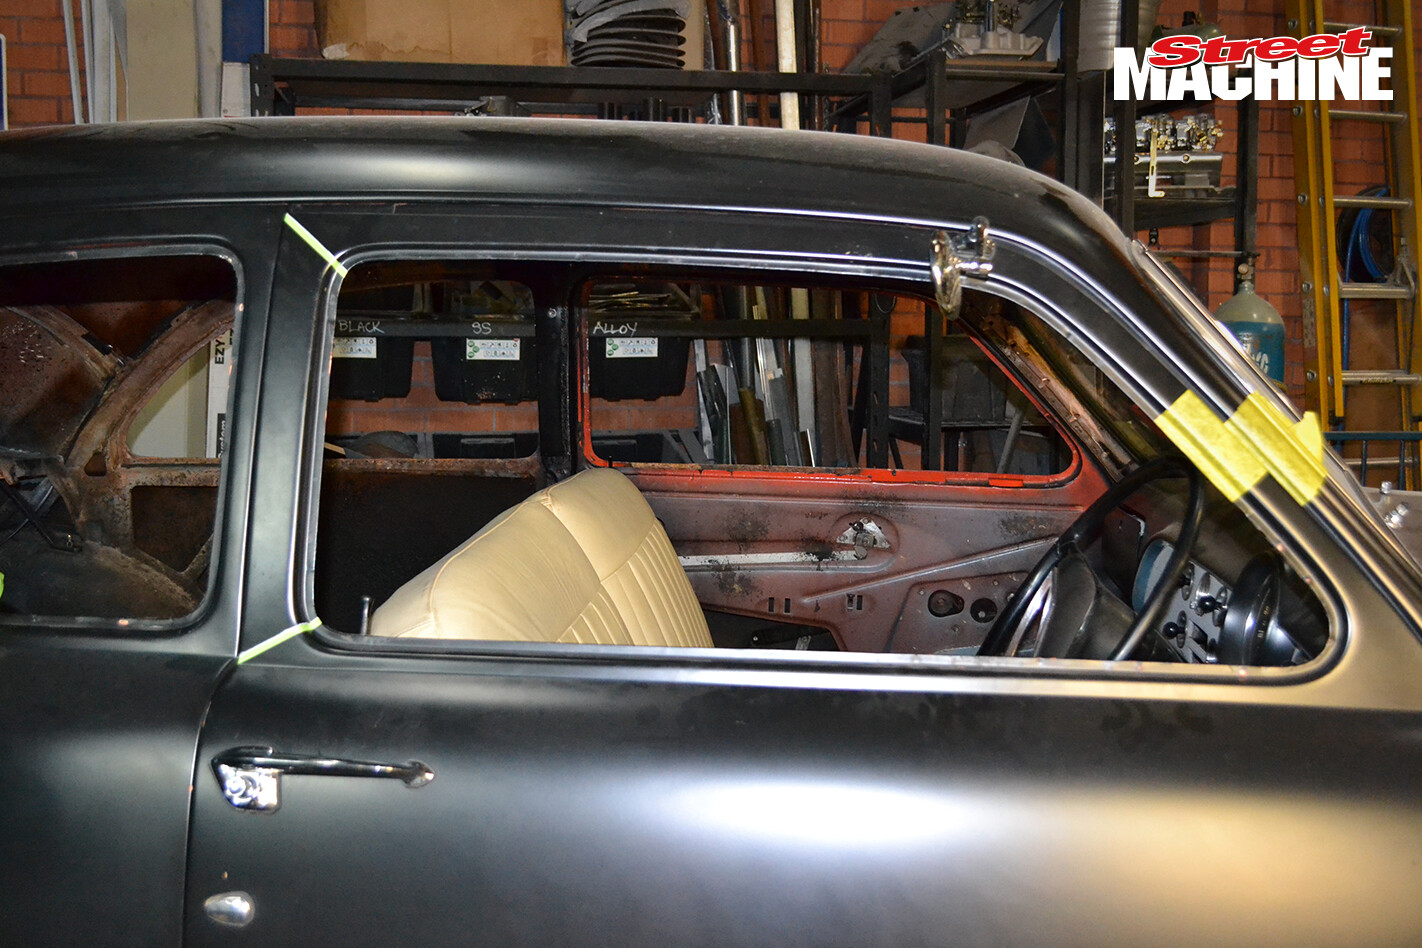
 The rear window is heavily braced with supports welded horizontally and vertically, and to each other to ensure the frame retains its shape so that the stock glass will fit the and factory rubber will seal later. This bracing is left in until the car is fully welded at the end. The doors are also braced from A- to B-pillar horizontally and diagonally and also across the car from B- to B-pillar to prevent the body of the car losing shape when the roof is removed.
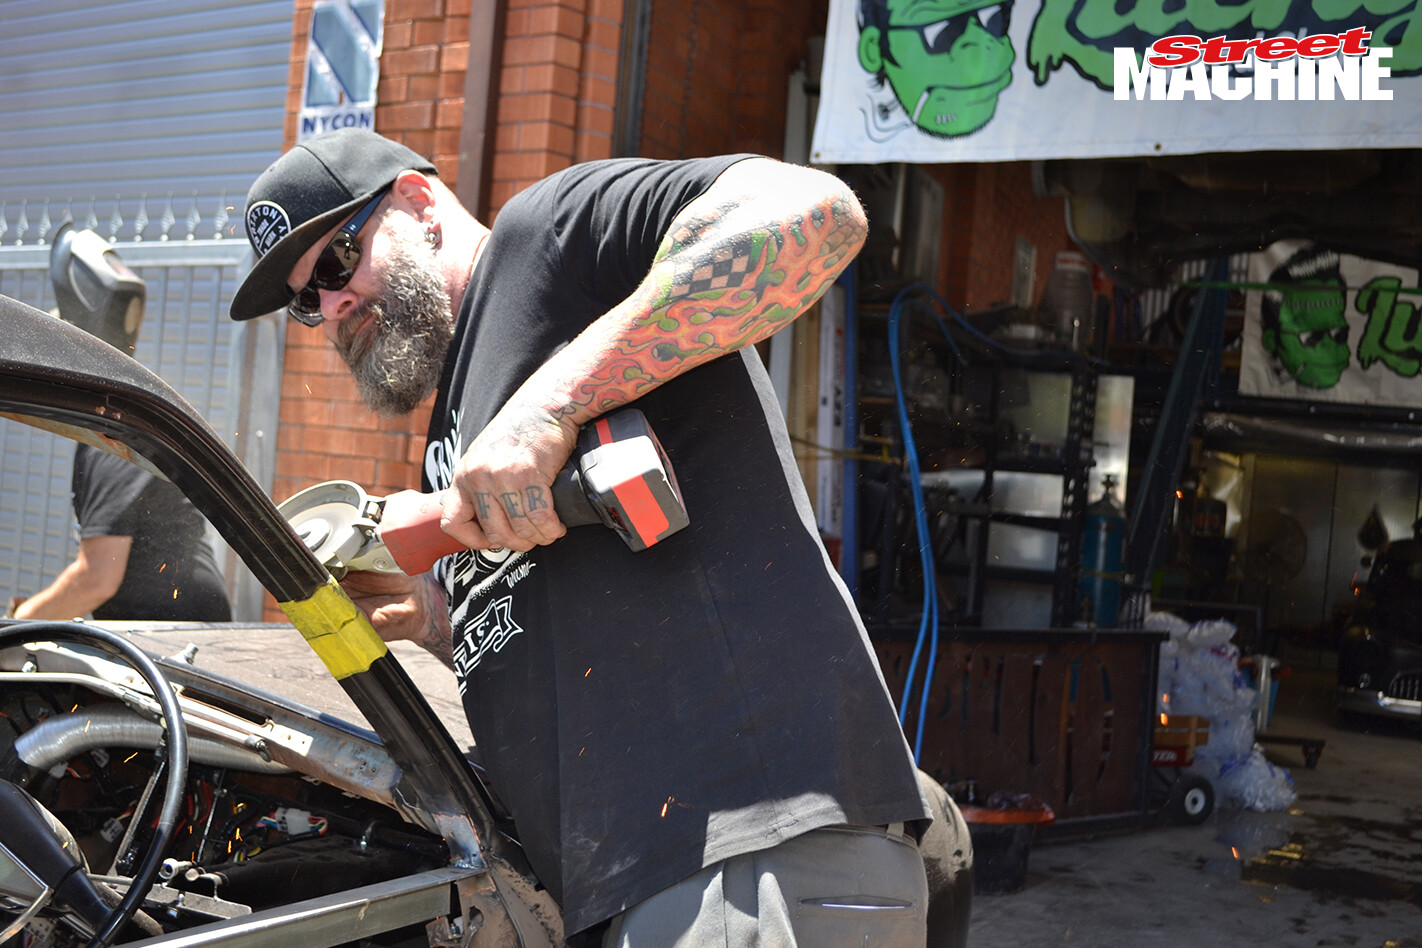
 Yours truly makes the first cut – more symbolic than helpful, kind of like cutting the ribbon at the opening of a bridge – what could possibly go wrong? The rear corners of the windows were removed first as this allows better access to other areas that need to be cut.
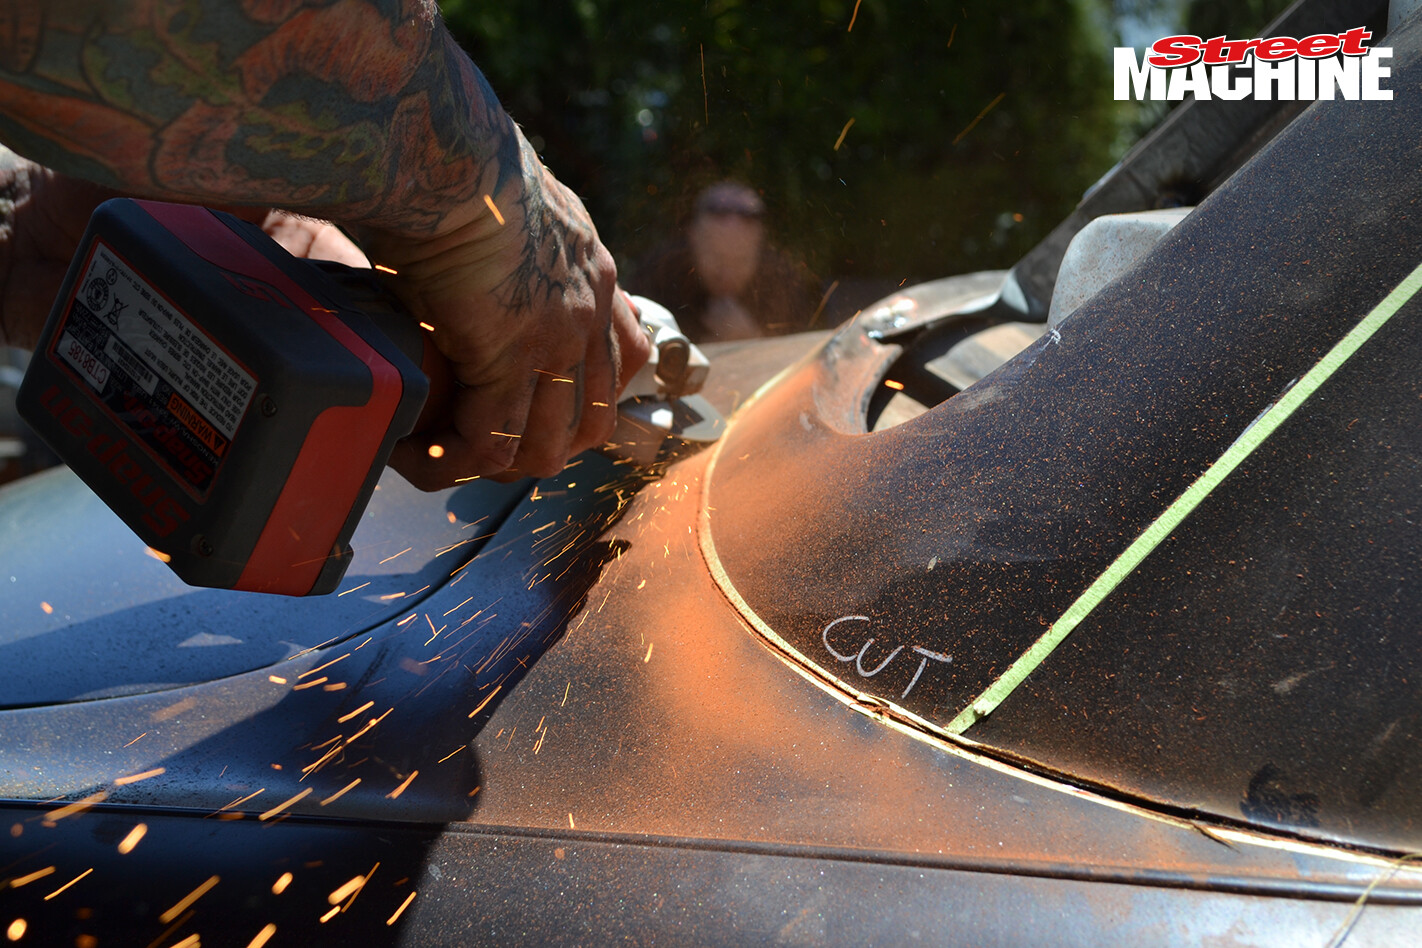
 The A- B- and C-pillars were cut most of the way through from the outside, leaving just the inside to cut with the air saw when the time came to lift the roof – this ensures the car stay contiguous.
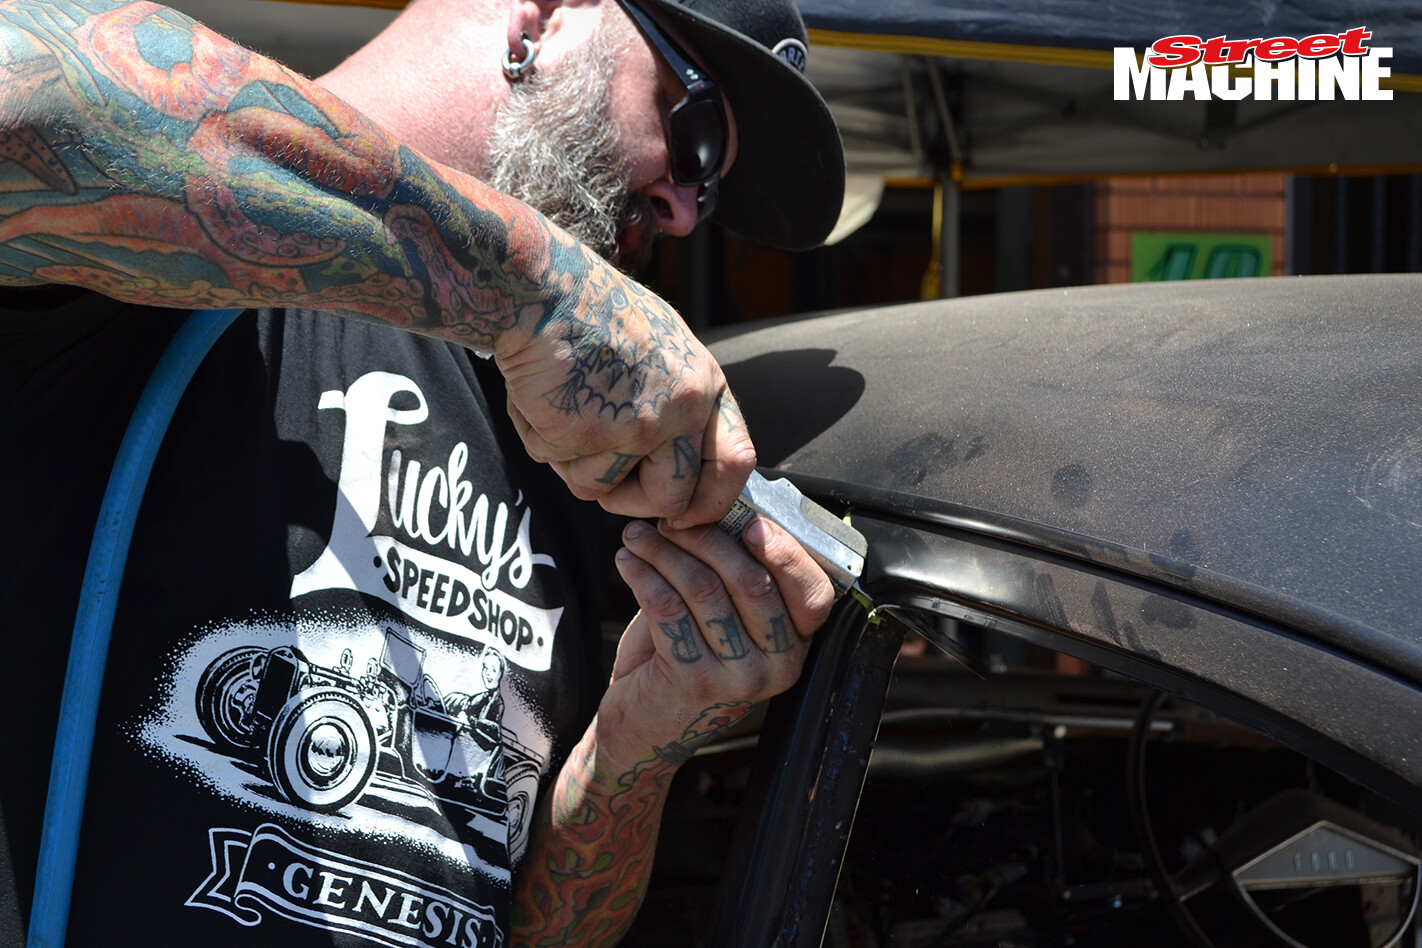
 Ben cuts along the beltline swage line. After this the parcel tray needs to be cut away from the window lip.
 Ben cuts straight through the tightest radius of the hump. I wanted to keep the rear window the same size, this meant cutting it out and leaning it forward by what would turn out to be about 10 degrees.
 Having been cut through most of the way with the cut off wheel Ben uses the air saw to finish removing the B-pillars.
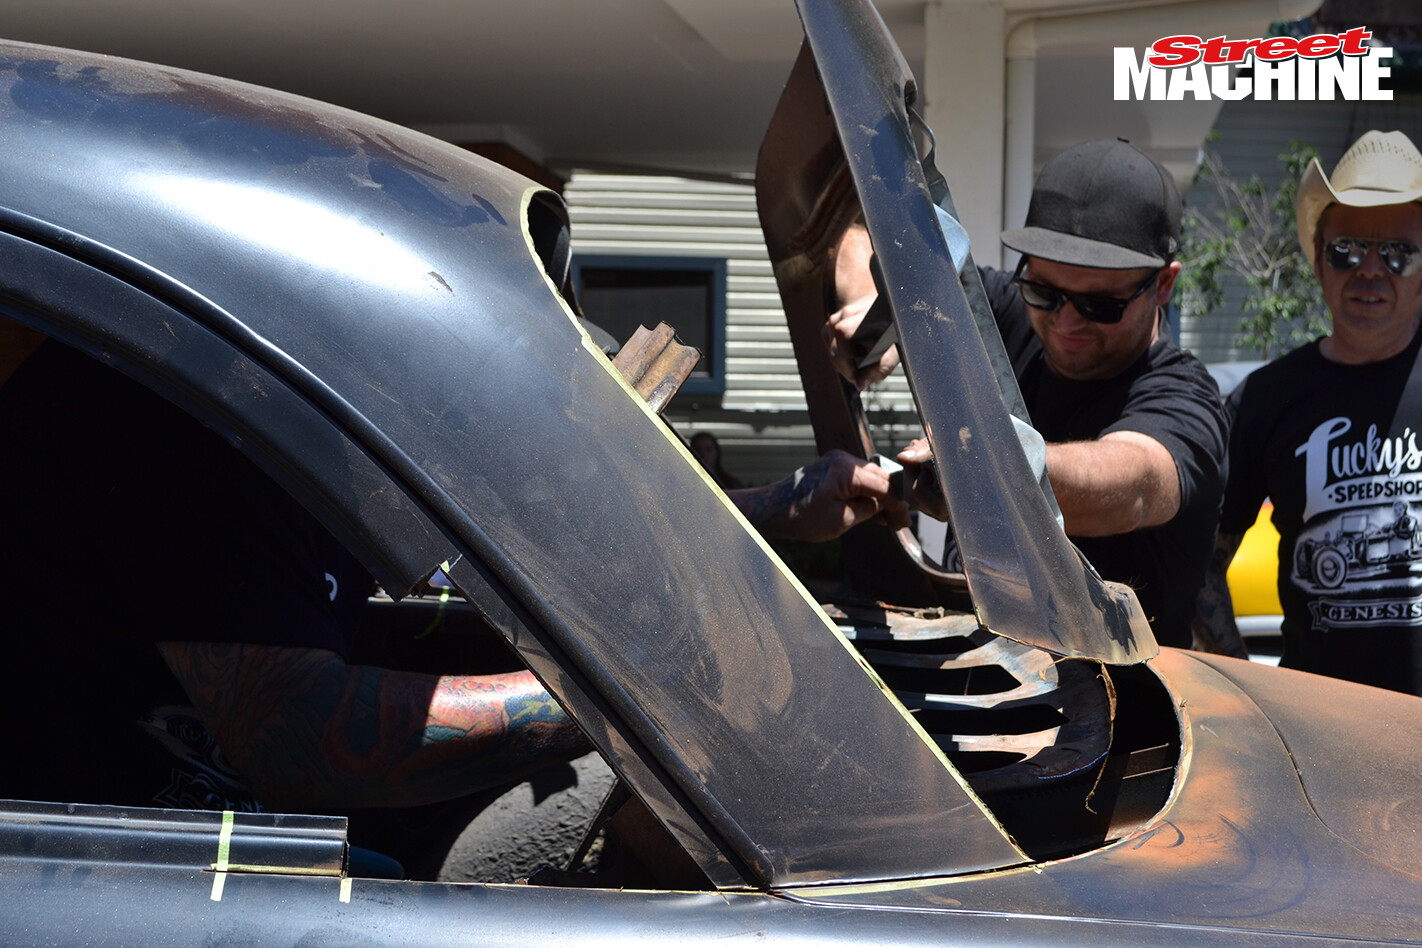 The rear window is lifted out, it’s now time to take the roof off.
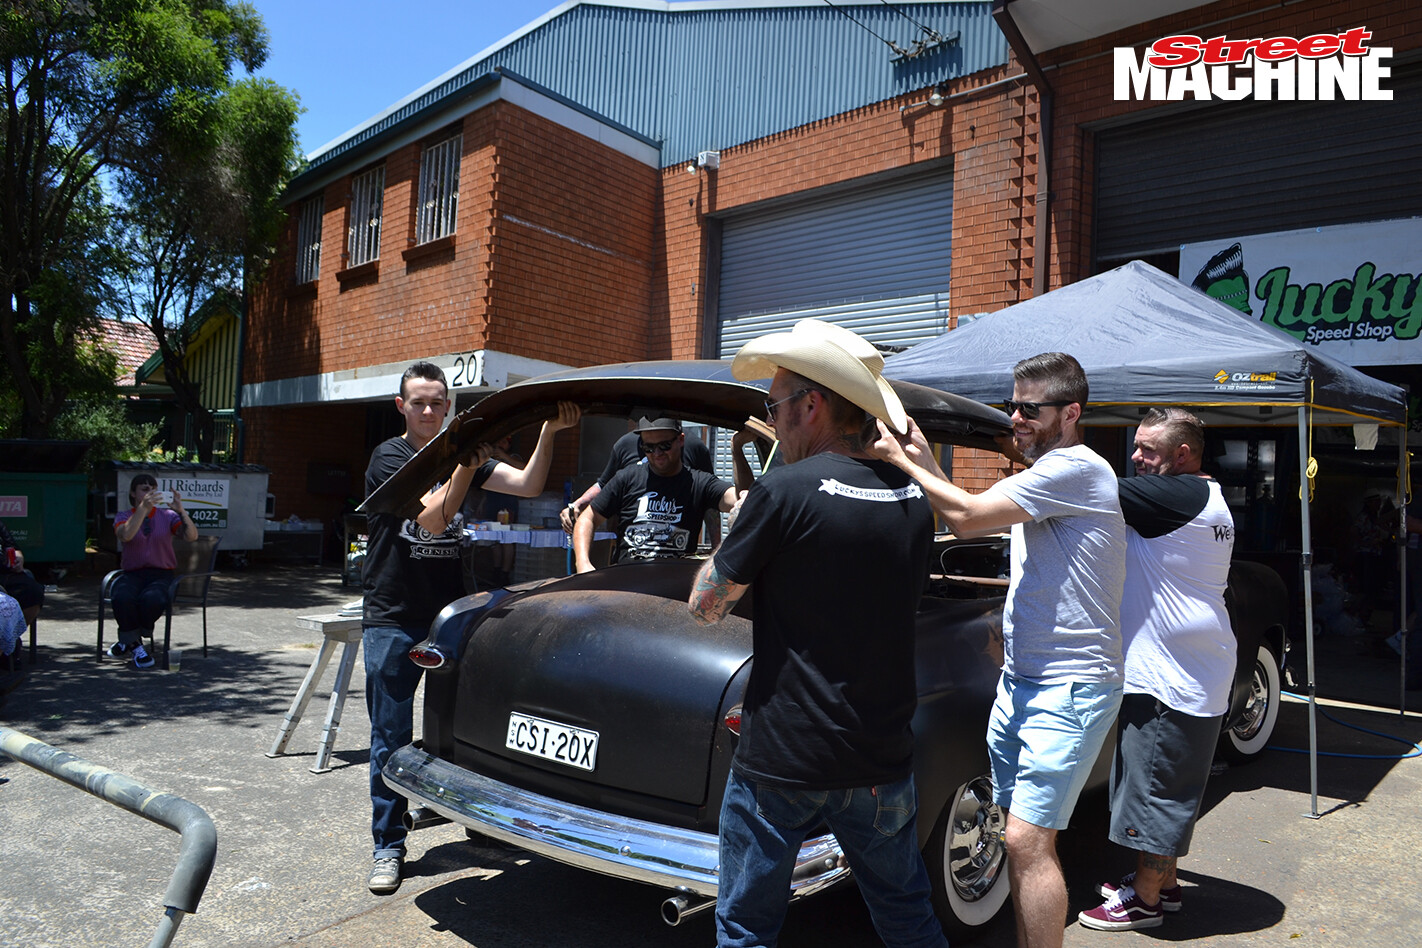 The weight is taken, the final cuts are made and the roof comes off. There is a bit of a “holy crap, I’ve just wrecked my car” moment, which lasted until the roof went back on again.
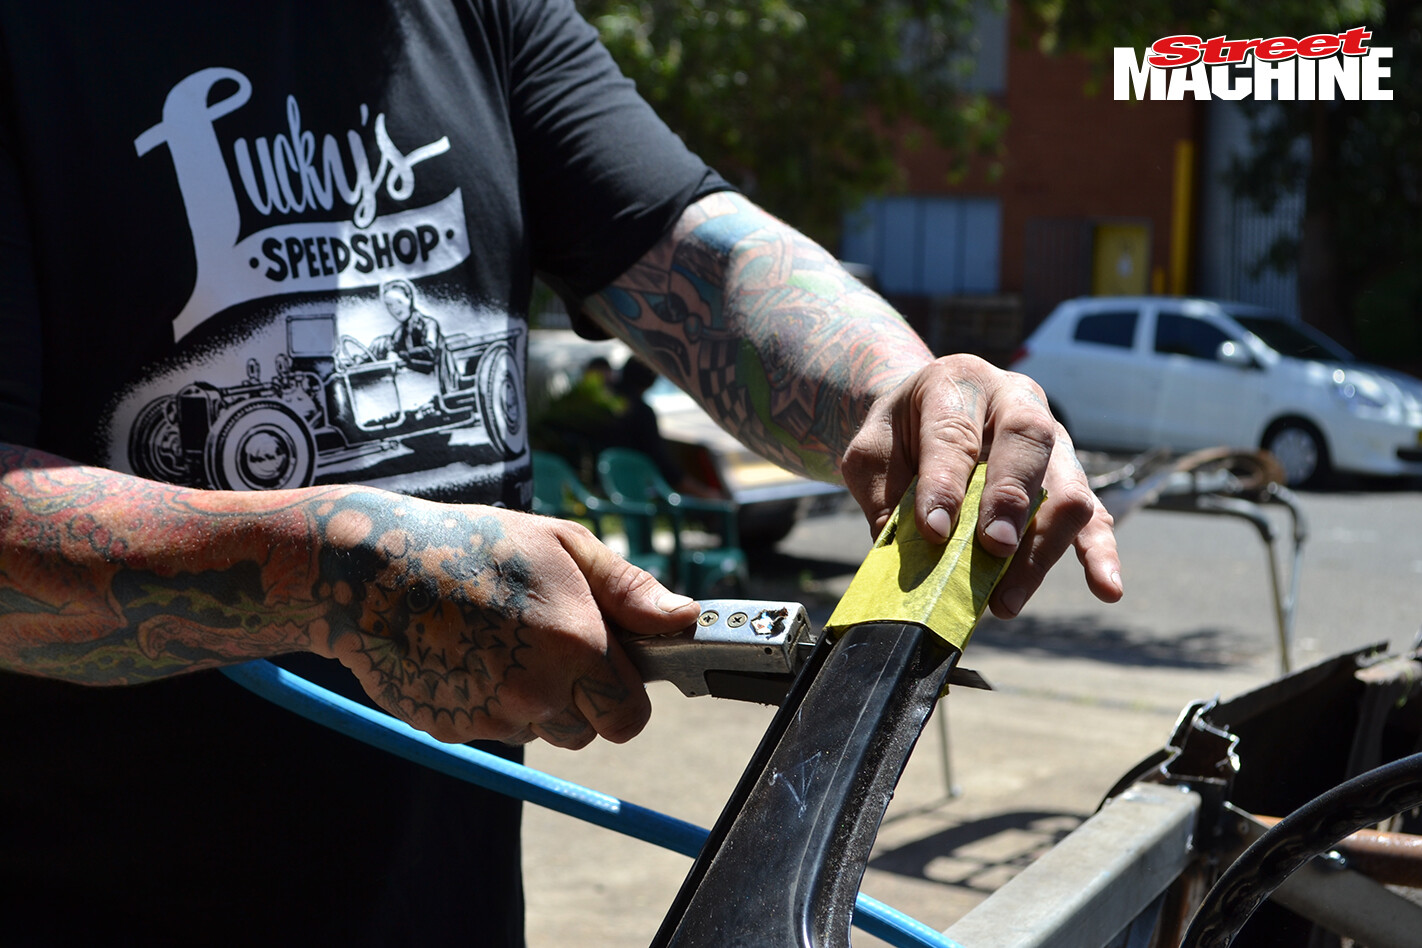 The pillars had already been plunge cut with the disc and now Ben finishes them off the air saw. Ben then slides a piece of box section inside the each A pillar and pop rivets it in – this will act as a guide and structural support when the roof goes back on.
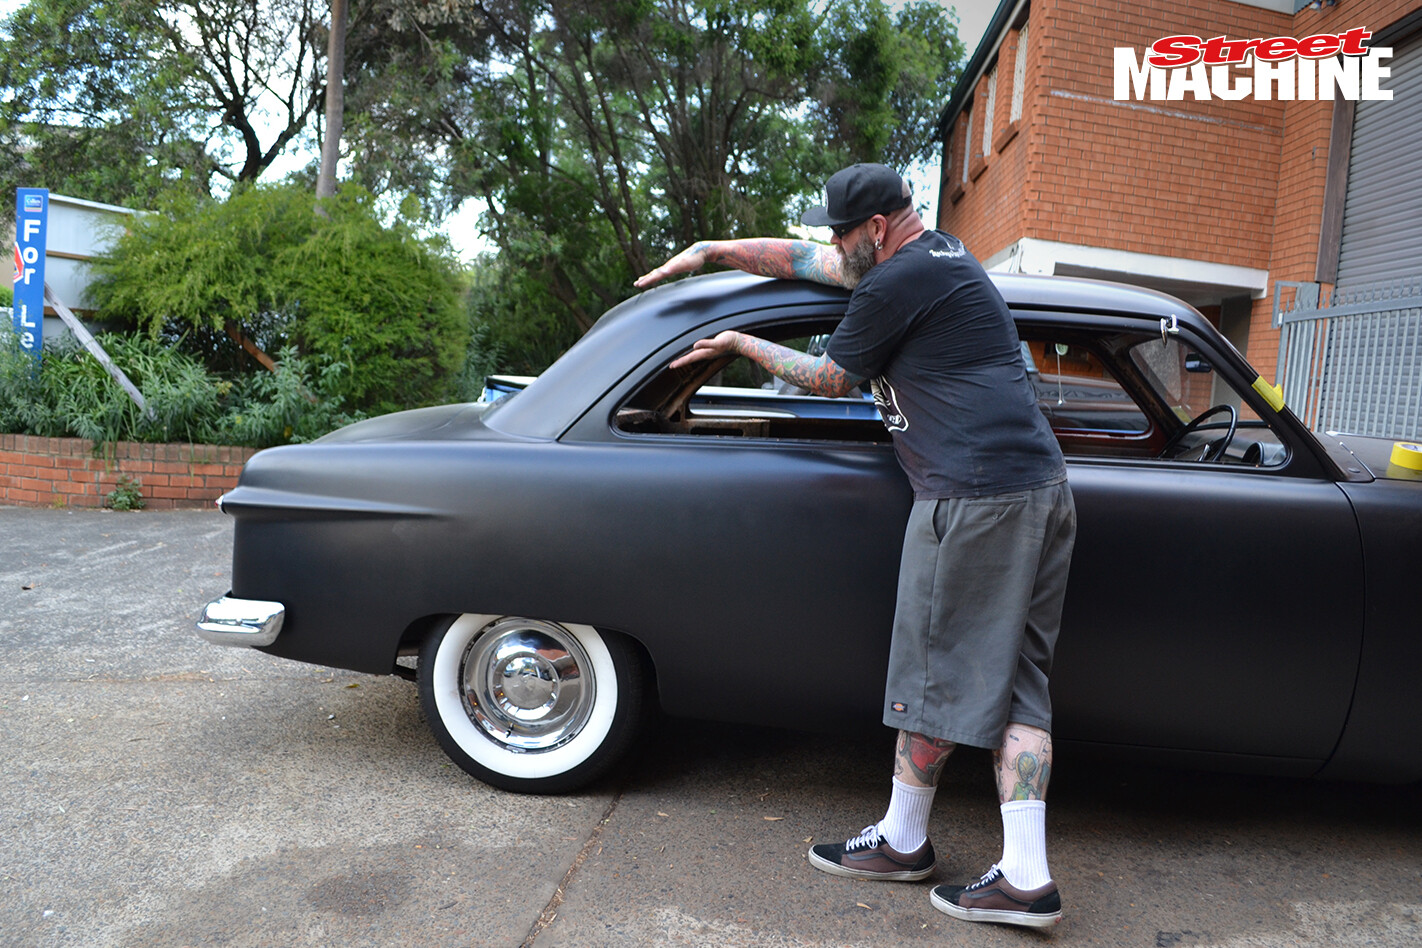
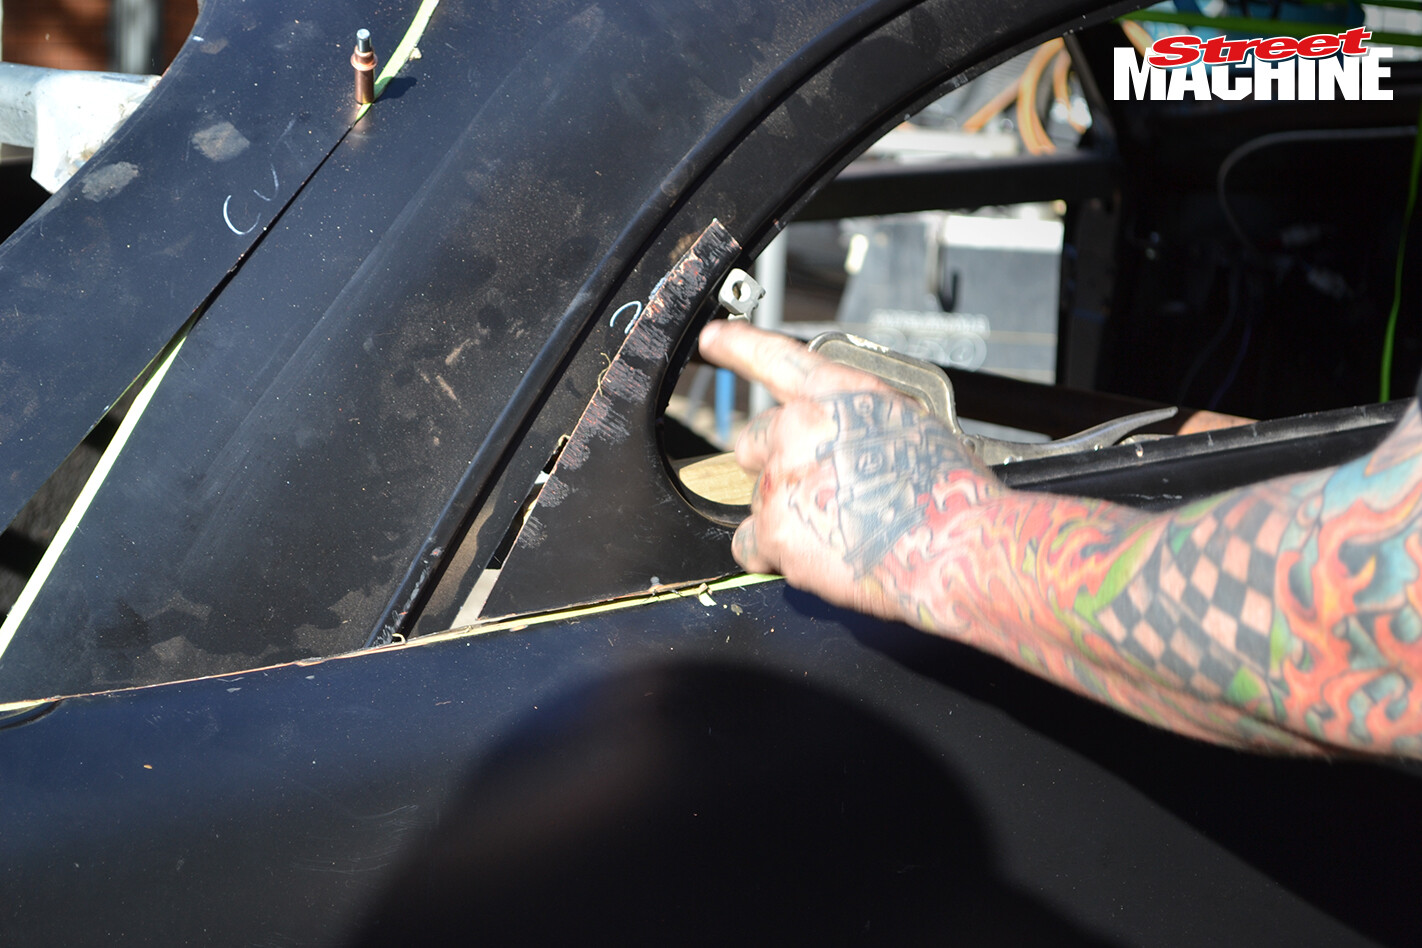
 The roof is lowered back onto the A-pillars – but there are still two things undetermined – the height of the turret at the C-pillar and the final position of the rear window. This means raising and lowering the rear of the turret using wood blocks and shims to find the ‘right’ roofline – this is something that needs to be done by eye. It takes probably 20 minutes of adjustment, and trimming of the rear window surrounds before we hit upon the ‘perfect’ roofline. Once in place the Ben uses deep C-clamps to hold it in position. Fineline tape is used to pull lines across the turret so that we could sit back and confirm the roofline we wanted
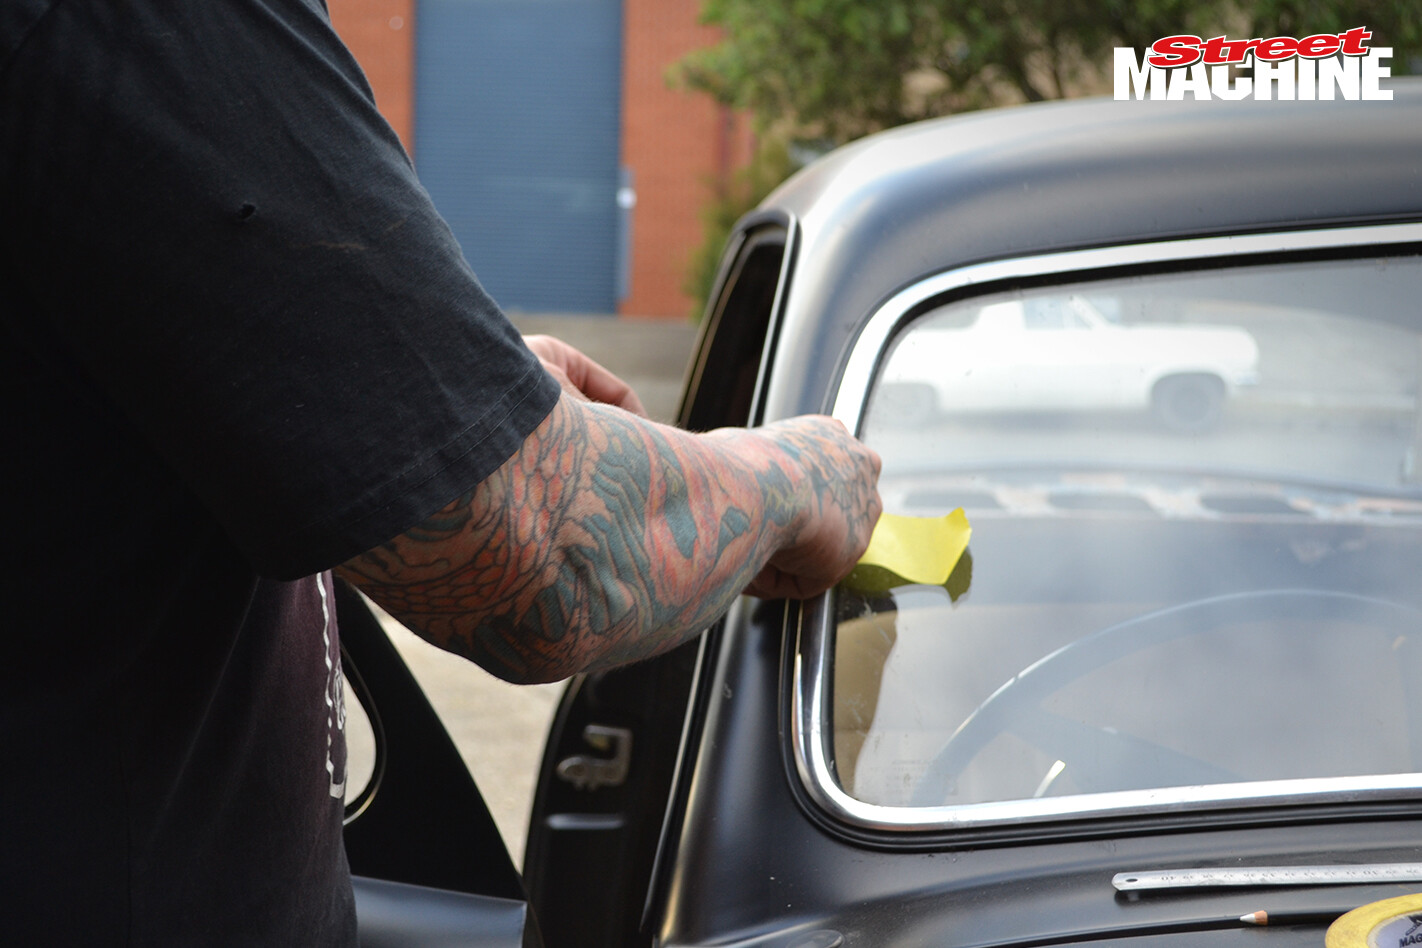
 The window corners are stretched to make them fit the new opening.
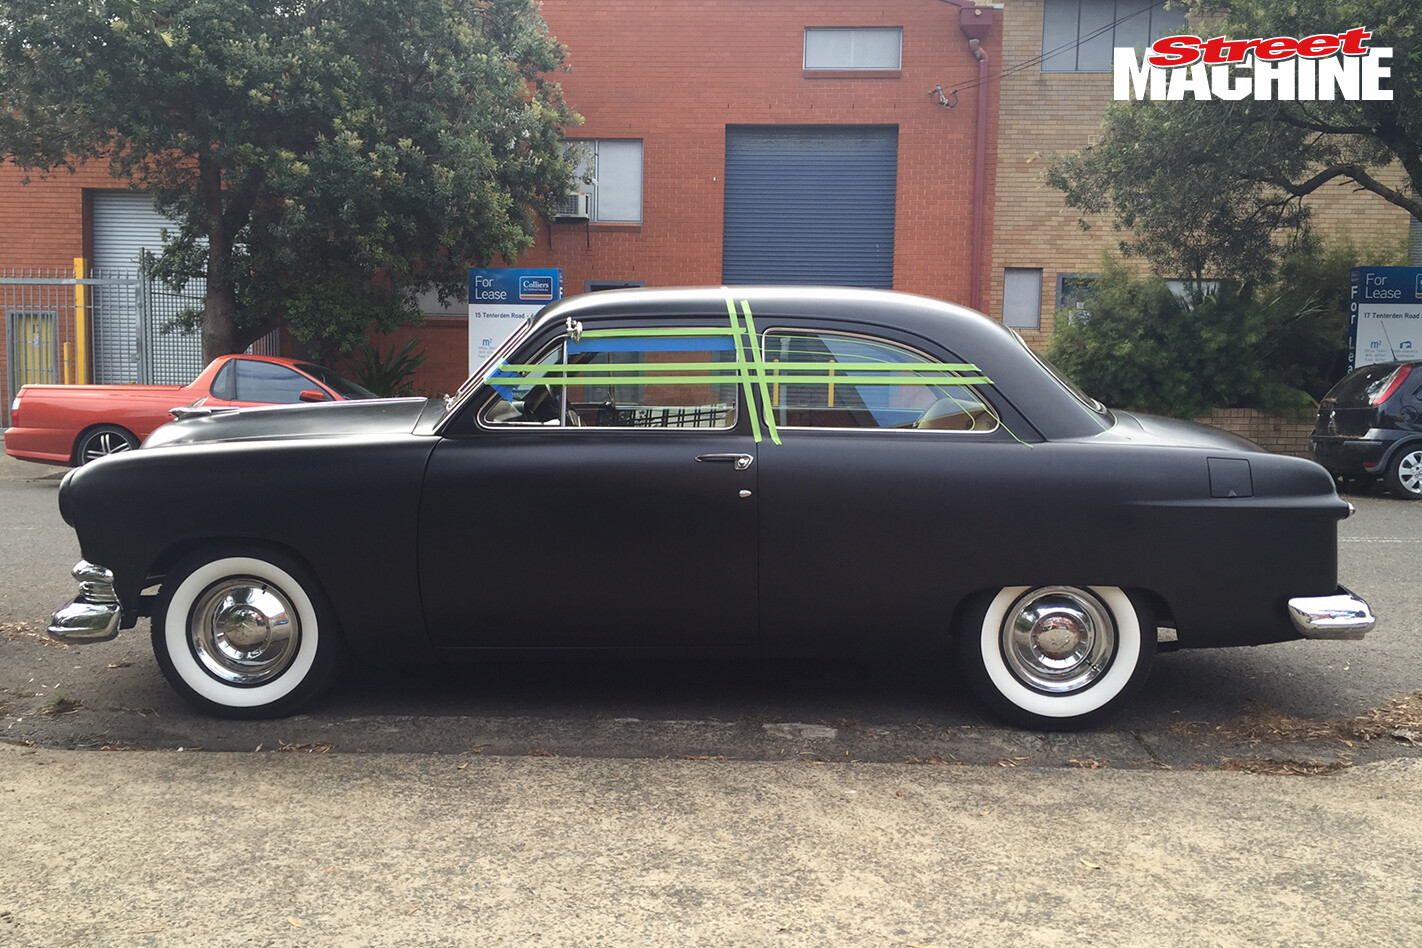
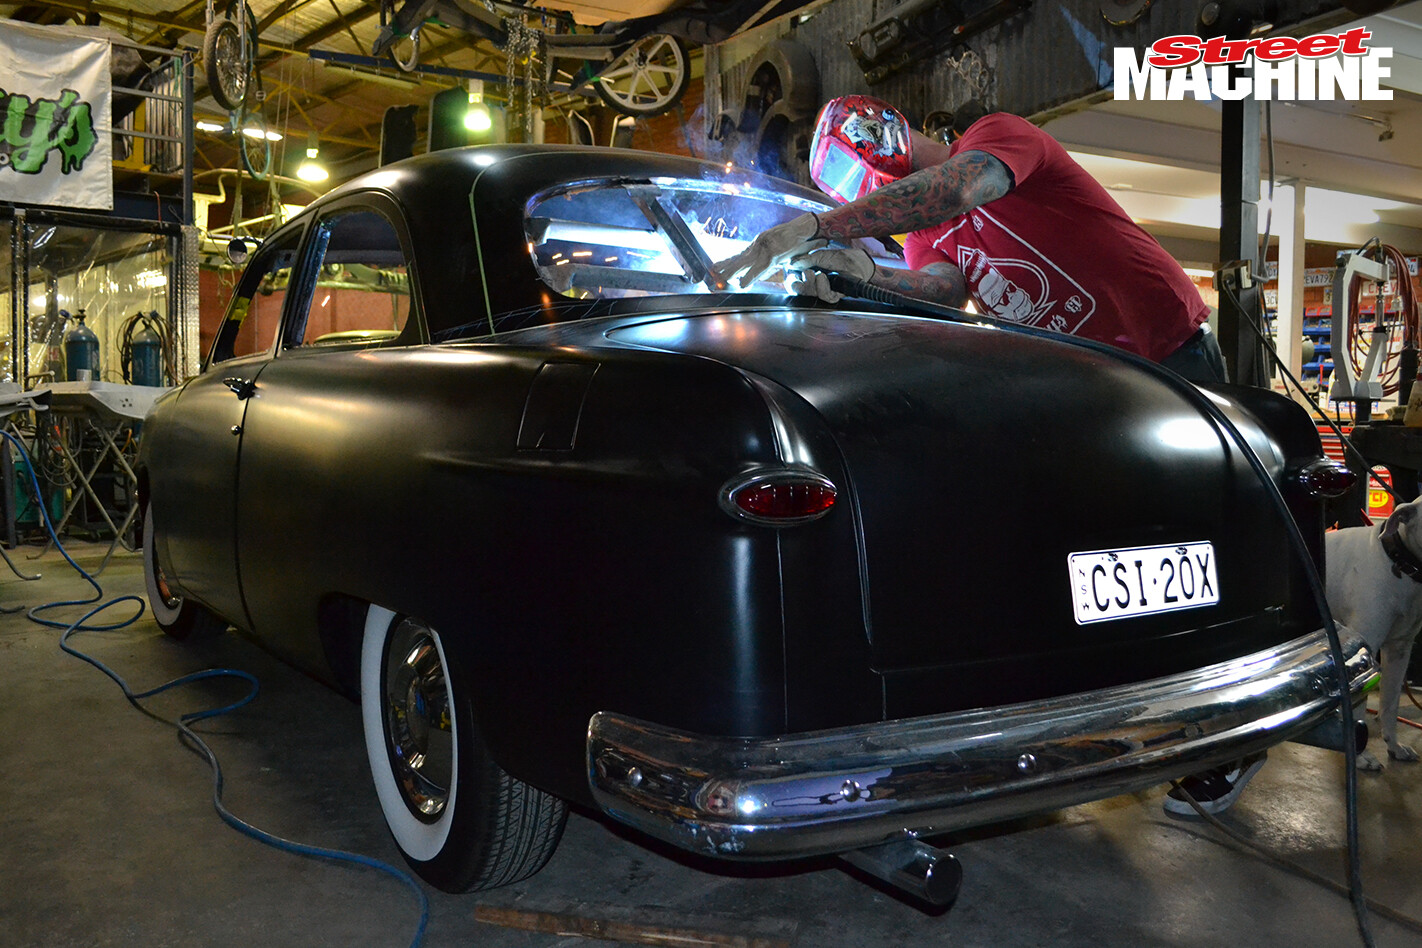
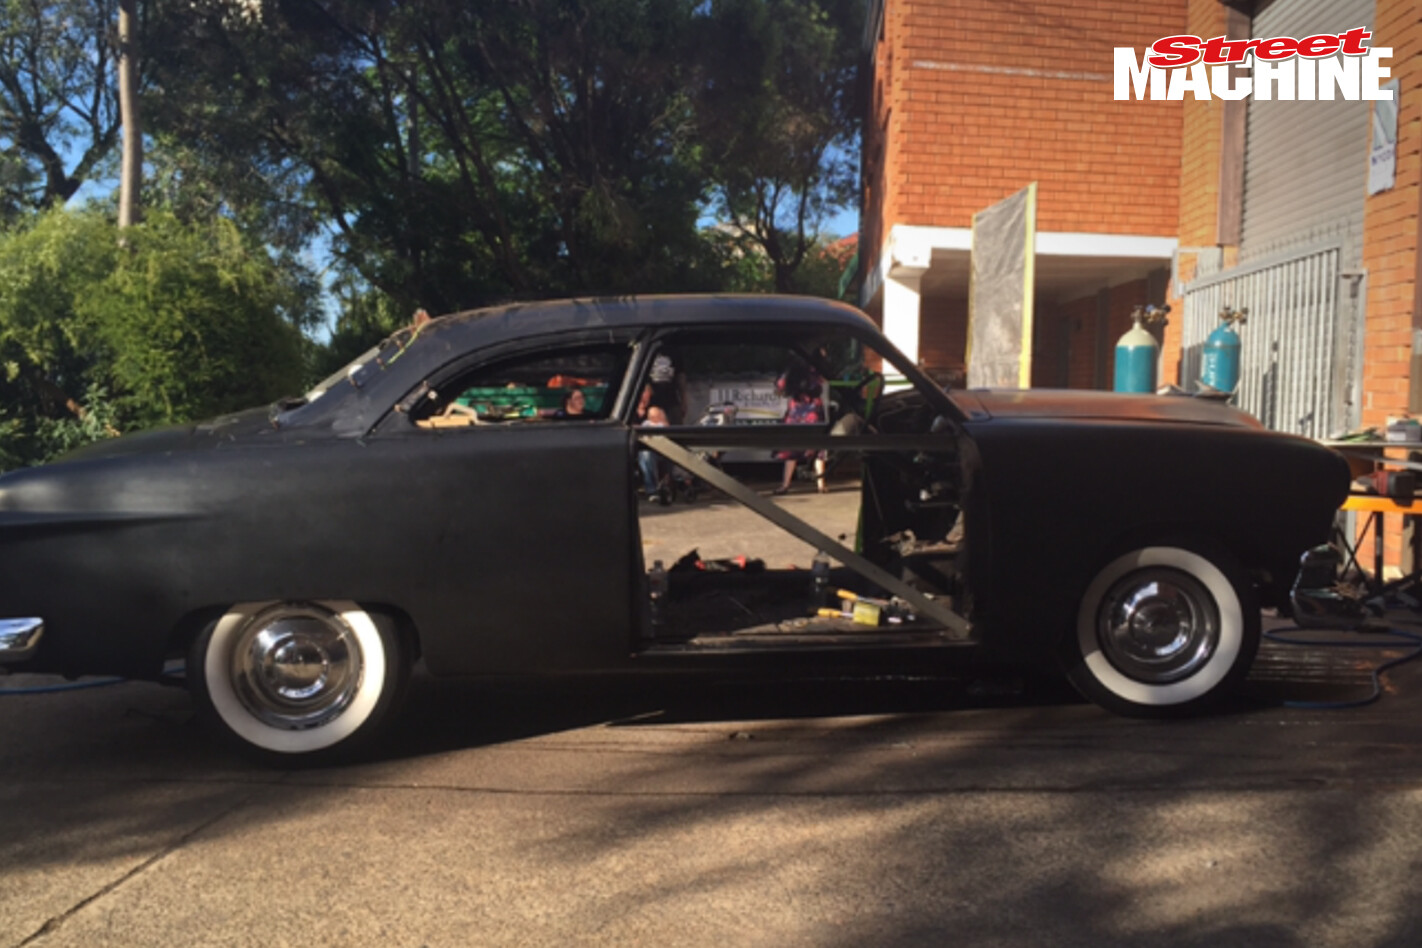 This is the finished product, minus the doors and a few other bits and pieces.
This isn’t the first chop to have been done in front of a crowd, but it’s a different feeling when it’s your own car getting the haircut. What’s voyeuristic entertainment for the onlookers is a pretty anxious experience for the owner.
Ben and his crew were cool, calm and collected though, so a massive shout out goes to the entire Lucky’s Speed Shop team for taking on this job, working around the clock, and totally nailing it.
Now the work begins and there’s heaps left to do – the doors and window trim need to be cut now, and the roof needs to be welded, followed by new paint. There’s also the new glass that needs to be fitted and a whole bunch of other incidental stuff like lowering the seats.
But a tricky part is done – that is finding that absolutely killer roofline that we wanted. Tough but practical – and nobody’s going to think it’s restored vintage car any more.
Comments