Gear

Gallery15
ROLLING the 4WD into the shed, popping the bonnet and laying out the hand tools is a sure-fire sign you’re in for a day of Man versus Machine: fighting against your pride and joy to make it do something it’s never done before and, in many cases, something it was never designed to do in the first place. Despite the seemingly endless amount of money manufacturers pour into the R&D of late-model 4x4s, the reality is they very rarely get things exactly right.
So, in the ever-pressing matter of making diesel 4x4s meet restrictive emissions laws, manufacturers are constantly looking at means to drop all sorts of pollutants, and the results aren’t always pretty. We’ll be going through the ins and outs of carbon build-up and how it affects your 4x4 and run through a step-by-step guide on how to get your engine breathing freely again and ensure it stays that way.
TWO’S A CROWD
15
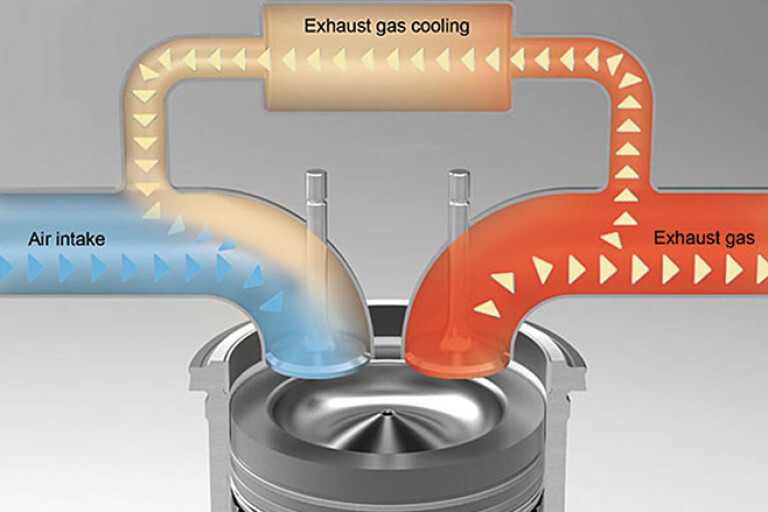
THERE’S a variety of things spewing out your exhaust, and each one requires a different approach to minimise the harmful effects. You remember major cities being under a constant haze of smog through to the 1990s? It’s caused in no small part by NOx, a catch-all phrase for the various oxides of nitrogen that combustion engines produce as a by-product.
They’re relatively easy to fix, though, by slightly lowering the combustion temperatures below the point where NOx can form. A few decades ago manufacturers figured out that by rerouting a small proportion of spent exhaust gases back into the intake, the inert gases would replace a small amount of oxygen; just enough to drop intake temps and stop the vehicle producing smog. The reduction in power was negligible and the effects on air quality massive. The only real downside is the fine exhaust particles would apply a thin coat of carbon on the intake.
A completely unrelated issue inside an internal combustion engine was the small amount of oxygen that can squeeze past the piston rings on compression cycles, which pressurised the engine block and forced oil out past the seals.
15
Originally, it was just accepted that engines would leak some amount of oil. Adding a breather to the top would stop the seals blowing out but redirect the oil-air mixture through the engine bay. When engines needed to operate underwater, a closed system was introduced that’d take the oil-air mixture and plumb it back into the intake. The only real negative was a thin film of oil on the inlet.
The problem is, when the two combine they turn to sludge; thick, cancerous, caked-on sludge. Sludge so thick it can take the better part of a weekend just to get it out. Let’s begin.
Step 1
15
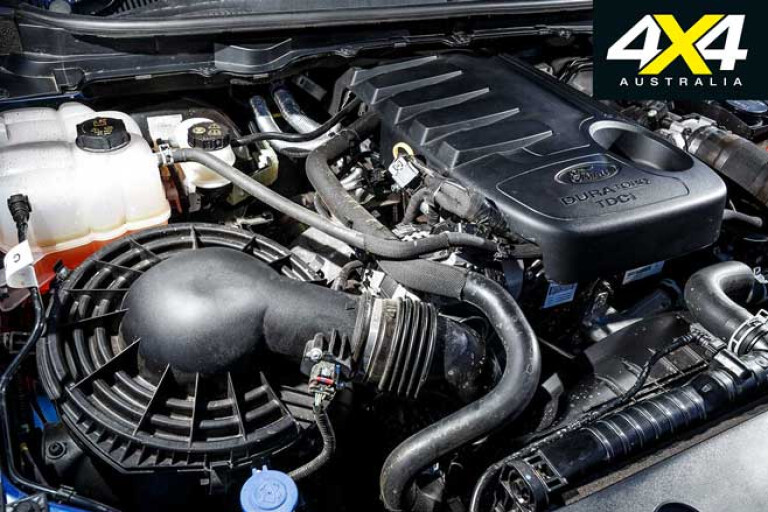
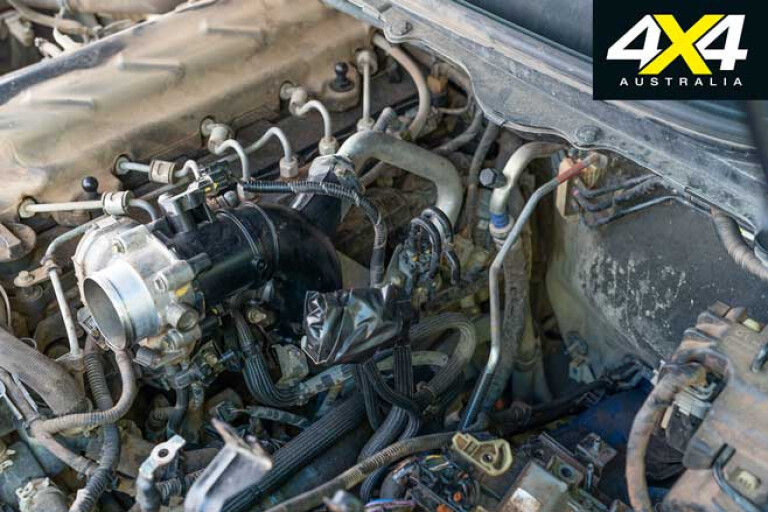
BEFORE we could even begin accessing the intake side of our engine, we needed to ascertain exactly where the exhaust gases and blow-by would meet. The blow-by is easily identifiable by looking for a hose running from the top of the engine cover to the air-intake system somewhere.
On our 2016 Ford Ranger the hose ran to just behind the air-box, meaning anything between that hose and the cylinder head would be covered in oil. From here we located the exhaust gas recirculation system; a steel pipe running behind the head, through a cooler and into the intake was what we were looking for. At this point the two pollutants would meet and our problems would begin.
Step 2
15
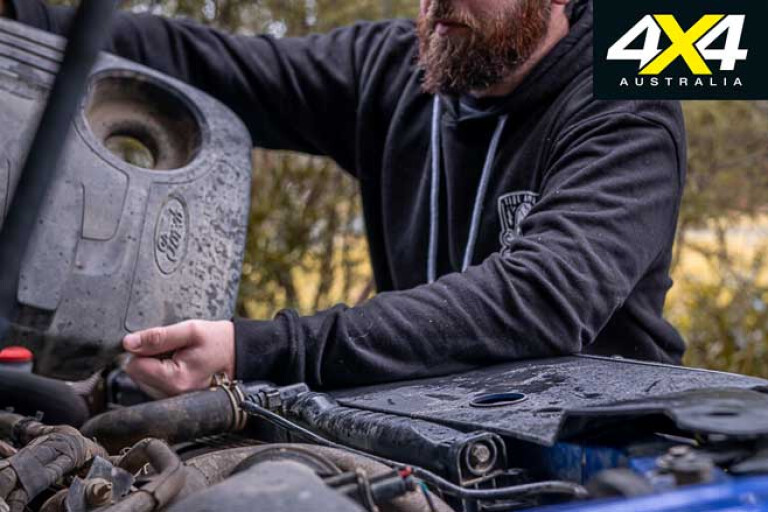
MODERN 4x4s have a lot of stuff crammed in the engine bay. It means accessing anything more complicated than the oil cap becomes an operation of military complexity. After identifying exactly what we’d need to remove, we needed to actually get access. Rather than risking snapping vulnerable plastic components we instead removed nearly everything from the intake side of the engine bay.
This necessitated removal of the battery and fuel filter system. In typical fashion the fuel filter bracketry was held on beneath the fuse box and ECU, turning a quick job into a few hours of swearing and busted knuckles. If it was easy everyone would do it, right?
Step 3
15
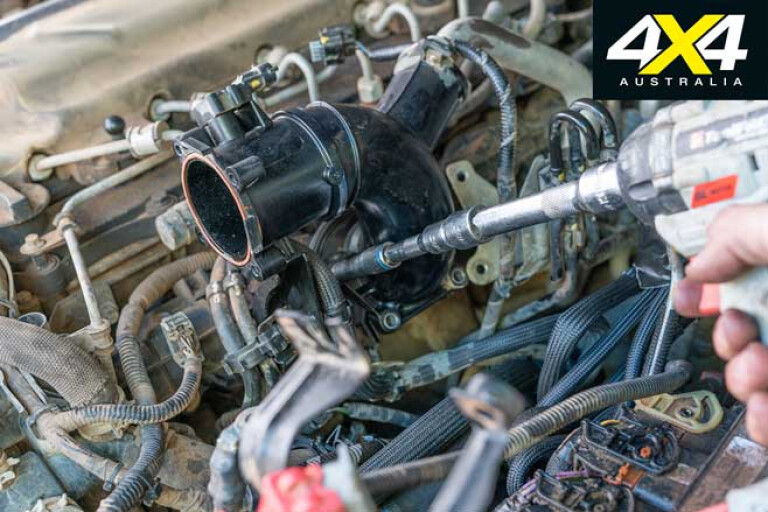
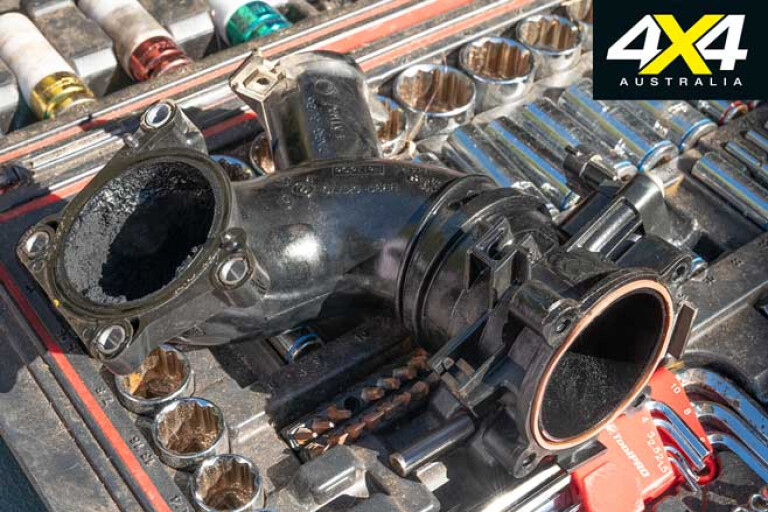
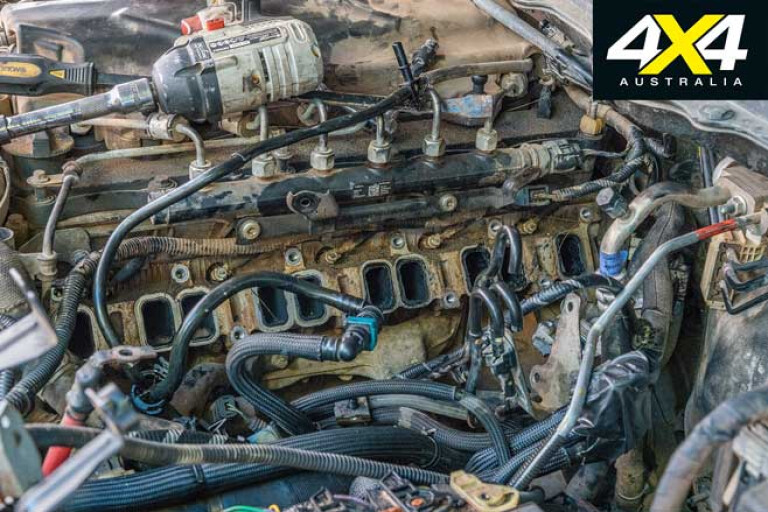
ONCE we’d given ourselves access, we needed to remove the affected components. As you can see here where the two meet, the otherwise harmless build-ups combine drastically and reduce the volume of air you can move through the intake, and reduce power in the process.
In our case, the affected pieces were relatively simple. A small section of piping, the throttle body and the intake manifold itself would need to be removed. To completely remove the intake manifold we also needed to remove the EGR pipe. Ours used Torx drives, so ensure you’ve got the right tools before you start pulling things apart.
Step 4
15
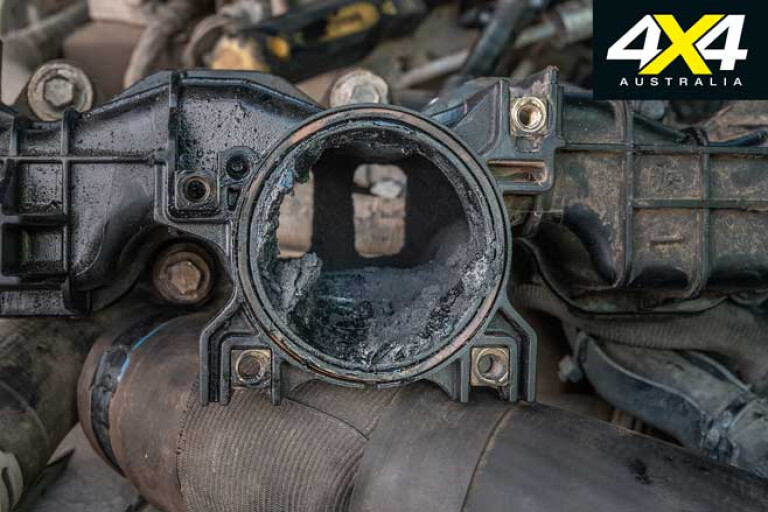
PERFORMANCE guys familiar with the benefits of porting and polishing heads for improved airflow would be cringing at these images. Just 5mm around the edge of a 100mm intake pipe is a huge 19 per cent restriction on area and, as a direct result, how much air can be pushed through the engine.
There are a few techniques people recommend to remove the carbon build-up, and we figured we’d start with the old housewives tale of oven cleaner. We weren’t allowed in the kitchen so instead settled for a camp table in the driveway and a few cans of oven cleaner liberated from inside the house.
After soaking the insides of the intake manifold for hours we headed inside to congratulate ourselves on a job well done, with plenty of celebratory beers and back-patting.
Step 5
15
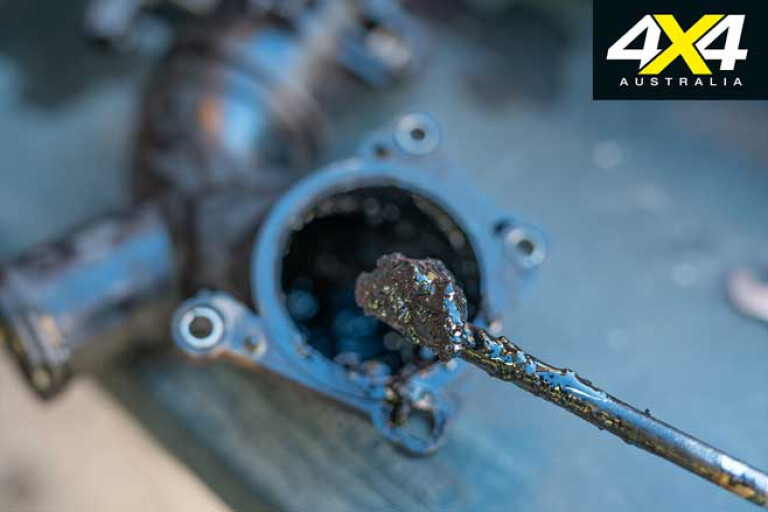
WE WERE wrong. The oven cleaner, while somewhat effective at dissolving the carbon build-up, wasn’t anywhere near powerful enough to break it down to wash out. With just the surface of the build-up breaking down, and up to 10mm in some corners, we called in the heavy hitters. A spoon from the kitchen and an old toothbrush we probably won’t use again … maybe.
The next hour was spent scraping the now paste out of the manifolds, before a final soaking of oven cleaner was able to break up the remnants. If you’re doing this yourself, don a pair of rubber gloves and dig in with a spoon beforehand. Solvents are best used as a final clean rather than tackling the full build-up.
Step 6
15
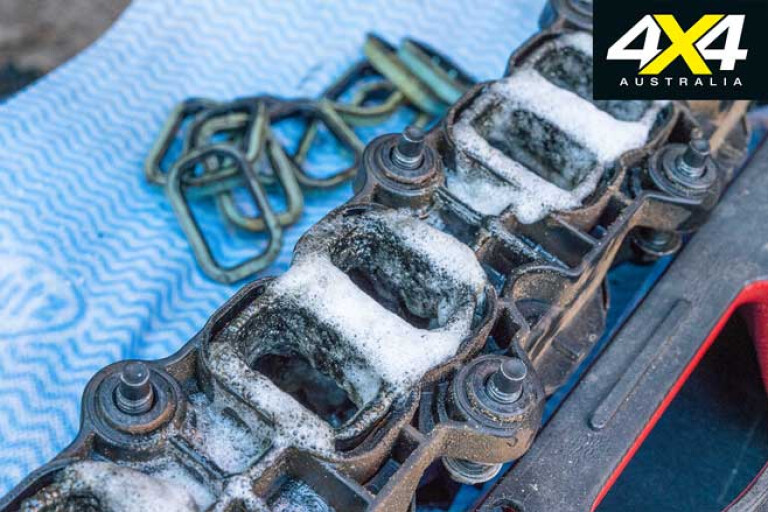
WITH the dreaded carbon build-up cleaned out of the intake system, simply reverse the process to reinstall the individual components. Most cold-side gaskets in modern 4x4s are reusable so won’t need replacing. If your gasket has swollen since removal, boiling water can be used to temporarily shrink them enough for reinstallation.
For the science nerds at home doubting this, the long chains of molecules in rubber react different to most others, contracting and tensing when heat is applied and relaxing and expanding when cooled.
Step 7
15
WITH everything reinstalled, prime the fuel system two to three times before firing it up. Air bubbles can form in lines if you’ve had to remove them to gain access to the manifold, and they’ll need to be pushed through. If you’ve done a thorough job of removing the contaminants your engine should spring into life spritelier than ever.
Ours not only immediately had noticeably better acceleration off the line, it also pulled harder at speed with the restrictions gone. We’ve even picked up a 1.2L/100km fuel saving, too, showing just how much the clogged inlet was choking things up.
Step 8
15
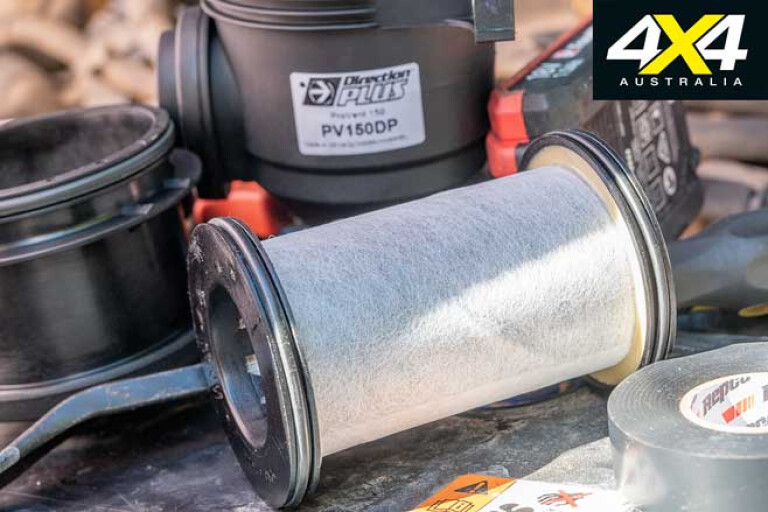
BEFORE we could get started with the nitty gritty we needed to find where the catch can was going to live. We went for a twin kit from Direction Plus that included a ProVent 150 catch can as well as a secondary fuel filter that’d alert us to any water contamination.
The arrangement filled essentially the only free space left, so look at options available for your 4x4. Typically kits will provide the most efficient system, but if you’re driving a 1973 Lada Niva you may need a generic kit and a bunch of cable ties.
Step 9
15
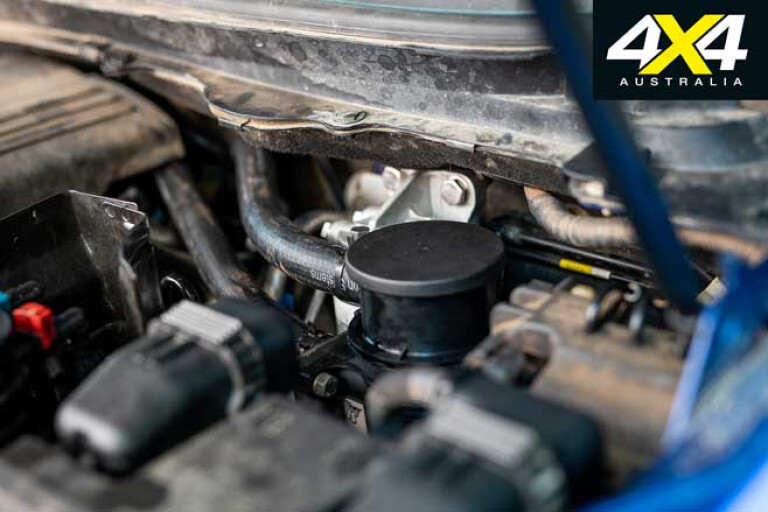
WITH the catch can mounted securely in place, the positive pressure line from the top of the engine was tapped into, routed around the back of the head and plumbed into the catch can. From here, the oil-misted air runs through a cartridge filter that separates the oil, before depositing it into the internal sump of the can.
Step 10
15
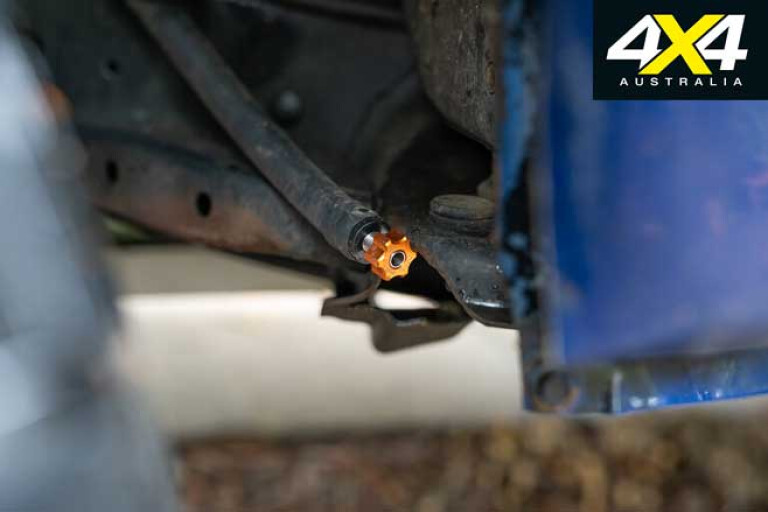
OF COURSE, that oil needs to go somewhere and can’t build up inside the catch can forever. Beneath the can is a length of hose with a tap on the end. We chose to run the hose down inside the passenger-side wheel-arch for easy access.
Every few thousand kays it’s as simple as pulling the hose out of the frame rail, opening the tap and pointing the spent oil into a container. For those looking to complicate their lives, the drain can be plumbed into your engine’s sump for a closed system that requires nothing more than periodic filter changes.
Step 11
15
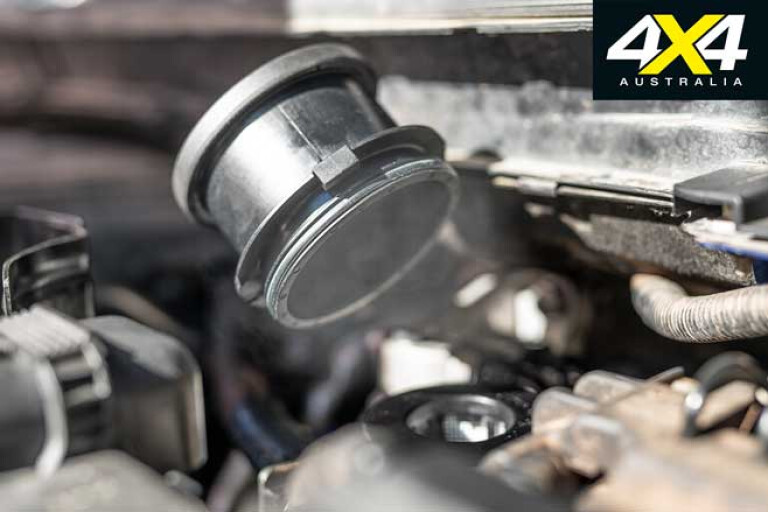
THE FINAL step of the catch can installation was to give the now oil-free pressurised air somewhere to go. We simply ran the included hose behind the head again, before tapping into the original line and back into the airbox. The crank case can now vent as required without causing any pollution issues, or allowing an easy path of ingress into the engine on river crossings. The EGR system is still in place to reduce smog emissions, and it now passes harmlessly through the engine without anything to sludge it up.
While this DIY job is relatively straightforward, it more serves as a reminder that a catch can should be one of the very first modifications made on a brand-new vehicle. The longer you’re running without one, the more digging you’ll need to do with a spoon.
FIXING THE ISSUE
15
WE BUILT up that level of carbon in a little over two years. Unless you’re a masochist, chances are you won’t be keen on repeating this process every couple of years. To ensure it was a one-and-done kind of affair, we set out to rectify the issue.
Option 1: disable the EGR system. The pros are, without carbon to catch on the oil, the intake would remain mostly clear. The cons are, it’s horrendously illegal, and if we all did it Australia would look like downtown Beijing thanks to air pollution.
Option 2: remove the oil by redirecting the factory breather into the chassis rails. Without oil to stick to, the carbon should pass through the intake and out the other side. The cons are, again, it’s illegal, and it’ll leave an oil stain wherever we travel. It can also potentially cause the engine to suck water in through the hose in deep river crossings.
The decision was pretty simple. A catch can is effectively a filter on the blow-by hose, catching the pressurised air and removing the oil mist to give the carbon nothing to stick to. It removes half of the ingredients needed to cake your intake manifold in crud.
Please enable JavaScript to view the comments powered by Disqus.
COMMENTS