
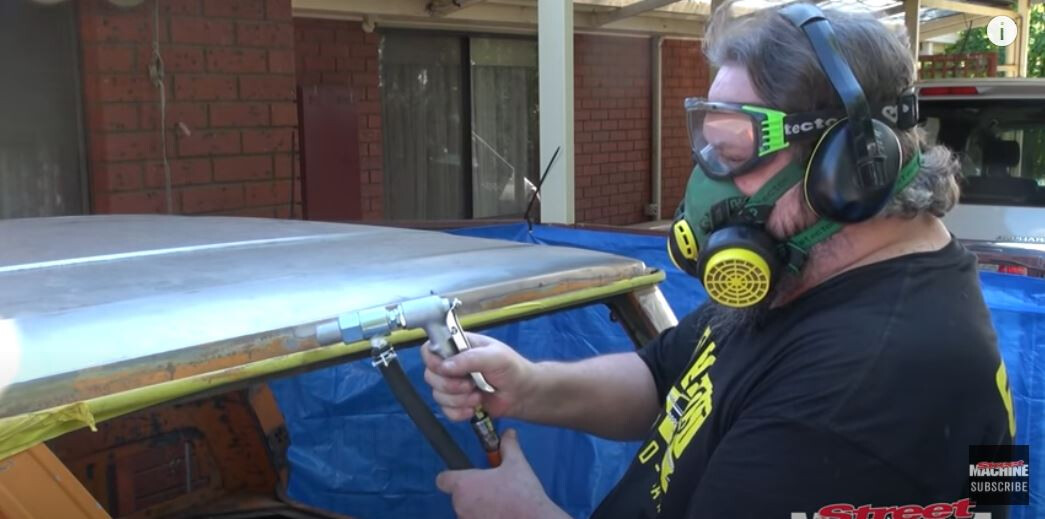
VICTORIA’S COVID-19 lockdown has kept Carnage presenters Kian and myself out of the workshop for the past couple of months. However, there’s still work that needs to be done, and the fans on YouTube are still hungry for content, so I decided that now was as good a time as any to mini-tub my 1968 VE Valiant Safari project wagon.
This article was first published in the December 2020 issue of Street Machine
The Lockdown Wagon rebuild started with a very rusty $500 wreck that had dents all over and massive holes in the floorpans, but I have been gradually cutting out all the rust and building it into a tough street-and-strip cruiser.
With the rust all gone, it’s now time to start with the mods. Rather than split the existing tubs and weld strips down the centres, I decided to grab a complete mini-tub kit from McDonald Bros Racing. The kit is about $290 plus freight and can be fitted at home if you’re handy with a welder and grinder.
STEP-BY-STEP
STEP 1. The McDonald Bros Racing universal mini-tub kit consists of a single side panel, which you will need to cut into two, and two top panels. The side panel is 1.2mm thick, while the top panels are 1mm-thick steel. McDonald Bros also has mini-tub templates for many popular Aussie cars.
STEP 2. We measured the wagon before ordering and chose the universal round-shouldered tubs with a 65mm roll and 800mm overall diameter. McDonald Bros also makes 830mm with a 60mm roll and 800mm with a 150mm roll, plus square-shouldered tubs for the traditionalists.
STEP 3. My wagon is also in the middle of getting a quarter panel swapped over, but I was waiting on a patch panel for the rusty lower inner-rear quarter, which is why the quarter panel is missing in these photos. You can find videos of the quarter panel replacement on the Carnage YouTube channel.
STEP 4. The factory tubs have served for more than 50 years, but they’re limited to a 245 radial. I want a lot more rubber under the rear end. Enlarging the tubs is only half the job – I’ll also have to move the leaf springs in under the chassis rails for maximum clearance.
STEP 5. Cutting out the original tub is a 10min job with this air chisel from Hare & Forbes MachineryHouse – it cuts through the thick Valiant sheet metal like butter. The first cut takes out the top half of the tub; then a second cut removes extra material out to the chassis rail.
STEP 6. Cutting all the way to the side of the chassis rail opens up the top corner of the rail – we fix that in the next step. Now is the perfect time to clean up all the sheet-metal faces for the best possible welds. Welding on painted, dirty or rusty metal doesn’t work. Clean it first!
STEP 7a. Welding the corner where the chassis rail meets the floorpan is a mongrel of a job, but it has to be done. We use clamps to close the gap and weld the edge carefully before grinding it back for a straight and clean finish.
7b. You can also see how far the leaf spring will need to be moved later.
STEP 8a. Next we cut the side panel into two halves and clamp one to the chassis rail. It’s important to spend some time getting the panel in the right spot, because it needs to be perfect.
8b. Then we mark out the bottom of the chassis rail on the side panel and trim the overlap to size.
STEP 9. Once the side panel is trimmed, it’s repositioned in the same place and art cardboard is used to make a template for the top panel. We have to cut the cardboard into a couple of lengths and join them together to make a piece long enough for our template. It’s vital to not rush this stage and allow enough extra material for panel overlap.
STEP 10. We find that cutting the side panel in two leaves a gap at the back corner. Depending on floorpan shape, some cars will have this problem while others won’t. If you want the neatest job possible, spend a bit extra and buy two side panels. On this project, the missing part will be filled with scrap metal and it’ll sit out of sight under the wooden boot panel.
STEP 11a. The cardboard template is used to mark out the correct shape of the top panel. Spend as much time as you need here to get the precise fit – it’ll save you a lot of heartache later.
11b. We use Ryobi Airwave shears to cut the panel into shape; they make short work of the long cuts and don’t distort the panel.
STEP 12. McDonald Bros recommends using a large tyre to help form the top panel into shape, so we employed this old Ford Territory wheel. Go easy here; if you’re too aggressive you can kink the panel. Once you have the shape right, clamp the top panel to the side panel and tack-weld them together, using the recessed lip on the top panel as a guide. We tack them on top, but in hindsight we should have tacked them from underneath for a neater finish.
STEP 13a. Once the tub is assembled, drop it into position from the top and clamp into place. Magnetic welding triangles and adjustable clamps are your best friends on a job like this.
13b. Getting the positioning right will take some time – the second wheel tub is actually harder to position as you’re trying to get both tubs even.
STEP 14. We use Ryobi 18V tools for a lot of the stripping and final trimming work. They’re well-priced enough that it pays to have a couple of grinders set up with different discs, saving you time by not having to constantly change discs back and forth. We have three set up for cutting, grinding and stripping.
STEP 15. In the Carnage workshop I use the Unimig Viper 182 MIG welder from Hare & Forbes. It’s a fantastic little unit with a 10A household power plug that’s adjustable from 30 to 180A and can even be used for MMA arc welding for jobs that don’t require MIG. Perfect for the home enthusiast.
STEP 16. Once the tub is correctly positioned and tacked into place, it’s time to fully weld. Take your time and weld an inch or two at a time. Too much heat in one spot can warp the panels, so move around and use compressed air to cool things down between welds.
STEP 17. I fully weld the seams between the top and side panels, but the team at McDonald Bros don’t feel this step is necessary. They recommend a series of 25-50mm stitches from underneath and some seam sealer for the best finished result. That part is up to you.
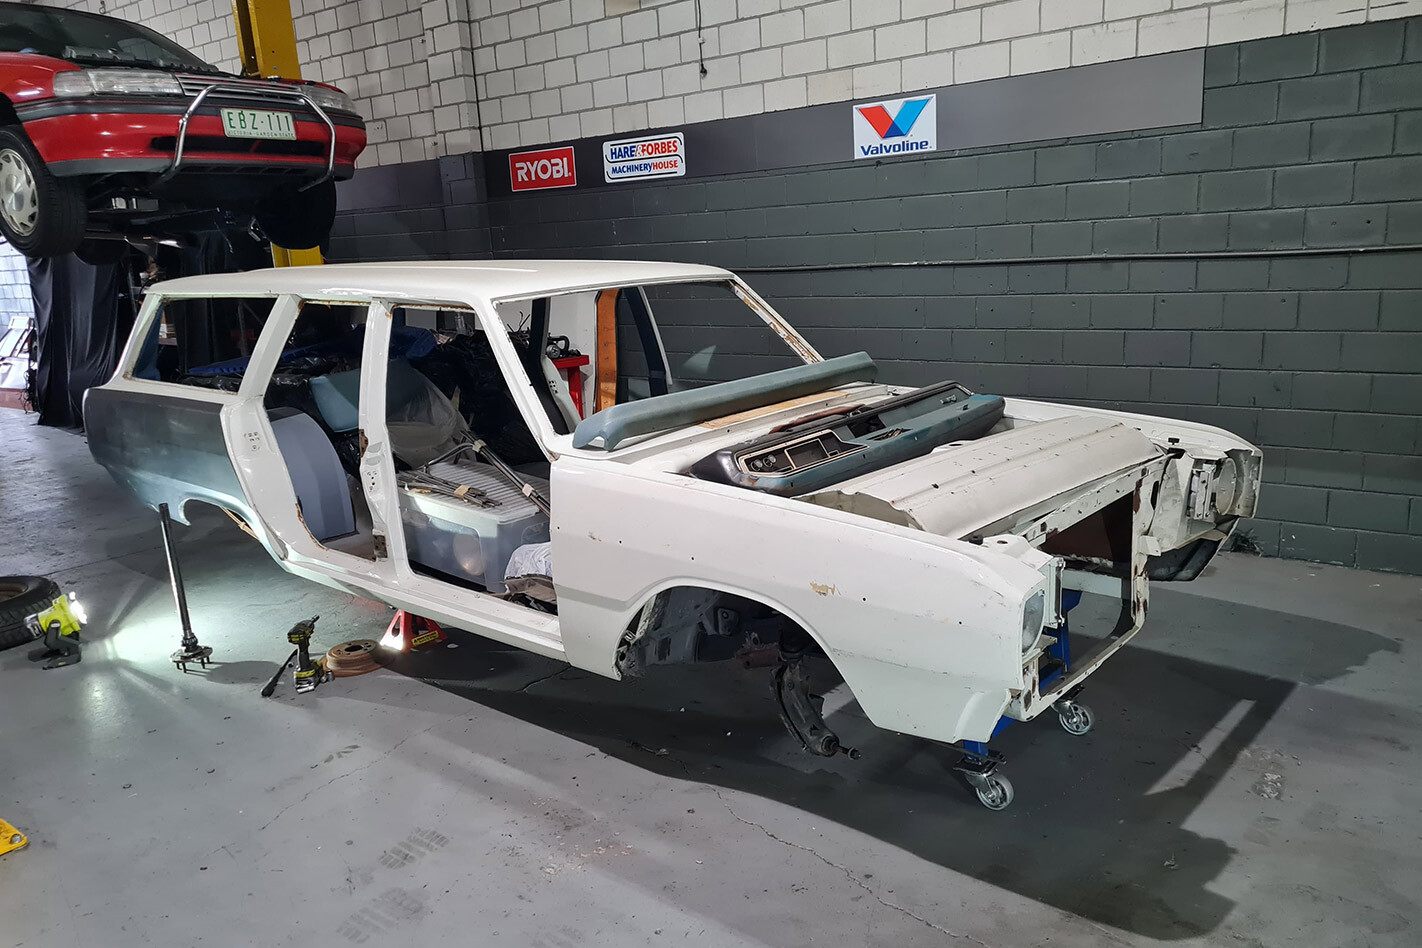
STEP 18. Here’s the finished product. From the chassis rail to the wheelarch lip we have 375mm of clearance. This means that we can easily fit a 315 or 325 tyre once we relocate the leaf springs, which is the next major job on my to-do list!
Comments