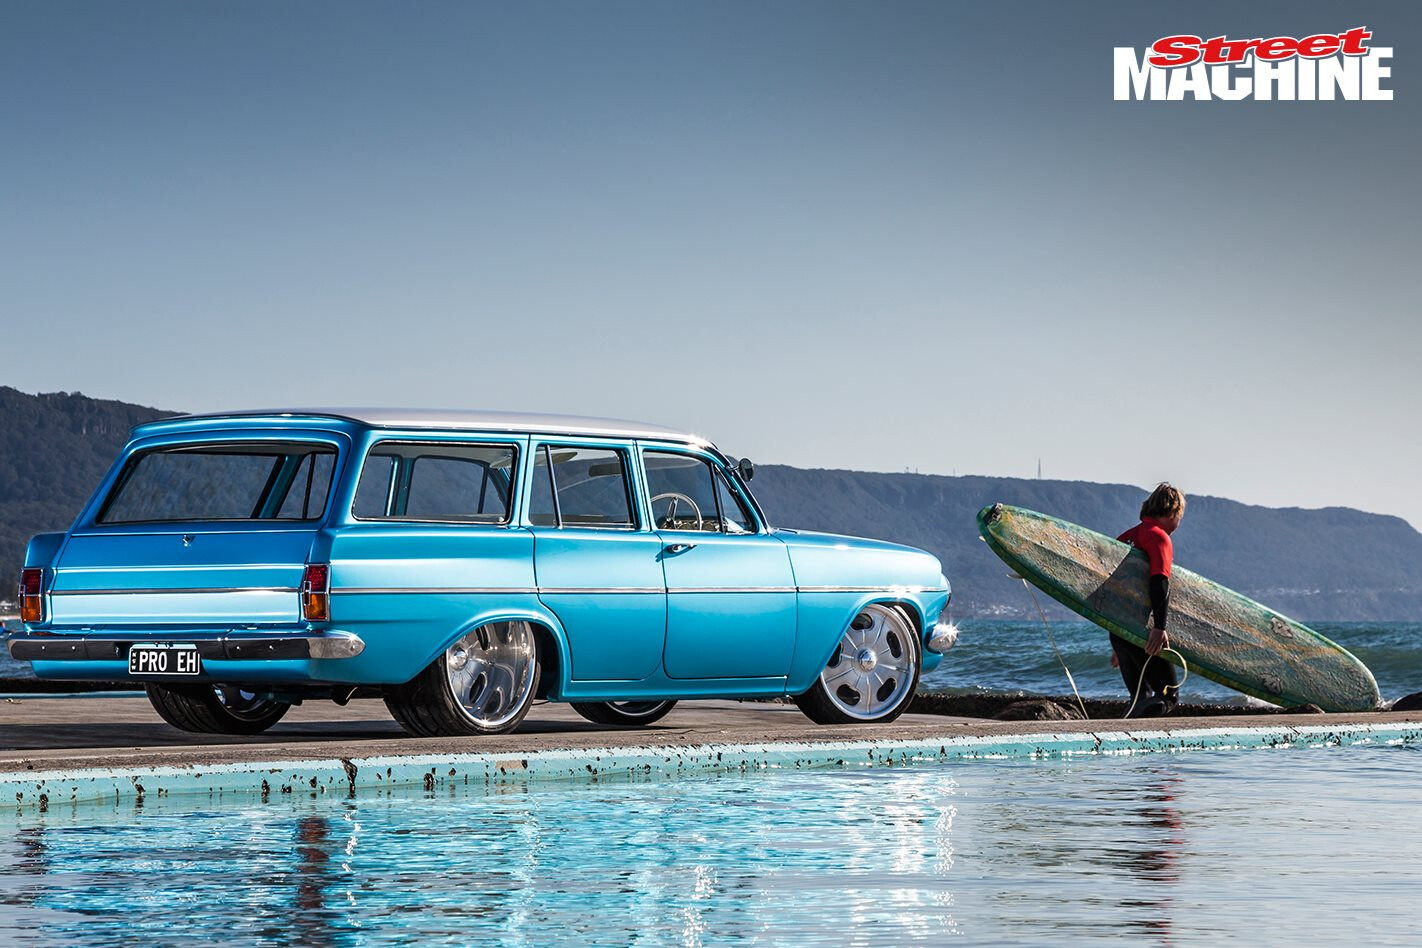
WHEN it comes to EH utes and panos, I can’t help but feel a little sad that they didn’t get the sexy rear end that EH sedans and wagons did. Sure, the guys at GM-H had their reasons for it, but it’s always been a massive ‘what if?’ in my mind. So when Tim Bubb submitted this concept for the Expression Session, I was excited to help explore how a proper EH rear end could look on a ute.
Tim’s initial brief was pretty simple, but no easy feat, either: “What if Holden had styled the EH ute similar to an El Camino?” Based on Tim’s initial scissors-and-paper rendering of an EH sedan cut into an El Camino, the job was going to entail a two-door conversion, extended quarter panels and the C-pillars moved forward, along with a custom tray to accommodate the massive rolling stock and allow the finished car to sit on the deck.
First published in the September 2021 issue of Street Machine
To start, we set up a group chat with everyone involved in the project: Tim Bubb, owner of the vehicle, chassis fabricator and owner of Speed & Kustom Automotive; Grant Maclean and Phil Kirby from Auto Craft Collective, the coachbuilders for the project; and Todd Sorensen from Rocksolid Autobody, who will do body and paint. Here, Tim laid out his vision in more detail, showed us where the chassis rails sit, and flagged some other design constraints.
Starting with a 3D model of an EH sedan, I joined the rear door (excluding the door frame) to the quarters, joined the bootlid to the rest of the body, and split the back half of the roof from the rest of the car. I then moved this section forward to where Tim initially planned for it to be, and detailed the signature EH quarter panel lines flowing off the tail-lights.
Now that the quarters had some definition to them, we started playing with proportions. The first part to get right was the wheelbase and cab length.
The proportions of utes in general are actually quite specific – it’s a balance between wheelbase, cab length and the distance between the back of the cab and rear wheelarch. El Caminos bend this balance quite a bit between models, but it works pretty well every time, for different reasons. So, we had to choose one model of El Co to refer back to, and we decided on the ’63-65 shape, as it’s the same era as the EH.
Once we slapped the cab together and threw some wheels under it, it looked like a Hot Wheels car! So it was pretty clear we had some trial and error ahead of us to get it perfect. That just goes to show how important the rendering process is for a build like this.
Tim then requested we extend the quarters between the cab and the rear wheelarch by 30mm, which really helped it start to look like a ute. The door had already been extended 270mm to Tim’s specifications, but we cut 50mm out of the door to make sure the proportions were correct.
We were pretty happy with the wheelbase and positioning of the door gaps at that point, so we then gave the cab a one-inch chop and it seemed we were heading in the right direction. We then chopped the C-pillar a further half-inch to make the roof sweep down towards the back. The pillar was shortened by 90mm and that cut some space out of the cab, but there’s still heaps of room in there compared to a stock EH ute.
Grant then had the idea to angle the rear ‘peaks’ of the quarters back to match the C-pillar angle. Initially I thought it may look a bit odd because they’re such a signature EH design feature, but I did it and everyone (including me) loved it!
We then worked on determining how to design the tray around the new quarters. We played with a few ideas, like a stock-style raised edge all the way around, and even just having no edge definition at all. We found that a factory-style lip, but extremely shallow – just enough to give some definition around the edge to make it look like it belongs there – suited best.
With most of the outer body sorted, we then moved on to the tailgate. We trialled an option similar to a real El Camino where the top half of the tailgate was angled to match the angle of the C-pillar, but that didn’t work, so we opted to keep just the top quarter of the tailgate angled.
The stock rear window looked way too large, so I added a one-inch strip across the bottom edge of the glass to fill in that area, and it looked great. It keeps the border around the window fairly consistent all the way around.
Grant then suggested we extend the tray past the rear arch, like an El Camino. We played with a few different options with different extension lengths, and, through a fair bit of trial and error and progress renderings, we settled on a 125mm extension between the rear arch and tail-lights.
We then proceeded to design the sheet metal in the tray. To ensure everything lined up and could feasibly be made, I asked Tim for a copy of the technical drawings of his chassis rails, drew them up in CAD, and set them the correct distance apart so we could ensure the wheel tubs were the correct width. I imported them into the rendering model and used them as a reference point for every decision we made following this.
Based on the suspension travel and height of the rear tyres, I drew up the tubs to the correct diameter, joined them to the tray sheet metal and added a hump between them for the diff, so that none of the driveline fouls on the tub when the ute is aired out. That hump extends all the way from the diff to the front of the tray, so that the tray flows from front to back rather than having humps all over the place to clear the tailshaft and diff. I then angled the rear face of the tubs to follow a similar angle to the back edge of the rear arches, which came up mint!
While it looked really good, we needed some detail to dress up the large flat sections, so I designed some simple bead-roll patterns to go into the floor and sides. The bead roll that flows from the front of the tray to the fuel cap presents some manufacturing challenges, and this section may have to be done in one piece. As Grant pointed out: “We might have to just run the bead as a flat sheet, then bend it. We won’t fit the dies in there and I’m unsure about a Pullmax die; it might create too many marks.”
Tim’s initial plan was to mount the fuel filler somewhere on a vertical panel within the tray, or on the infill panel behind the rear screen. After some discussion, we decided that it’d be better to mount it in the tray just behind the tailgate, minimising the risk of any mishaps when filling at an awkward angle, and making a nice feature, too.
A small, rectangular lip feature sits just below the top edge of the tray, following the whole perimeter of the tray’s edge, as a provision to mount the hard lid.
I then modelled the narrowed number plate recess in the rear bumper, and added recesses for each of the twin three-inch pipes, followed by the custom flush-mounted glass.
Tim isn’t a fan of gaps where they’re not absolutely needed, so we cleaned up and filled in the cowl panel as well as joining the guards and lower front valance to the body.
The interior was then modelled up, showcasing the Haltech IQ3 screen and fairly simple dash design. Tim said the dash had to have a crash pad to meet engineering requirements, and it had to be “flowy”. So I modelled up a shape that was simple enough yet worked well with the shape of the whole car, and added a hump for the IQ3. A simple half-wrap steering wheel and VT-VZ Commodore bucket seats completed the trim.
Up front, the Holden badging was removed from the nosecone. As the original trim is made of die-cast alloy, it’s not suited to serious modification, so the final piece will be CNC machined. Also, the headlights have been frenched, with the headlight surround being joined to the guards for a much cleaner look. Tim also plans to have machined-billet tail-light housings and headlight rings to match, as he’s not a fan of how the factory housings fit the body.
Tim already has a neat drivetrain sorted for the ute: an LS1 with forged pistons, H-beam rods, Tremaniac Racing heads, and a Holley single-plane intake with four-barrel throttlebody and Holley Dominator EFI. Backed by a T56 trans with a sequential shifter, the combo feeds power to a 4.33:1 Detroit locker with floaters and 31-spline axles, all housed in a Race Products sheet-metal housing. The pedal box is a Wilwood reverse-swing box pumping to four-spot calipers all ’round. Tim’s also running a hydraulic handbrake, so each of the rears have two four-spot calipers.
To make sure all of this stays under-bonnet, a custom reverse-cowl will be fabricated to suit. This neat 2.75-inch scoop has a bit more character and shape to it than your average aftermarket reverse-cowl, bringing the unique EH bonnet ridge all the way through to ensure it doesn’t look like an afterthought.
To get the EH to lay sills on the ground, it will sit on a custom-fabricated chassis with Mustang II suspension up front, including tubular control arms, and 4.1-inch ShockWave airbags with cantilevers. In the rear will be a parallel four-link with a Sunday Speed anti-roll bar, 6.1-inch ShockWave ’bags and Watt’s linkage.
Even though the build started out with more of a full-custom approach outlined in the brief, once we saw the car together with all the major modifications completed, it just looked too good to change it!
Thanks to Tim Bubb, Grant Maclean, Phil Kirby, Todd Sorensen, Conor Gooner, Chris Thorogood and Mitch Hemming.
RENDERING SUPPORT
ACCORDING to car owner Tim Bubb, going through the modelling and rendering process is vital for anyone thinking of tackling an extensive build.
“There is nothing worse than asking yourself at the end of a project: ‘I wonder what that could have looked like?’” he says. “Aidan’s Design & Illustration has given us the ability to see ideas come to life, and refine details prior to picking up a tool. The process highlighted areas of concern that may not have been visible until later stages of the build, or completion, saving countless hours of work.”
Tim’s plans for the ute once completed are simple: “Show, then drive the shit out of it!”
HUE DARES WINS
TIM’S initial plan was for an Ivory-over-Nardo-Grey paint scheme, but as we designed the body, I mocked it up in silver to accentuate the modifications. Once it got to the point where we were ready to play with colour, I put the red trim into the silver body, and everyone was sold on that combo! It just works. We also played with a House of Kolor Root Beer Kandy, and, while it looked killer, it hid too much of the cool work that’s been put into the car.
- Doors extended by 220mm
- Wheelbase extended 30mm
- C-pillar shortened by 90mm
- Quarter panels extended past rear wheels by 125mm
TIM BUBB
1964 HOLDEN EH UTE
| Paint: | Custom PPG silver |
|---|---|
| ENGINE | |
| Brand: | LS1 |
| Heads: | CNC Tremaniac Racing |
| Cooling: | PWR radiator |
| Exhaust: | Twin 3in |
| TRANSMISSION | |
| Gearbox: | T56, sequential shifter |
| Diff: | Detroit locker, Race Products sheet-metal housing, 4.33:1 gears |
| SUSPENSION & BRAKES | |
| Front: | Mustang II suspension, tubular control arms, 4.1in ShockWave airbags with cantilevers |
| Rear: | Parallel four-link with Sunday Speed anti-roll bar, 6.1in ShockWave airbags, Watt’s linkage |
| Brakes: | Wilwood four-piston (f & r) |
| WHEELS & TYRES | |
| Rims: | American Racing Torq Thrust II; 15×4 (f), 15×10 (r) |
| Rubber: | Mickey Thompson Sportsman S/R (f & r) |
Got a cool idea for a build that you’d like to see brought to life in Expression Session? Email us at [email protected] with a detailed explanation
Comments