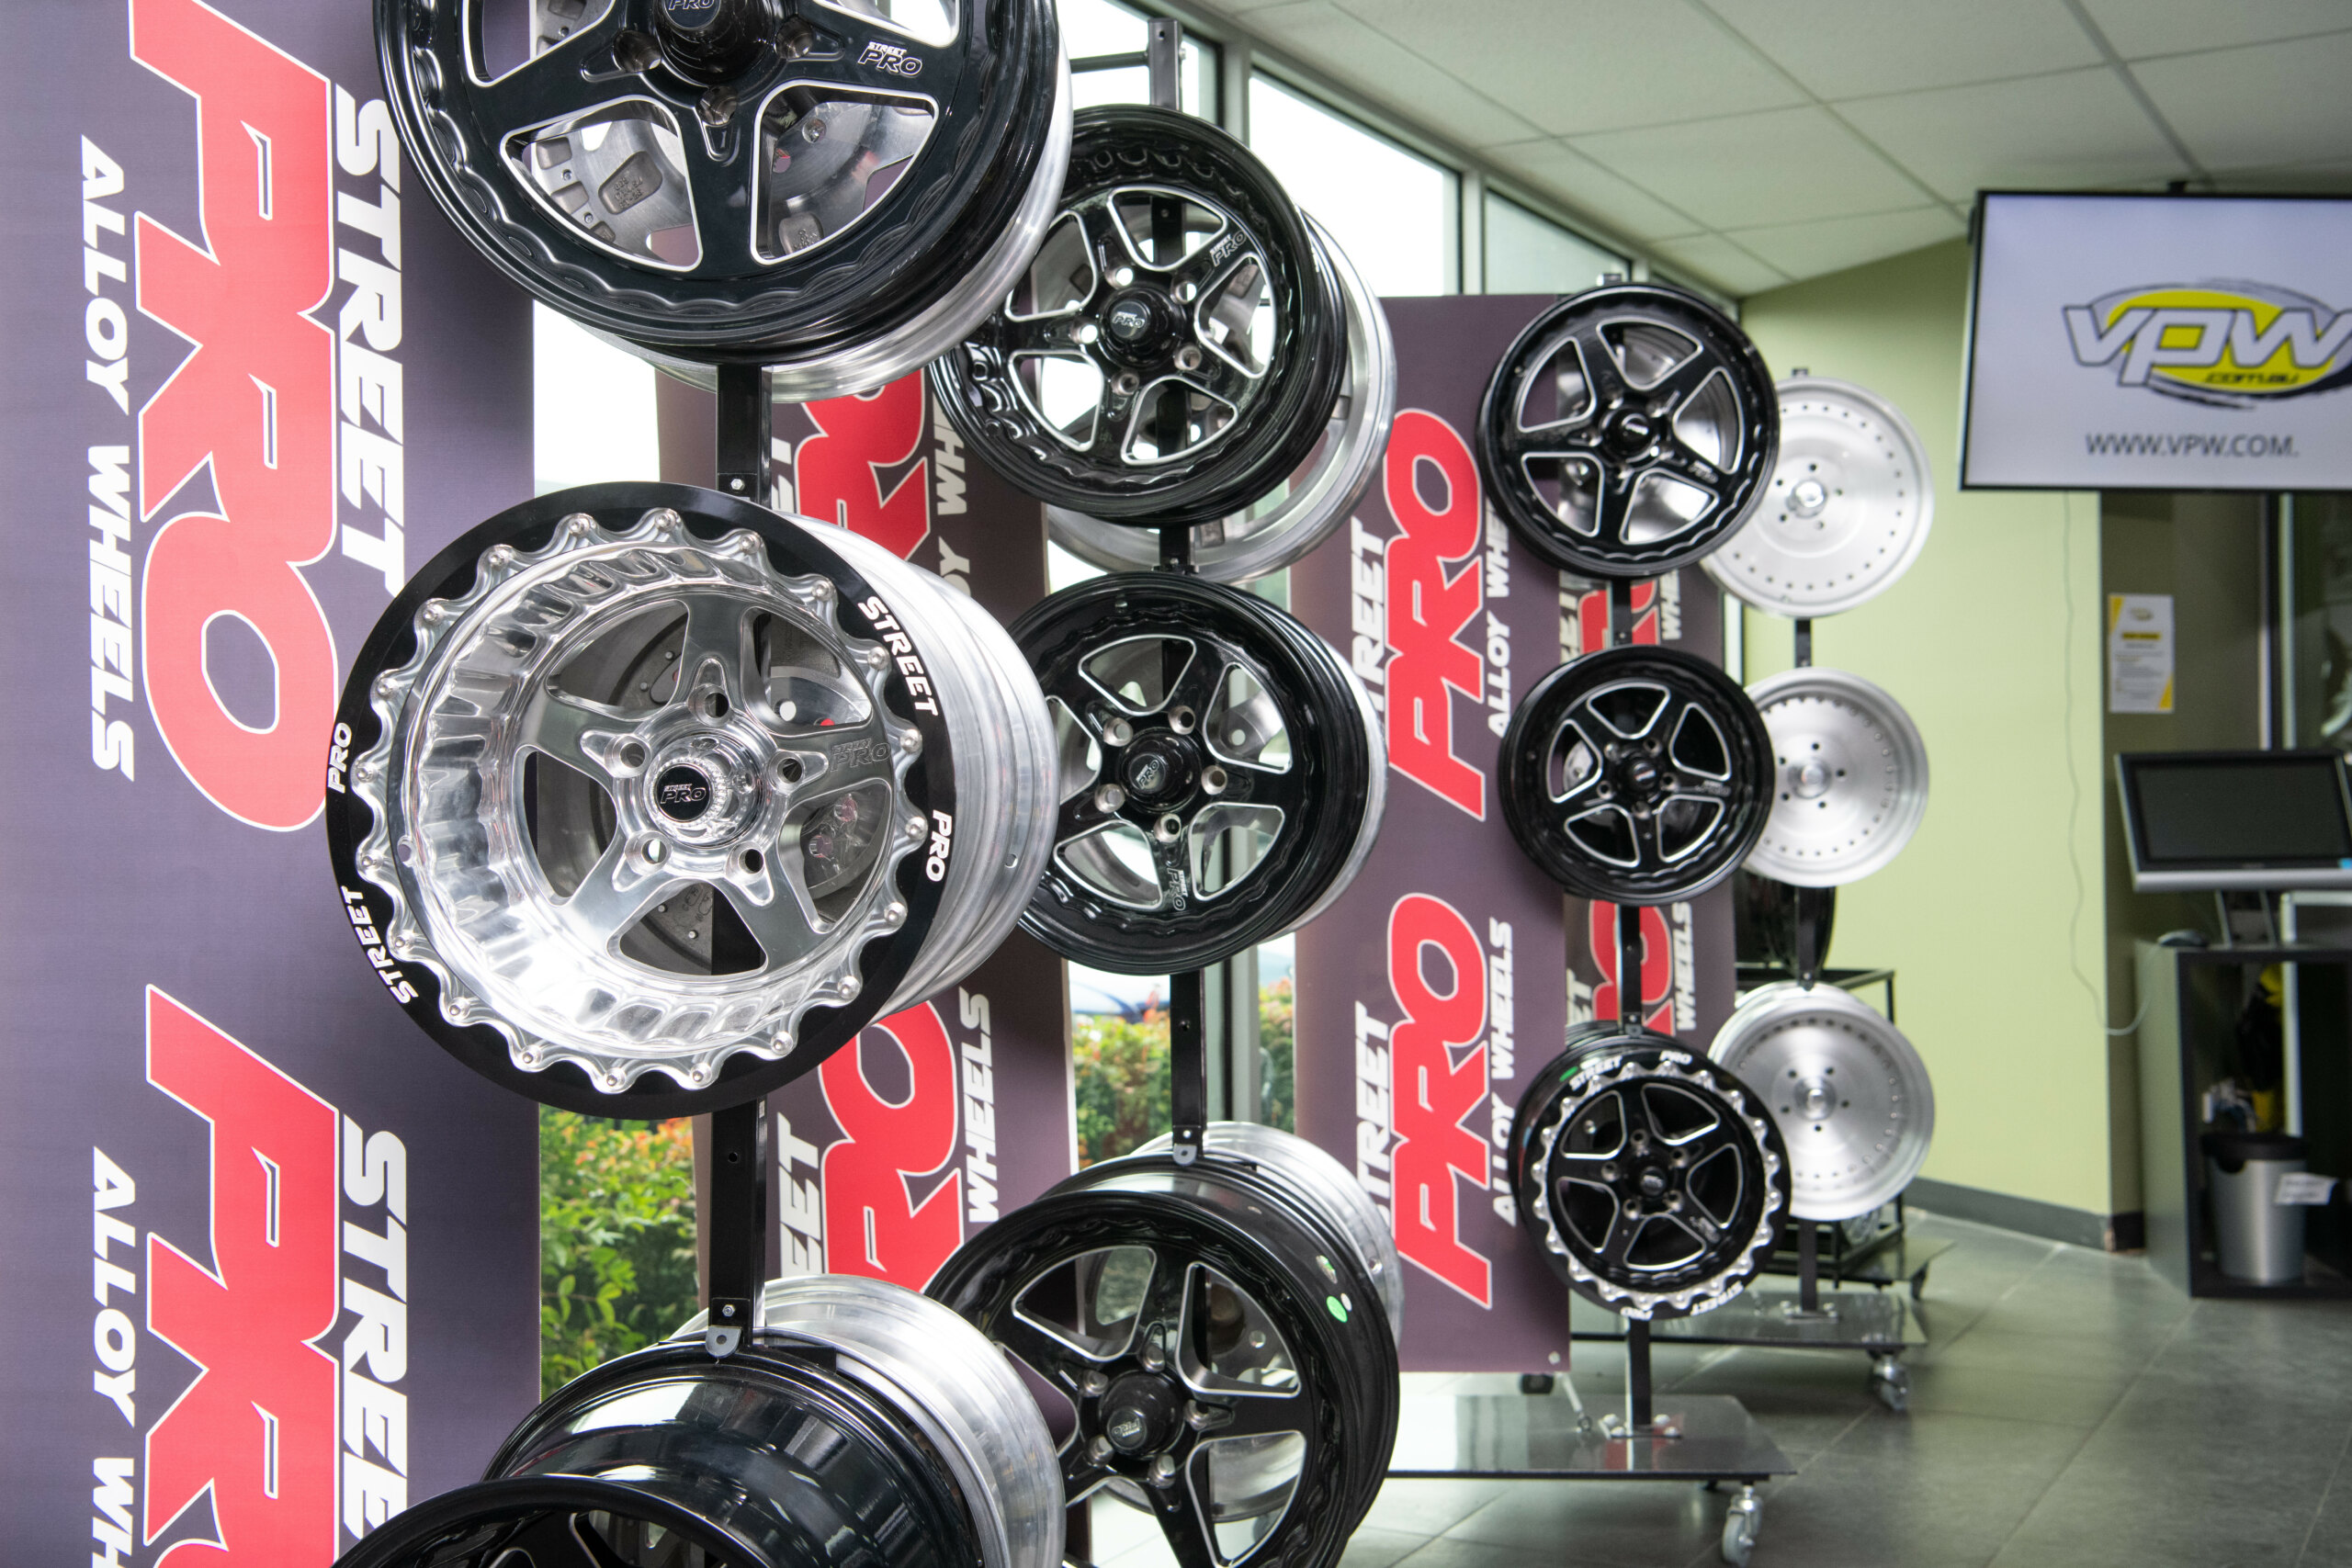
Rims, mags, hose reels, steelies – whatever you call wheels, we wouldn’t get far without ’em! The term ‘mags’ is actually an old one used to describe lightweight racing wheels made out of magnesium alloy, but it has come to apply to any aftermarket rim.
They don’t use magnesium in wheel production anymore. Instead, wheels are generally made out of pressed or stamped steel or aluminium alloy, or, in rare cases, carbonfibre. Steel wheels are cheaper and heavier but are capable of handling heavier weights and bigger hits compared to aluminium, while aluminium or carbonfibre reduces unsprung weight, and this improves handling as well as braking and accelerative performance.
Most cheaper alloy wheels are cast, which involves molten metal being poured into a mould, while more expensive rims are forged or machined from a billet of metal. The higher cost of manufacturing forged and billet wheels makes them more expensive than cast items, but they also offer a stronger, higher-quality finish.
Wheels are sometimes advertised as single-piece, two-piece or three-piece, and this refers to modular construction. Most off-the-shelf wheels will be single-piece, where the face of the wheel, lip and barrel are all made in one solid unit, which helps keep costs down by allowing easier mass manufacturing.
Two-piece wheels allow more customisation, including unique offsets, because the centre of the wheel is welded into the barrel to the customer’s specs. Three-piece wheels are even more customisable, as the wheel centre, barrel and outer lip are all separate pieces able to be mixed and matched.
Now that we’ve covered the basics of construction, let’s go over the terms you’ll need to understand in order to successfully measure your old rims and spec your new ones.
LEARN THE LINGO
PCD: Pitch Circle Diameter is the diameter of an imaginary circle that passes through the centre of the wheel’s mounting bolts. It’s related to the number of and spacing between wheel studs on your car. It’s the first critical stat, as it tells you whether the wheels will even bolt up to your car.
OFFSET: The distance from the hub’s mounting surface and the wheel’s centre line, which is the middle point between the rims. It measures where the tyre sits laterally from the hub of the wheel. Deep-dish wheels have a negative offset. Many late-model stock wheels, where the face is almost flush with the outer edge of the lip, have a positive offset.
BACKSPACE: The distance from the rear of the wheel mounting pad to the edge of the inside lip of the wheel. Deep-dish wheels have a small backspace number; conversely, wheels with minimal dish have a large backspace number.
CENTRE BORE: Also called the spigot, the centre bore is the machined hole in the back of the wheel. It is machined to match the hub for a snug fit. This set-up is known as hub-centric, and ensures the wheel runs true to minimise vibration, and that wheel studs and nuts are not supporting the weight of the vehicle (their job is to hold the wheel against the hub).
RIM: Sometimes used as a slang term for the wheels themselves, the rim is actually the top outer edge of the wheel. The inside edge of the rim is where the tyre is mounted, making it a critical part of the wheel. Wheel diameter is measured across the barrel, not from rim to rim.
BARREL: The main middle part of the wheel, including the inside rim but not including the outer lip or central face. Barrels come in varying widths and styles.
LIP: The outer face of the wheel, including the outer rim, which is joined to a barrel and centre. These are offered in several styles, including a step-lip or slant-lip, which use a larger vertical flange to convert a small-diameter three-piece wheel centre into a larger-diameter wheel.
MEASURE UP
Before you splash cash on some sweet dubs, you’ll need to establish the diameter, width, offset, centre bore and PCD of your current rims.
To do this, get the car up on chassis stands and whip its wheels off. You’re gonna need the following: a straight edge (or spirit level), pen and paper, a ruler or tape measure, a set of Vernier calipers, and an assistant.
Although it may sound logical, you don’t measure PCD from the middle of one stud to the opposite side. Instead, measure the distance between two studs next to each other and write that number down. Now, most cars in Street Machine will have a five-stud hub, so if that’s you too, divide your initial number by 0.5878 to get the PCD. For example, 67.185mm/0.5878 = 114.3, so your PCD is 5 x 114.3. If you have a four-stud hub, divide your number by 0.7071 to get your PCD. For a six-stud car, divide by 0.5.
To measure the backspace of your existing wheels, lay one wheel face down on the ground and put a straight edge over the back of it from rim to rim. Make sure the straight edge is not touching the tyre if there is one fitted and is securely flat against the rim. Measure from the mating surface of the wheel (where it bolts to the hub) up to the underside of the straight edge, and write down that depth.
Measuring for offset is a little more involved. Ideally, the wheel you’re measuring doesn’t have a tyre fitted so you can get an accurate measurement of the wheel’s width, which is the distance from the inside edge of its inner rim to the inside of its outer rim. Divide that number by two and you have your centre line measurement. You then subtract that number from your backspace number to get your wheel’s offset. If the backspace number is lower than the centre line number, you’ll have a negative offset (which means deeper dish), while if it’s higher, you’ll have a positive offset.
The centre bore of your wheels is best measured using the tips of the Vernier calipers, but it can also be done with a tape measure. Remember to first check that there are no hub-centric rings left in the hole, as this will affect the measurement.
Once you have your base set of numbers, repeat the steps on a front and rear wheel to check that your car isn’t running a staggered set.
Now it’s time to measure the car and find out just how much room you’ll have for activities. For the most accurate measurement, ensure you are set up on flat ground with the car level on the chassis stands. Use a jack under the hubs to hold them perpendicular to the ground. Suspension moves through an arc, so if the wheel is sitting too far up in the guard or down at full droop, the measurements will be wrong and this will invariably lead to tears and heartbreak down the line.
Put the straight edge vertically against the outermost lip of the front guard, measuring into the mounting face of the hub, and write that figure down. On the inner side, place your straight edge against the mounting face of the hub and measure in towards the closest obstruction – this could be the tie rod end, control arms, shock absorber, brake lines, a curving inner guard, or coil strut assembly.
Measuring the rear end of a live-axle car is simple. Place the straight edge flat against the rear guard and measure to the mating face on the hub, then place a straight edge against the face of the hub and measure inwards to the closest obstacle the wheel would contact – could be leaf springs, brake calipers, shock mounts, the inner wheelarch or a fuel filler.
The outer measurement tells you how wide your lips can be, while the inner tells you how wide the barrel of the wheel is. The inner measurement also tells you the maximum backspace you can fit, which then allows you to calculate the best offset for your car. You can now shop for wheels knowing the maximum backspace and offset you can run.
Beadlock basics
A beadlock is a plate that bolts to a wheel and sandwiches the tyre bead, clamping it in place. This allows the tyre – normally a drag slick or radial – to run at the very low pressures needed for maximum traction without risking air leakage or the tyre spinning on the wheel.
Beadlocks require regular torquing of the locking bolts and are outlawed for street use in most Aussie states
Calculating PCD
The PCD of any wheel with an even number of holes can be found by measuring from the inside of one hole directly across to the outside of the hole opposite, then dividing the result by 0.7071. For a six-stud wheel, divide by 0.5.
For a five-stud wheel, measure ‘X’ from the inside of one hole to the outside of the next hole and divide the result by 0.5878
THINGS TO CONSIDER
Running large-diameter wheels will change the car’s rolling diameter, which is the height of the tyre sidewall multiplied by two and then added to the diameter of the wheel. Increasing wheel diameter and keeping the same tyre profile will increase the rolling diameter, effectively increasing the final drive ratio.
There are online calculators available that compare different tyre sizes to show the effect on rolling diameter. Being a per cent or two out won’t make a huge difference, but it is best to try to get as close as possible.
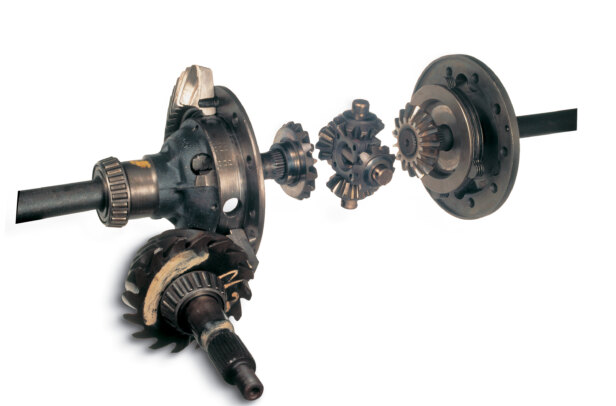
Fat wheels look awesome, but there are engineering considerations to ponder. In most states of Australia, running 12in-wide wheels (or wider) on your car will require your diff to use full-floater axles. This partly comes down to the mechanical load the mega-wide wheel exerts on the ends of the axle.
Your best bet for ensuring street legality is to get engineering advice once you’ve worked out what size wheels and tyres you want to run. Speak to the engineering signatory in your state before ordering anything.
REINVENTING THE WHEEL
Wheel designs follow car fashion, and Chris Morris of Showwheels has seen plenty of changes over his three decades in the industry. “I got into the industry at 15, wound up as a manager at a Bob Jane outlet, and then I set up Showwheels in 2003,” he says.
Street Machine readers will know Showwheels for its huge-diameter, brightly polished, flat-lip custom billet wheels that have been a staple of show halls around the country for 20 years. “When I got into selling wheels in 1993, the state of the industry was much simpler,” says Chris. “For Australian-made wheels, there were just three foundries – ROH, Performance Wheels, and CSA/Mullins – and most of the custom wheel brands were Japanese or American. Around 1995, I saw wheels from Billet Specialties and Colorado Custom, and that really sparked my interest in custom billet wheels.”
One of the reasons why the leading car builders flocked to Showwheels was the ability to completely custom-order their wheels, down to the smallest specification. “Around 2005 was the era where too big was never big enough,” Chris recalls. “It kind of got ridiculous, and the understanding was the customer would order the wheels and they’d accept the responsibility for making the car fit them.”
The wheel scene in the USA at the time was enormous, with whole magazines dedicated to which celebrity was fitting what oversized wheels to their classic or exotic car. While those mags have long gone, Chris reckons plus-size billet wheels are still popular.
“For almost every order we did back then, the car had the diff shortened or was mini-tubbed,” he says. “Today, I get more people not wanting to cut the car up and are happy to not get the deepest dish possible. But that 22×12-inch wheel with a deep, flat lip hasn’t gone anywhere. We’re still doing multiple sets of those wheels every week.”
What has changed is customers have heaps more horsepower than before. “This is why I cap my wheels at 12-inch widths,” says Chris. “The stress on the wheels with a grippy tyre is huge.”
While the complete custom-order showpieces tend to grab the most attention, the appeal of more affordable one-piece cast wheels is as wide as it’s ever been. “In 2007, I brought out the Streeter, a one-piece cast wheel to fill the demand for this type of wheel,” Chris explains. “Back then I had two just sizes; now there are nine, from 15- to 20-inch.
There has always been great demand for good cast wheels, and my range has expanded to include the Black Racing Wheels. These are nice, lightweight, aggressive-looking 15-inch wheels designed for that classic Watanabe look, and they’re proving very popular.
“We’re planning on moving into smaller 15-inch billets as well as 4×4 wheels, one-piece forgings for muscle car wheels, and more, so the interest in aftermarket wheels is still very strong.”
Looking forward, Showwheels has recently devised Duo Block, a system for making a customisable, multi-piece wheel that looks like an original cast item. It uses a three-piece barrel for the back, while the centre and lip are a single, 100kg forged billet piece that is machined.
“The sky’s the limit for this style,” Chris enthuses. “Most Duo Block customers want a wheel that complements the whole car and its specific era. For instance, I have a who wanted his 13-inch Sprintmasters made into 16x7s, but they had to look like an original cast wheel.
“Duo Block are wheels for customers who are connoisseurs and aren’t after a wheel that looks aftermarket or custom. They’re after something really special, and the finished product means a lot to them.”
For more info, check out the Showwheels website at showwheels.com.au.
CASE STUDIES
SCOTT DURNELL
VE COMMODORE SS-V SPORTWAGON
Work Zeast ST3; 20×9.5 +25 (f), 20×10.5 +35 (r)
Sydney’s Scott Durnell trod a different path to finding the perfect wheels for his ’bagged VE Commodore Sportwagon, eschewing the normal Simmons FRs or plus-size HDT rims. “My reason for going for Japanese wheels was the cost compared to a big European or US brand,” he says. “They’re a custom wheel that I can spec exactly how I want, and they’re great quality.
“Those wheels were bang-on for what I wanted, which was looking good aired up or down, and they had to fit without rubbing. I had rolled guards and I used 245/35 and 275/30 tyres, as they’re standard HSV size so I know I can get tyres anywhere.”
For those wanting to get hella-flush and really crazy with their wheel specs, Scott says it’s important to be mindful of the limitations. “Availability of affordable wheels is a challenge, as many second-hand wheels are almost the same price as new,” he says. “The big brakes on late-model cars and their offset on the hubs makes for a big challenge fitting aggressive wheels.”
When it comes to pushing the fitment envelope right to the edge of the guards, Scott looks to the Germans for inspiration. “For the longest time, guys were putting 19×10- and 19×11-inch factory BMW X5 wheels on late-model Commodores, because they fitted great and, until recently, were so cheap,” he says. “Late-model Commodores have a 15-20mm space deficit on the front compared to late-model BMWs, so I tell guys looking for really aggressive fitment they can look to BMW M3/M4 wheel specs if they’re prepared for some tyre stretch and adding camber.”
IAIN KELLY
1964 PONTIAC BONNEVILLE
Mawer replica; 17×8 +5 (f), 17×9 -2 (r)
Choosing wheels to suit my Pontiac (see full feature, p.88) was tricky because I wanted something that looked vintage but was different to what was normally seen on large American cars.
With a supercharged LS under the bonnet, I didn’t trust old-school uni-lug wheels, and I wanted something in a 17-inch diameter for the best selection of high-quality street tyres. Plus, I had to swap my car’s 5x127mm (5x5in) PCD to a more common 5×120.6mm (5×4.75in) to improve wheel options. This swap was made easier by the fact that I was building a nine-inch diff and switching to Hoppers Stoppers brakes up front anyway, so I could change to whatever PCD I wanted.
My love for 60s and 70s race cars and early pro touring machines like Craig Parker’s TUFFXY led me to finding a set of Aussie Mawer wheels and having a set custom-built. Used on early Group C cars like Allan Moffat’s XY and ’73 Bathurst-winning XA, Mawers are an aggressive five-spoke design that suits the era of my car.
I did a lot of sleuthing to find Martin from GT Wheels in Queensland. He offers accurate 15-inch Mawer replica centres machined from a billet of high-grade aluminium, which I then had Barrel Bros polish and build into 17x8s and 17x9s using a slant-lip set-up for more of that vintage touring car look.
DAVE GUILFOYLE
HQ MONARO GTS
Weld V-Series; 17×4.5 -13 (f), 15×10 -63 (r)
Pro street cars arguably have the toughest stance of any streeter, with narrow front-runners and huge rear meats. Dave Guilfoyle has turned out a swag of killer slammed-in-the-weeds Holdens, and his Purr-Pull HQ Monaro has worn a couple of wickedly tough wheel combos.
It now runs 17×4.5 and 15×10 Weld V-Series wheels, which required surgery in the back to make fit. “I usually take whatever wheel I want to use and cut the car up to suit the wheel and tyre, and then size the diff to suit that,” explains Dave. “A 325/50 radial is the biggest you’ll fit under the back of an HQ-HZ, but a 15×10 is just about perfect; you’re only doing a little notch to the rail in the back, which you reinforce for legality, and you can keep all the factory suspension with a split tub.”
Dave prefers to order his wheels with a custom offset of three inches or more in order to get good dish. “Under three-inch backspace, you’ll run into brake clearance problems,” he says. “I run a 28×12 Mickey Thompson street tyre, as it is the perfect fit, and that’s what I put on nearly all my cars.”
Things are much simpler on the steering end, particularly with the skinnier wheels a pro street look calls for. “The 17×4.5s only come in a 2.25-inch backspace, and you run a 1.75-inch backspace for a 15-inch front wheel,” Dave says. “If you use a Wilwood caliper on the front, that usually brings them in a bit, but stock brakes mean the front wheels are just a bolt-on. The only other thing I do is modify the bump stop so that it does have one, for legality.”
MOITS MOTORCARS
1968 CHEVROLET CAMARO
Forgeline FF3; 19×9 +22 (f), 19×11 -25 (r)
Heath Moore from Harrop Engineering helped spec the 19×9 and 19×11 Forgeline FF3s used on this ’68 Camaro built by Moits Motorcars. The LS3-powered pro tourer rides on an aftermarket Roadster Shop SPEC chassis with forged monoblock six-pot and four-pot brakes, and so needed a serious wheel and tyre combo.
These modern pro tourers can generate cornering and braking loads that outstrip even late-model Euro exotics. To withstand these forces, Heath points out the wheels have to feature top-shelf engineering. “These FF3s have the stepped outer lip, which is a better configuration for track use as it’s stronger than a flat-lip option,” he says. “The strength is a key part of the wheel, but also the load rating to handle a sticky tyre. The other factor to consider is stiffness to minimise deflection through the face of the wheel, which becomes an issue with super-sticky rubber and extreme cornering loads.”
Tyres play a huge part in sizing wheels for pro touring cars, and this Camaro is no different. “Tyre selection was a key factor in defining the wheel size for the Camaro, which isn’t uncommon in pro touring,” Heath explains. “We worked with Forgeline to fine tune the brake caliper clearances and get the right backspace front and rear.”
Ultimately, Heath sees the wheels as the ultimate finishing touch to any car, capable of making or breaking its impact. “You want it to be the perfect fitment for your build,” he says. “And whether you’ve got an original chassis or a whole replacement aftermarket chassis, the wheels will tie it all together, and, importantly, make the car drive better. Wheels make the look and feel of a car.”

Comments