Advice
Gallery 1
There was a time when getting a puncture simply meant pulling over and swapping the flat tyre with the spare before merrily driving off again and getting flat repaired as soon as convenient.
However, fewer cars come are coming with full-sized spare wheels, including many with no backup at all, meaning that any fix will only be good enough to get you to your nearest tyre fitter. Alternatives to conventional spare wheels include:
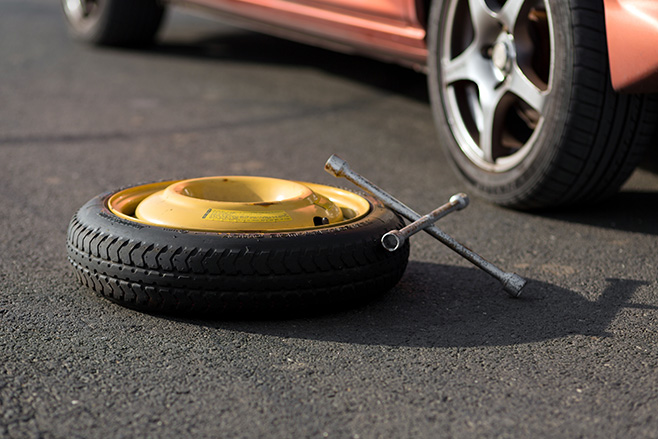
SPACE SAVER SPARE
Also called Temporary Use Spare Tyre (TUST), Space saver spare wheels are narrower than the rims fitted to the car so they take up less boot space.
To stop people from fitting and forgetting them, space savers are painted garish colours such as flouro orange or yellow.
1
Space savers are only intended to be a temporary, emergency replacement, allowing you to get your car to a repairer. Because they’re a different size to other wheels they will affect the way your car handles meaning you are not allowed to drive quicker than 80km/h.
They also have a basic, shallow tread meaning they won’t be as effective in wet weather and will wear quicker, which limits the number of miles you can travel on them.
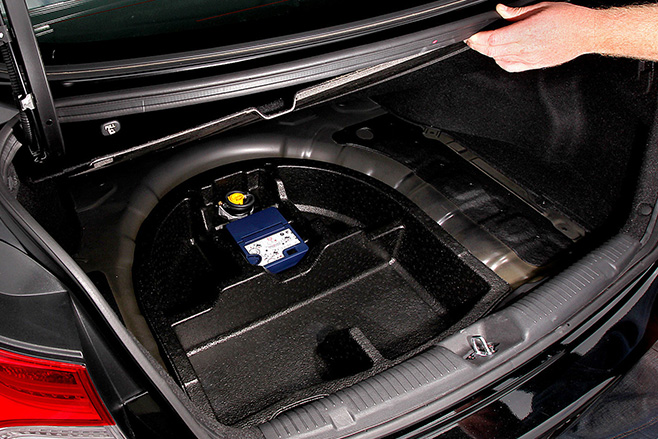
INFLATOR KITS
Some carmakers are doing away with spare wheels all together and placing single-use tyre inflator kits in the boot. Such kits usually feature a pressurised container with tyre sealant that inflates and temporarily seals the tyre, or a battery powered air compressor and sealant tube.
The trouble with inflator, or puncture repair, kits is they only work with small punctures, and are no good if your tyre has a significant gash or is shredded.
1
When you can use it to repair your tyre, they’re an even more temporary solution than a space saver, which isn’t great when the puncture occurs on a weekend when all the tyre stores are closed.
The kit can only be used once, meaning you’ll have to buy a new one which can cost a few hundred dollars. In many cases the sealants have a use-by date meaning you’ll have to replace them even if they haven’t been used.
And in most cases, you’ll have to replace the tyre even for smaller punctures. This means a puncture could mean having to buy a new tyre and inflator kit, which for some cars and SUV could end up costing you around $1000.
RUN FLAT TYRES
Some premium car makers are adding run-flat tyres as standard equipment instead of a spare wheel. Once punctured, run-flat tyres can continue to be driven on. But while this saves you having to replace the tyre, it doesn’t mean you can continue driving normally.
Like spare-saver wheels, run-flat tyres are limited to certain speeds when punctured, generally about 80km/h.
A punctured run-flat won’t feel as obvious as a normal flat tyre, but you’ll be alerted by a tyre pressure alert light on the dashboard. If your car is not equipped with this you shouldn’t fit run flats.
The biggest problem with run flat tyres is they’re not usually repairable meaning you’ll have to fork out for a new tyre which
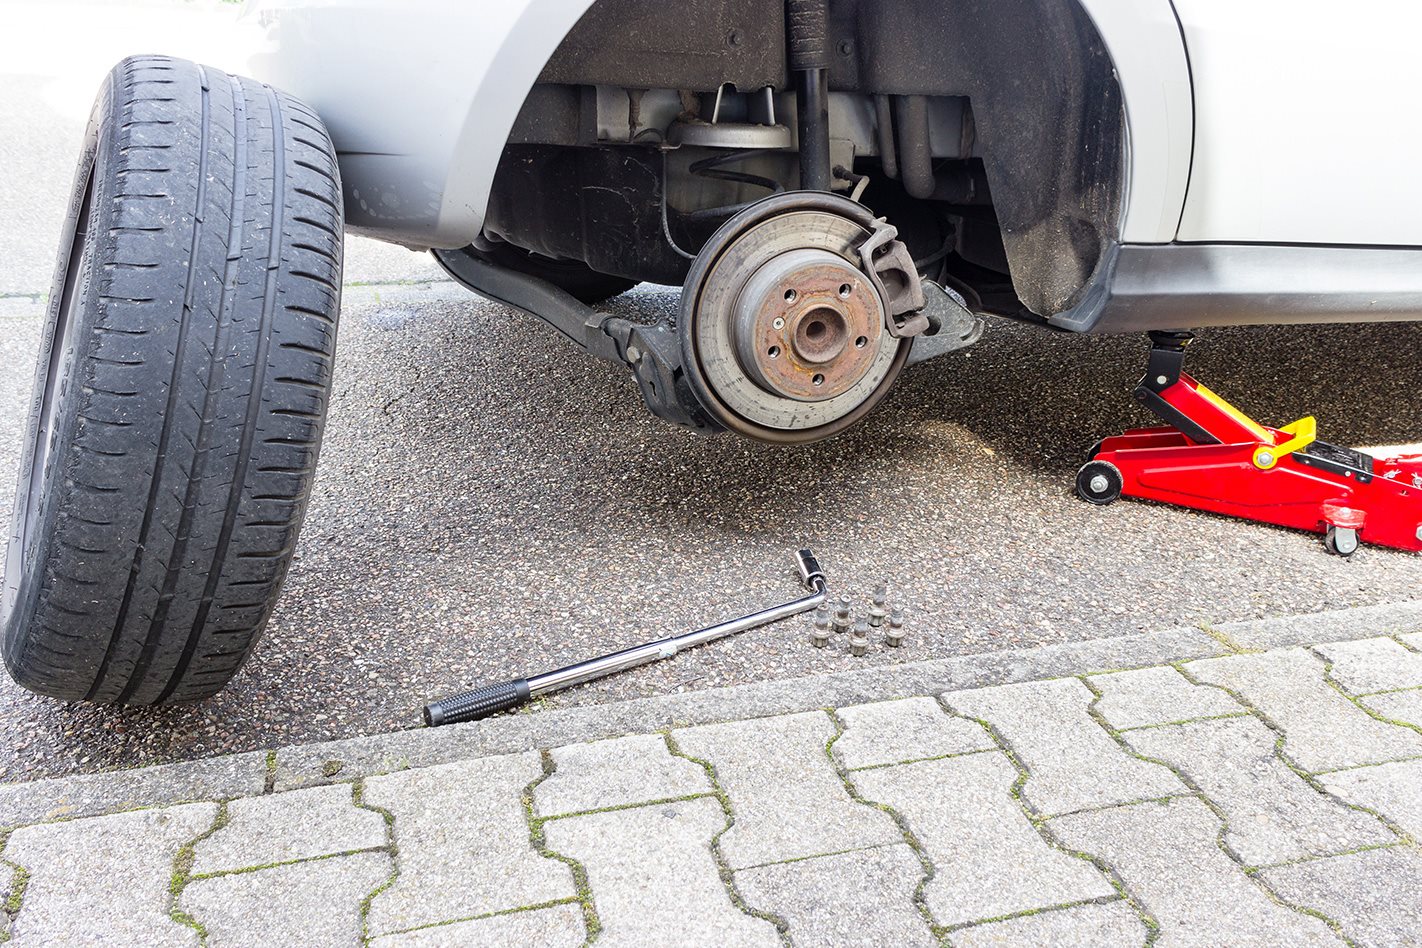
How to change a conventional flat tyre
SAFETY
Don’t make a blown tyre worse by risking more damage to your car, or potentially to yourself, by stopping in the middle of the road. Your first and most important step is to ensure your safety. Pull the car over to the side of the road, and out of the way of traffic. Like any road-side problem, hazard lights should come and you should put your handbrake on and your car in park (or in gear if you’re in a manual).
EQUIPMENT
Once your car is safely on the side of the road, it’s time to get the equipment from the back of your car. If your car comes with a spare tyre, either full size or space saver, you’re took kit should include a wheel brace with a wedged side, a jack and a jack handle.
You’ll also need to familiarise yourself with hub caps (if your car has them), and wheel nuts.
These days, some cars also feature Run Flat Tyres or a puncture repair kit so your tool kit will be quite different – make sure you’re familiar with what your car offers before purchase.
When changing your tyre, make life easier by laying everything out next to your vehicle.
PREPARATION
Before you get to the nitty gritty part of replacing a tyre, there are a few initial steps you need to take.
- If your tyre comes with a hubcap, that needs to come off. Using the wedge side of the wheel brace, loosen the hubcap and pull it off so you can access the wheel nuts.
- Next, using the brace, loosen nuts by twisting them anti-clockwise. You don’t need to take them off, just loosen them enough to make life easier later. One twist anti-clockwise should do. This can be the most difficult part.
This is probably the most daunting part of a tyre change, and it’s at this point it’d be a good idea to make friends with your owner’s manual.
- Find the jacking point (use the owner’s manual because each car can be different.)
- Using your hands, wind up the jack to meet the jacking point.
- Then it’s time to connect the handle and give your shoulders a bit of a work out by jacking up the car. Make sure you lift it high enough to still leave space for the inflated tyre.
- Once the car is off the ground, it’s a good idea to place the spare tyre under the car to protect you and the car if the jack fails.
- Now it’s time to take the wheel nuts off. Keep in mind, removing the wheel nuts can be the most difficult and labour intensive part of changing your tyre so if you haven’t loosened them properly earlier, you’re in for a bit of fun now.
- Pull the flat tyre off the car and use it to replace the new tyre currently sitting under the car. You still want protection if the jack fails.
- Line up the centre holes of the new tyre with the studs and push it on to the car.
- Then, by hand, put all the nuts onto the tyre and tighten with fingers to stop them falling off.
- Then it’s time to remove the ‘safety tyre’ and let the jack down before you tighten the nuts.
- In a star pattern, tighten the nuts as much as possible.
- Pop the hubcap back on and you’re done.
Follow WhichCar/Wheels on Google
Click the button below to make WhichCar by Wheels a preferred source for your news.