Gear
Gallery2
ONE by-product of any 4X4 engine is heat, and it is the radiator’s job to get rid of most of it.
This was first published in 4x4 Australia's March 2013 issue.
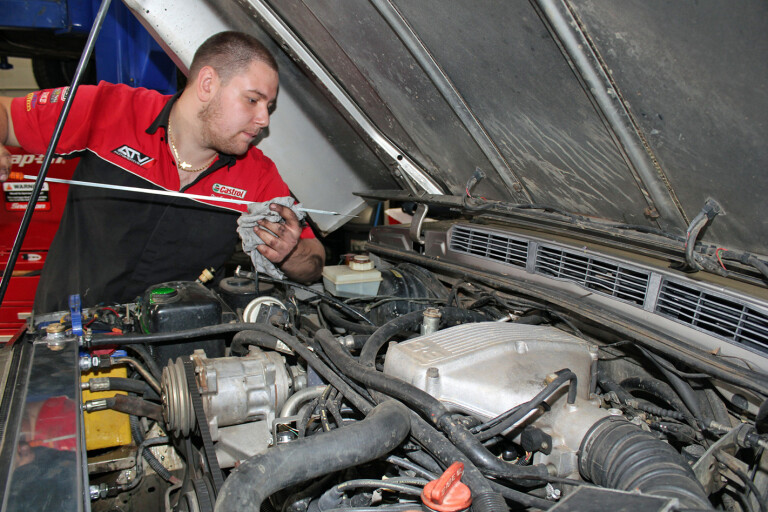
With the hard work some 4X4 engines have to do – crawling off-road or towing – it’s an item that needs to be in top condition to avoid the engine overheating. Here, we joined ATV Automotive to see the team replace a tired copper and brass radiator in a Range Rover Classic.
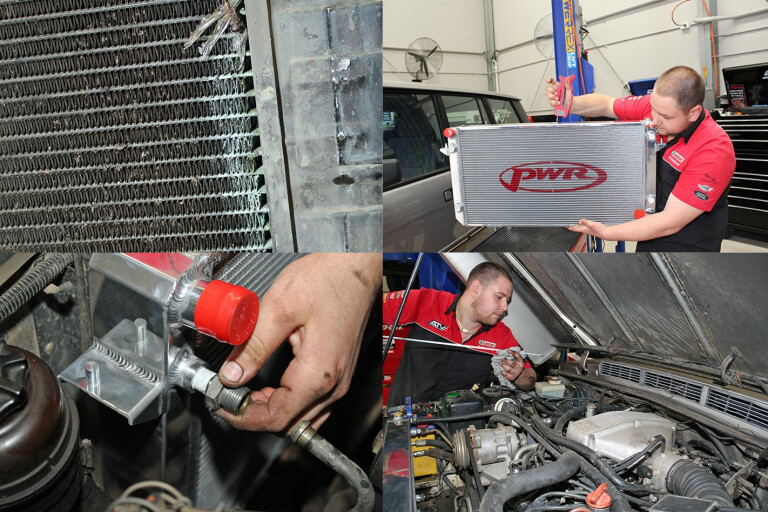
The old radiator, which was found to be losing coolant, is being replaced with a PWR-fabricated aluminium radiator. The main advantages of aluminium over copper/brass radiators are generally considered to be that the aluminium types transfer heat more efficiently and are lighter.
Certainly, the weight comparison is correct; when the Range Rover’s old radiator was pulled out, it weighed 20kg; the new alloy radiator was half that. Radiator replacement is straightforward. The guys drained the coolant, disconnected and removed the fan and fan shroud, disconnected transmission cooler lines and radiator hoses and removed the old radiator.
With the new radiator in, the lines and hoses were refitted and coolant added. The only thing that can become fiddly is removing the coolant level and/or temperature sensors and the automatic transmission line connector barbs from the old radiator and fitting them to the new one. Radiator hoses can be difficult to remove if they’ve been there a while.
1. With the fan and fan shroud already taken out, the old radiator is ready to be disconnected and removed.
 2. Draining the old coolant from the radiator and from the coolant overflow tank in preparation for removing the radiator.
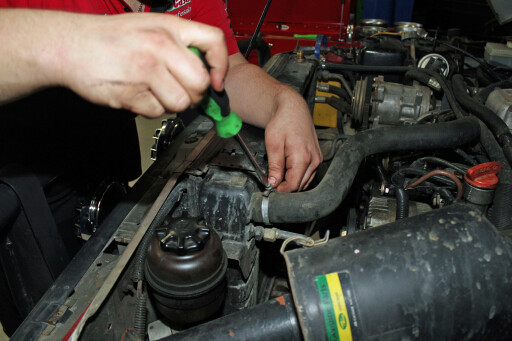
 3. Loosening the radiator hose clamp for top and bottom hoses so the hoses can be pulled away from the radiator.
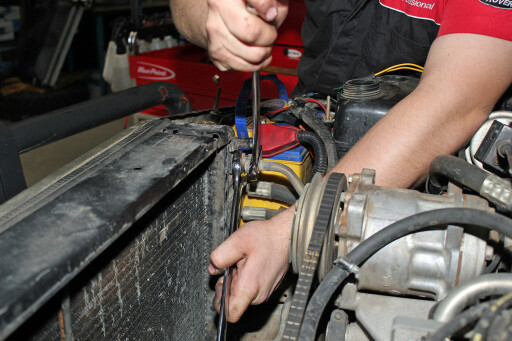
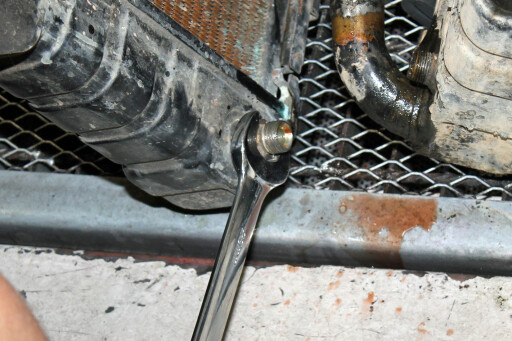
 4. Vehicles with auto transmission have oil cooler lines that have to be detached from the radiator.
 5. Removing the radiator upper retaining brackets so that the old radiator can be easily lifted out of position.
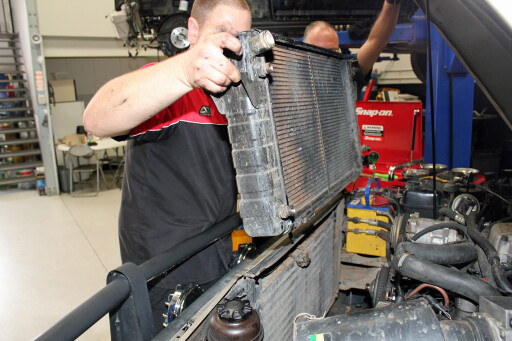
 6. With a last check for any missed connections or obstructions, the radiator can then be lifted out of the vehicle.
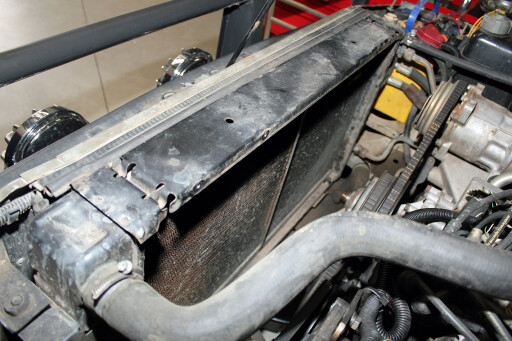
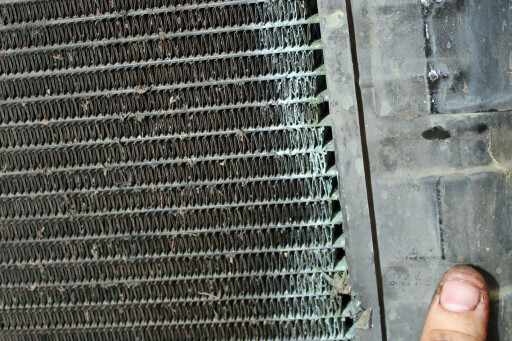
 7. The green residue down the side of the core indicates this radiator has probably been leaking for some time.
 8. The new radiator comes bare, so here the temperature sensor is removed from the old radiator to fit into the new unit.
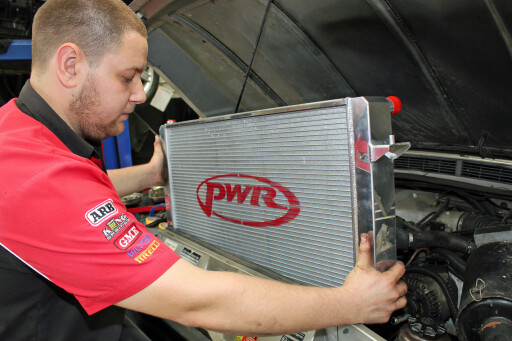
 9. With sensors cleaned and fitted with fresh sealant, the new radiator is slowly lowered into position.
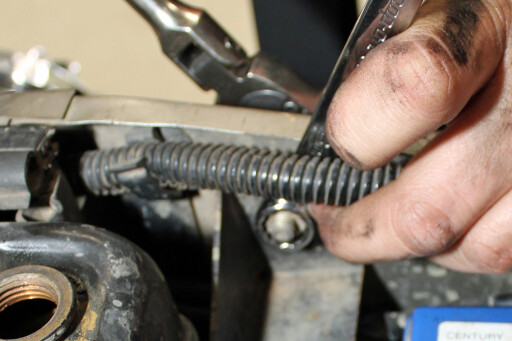
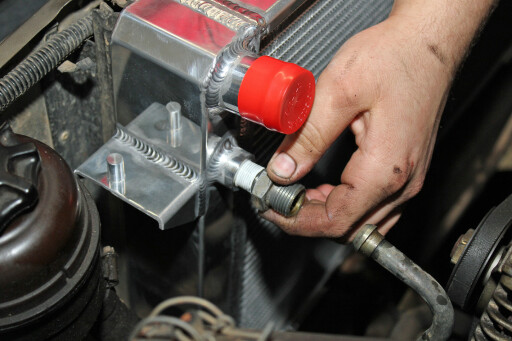
 10. The barbs for the transmission lines are threaded into the new radiator and the lines connected.
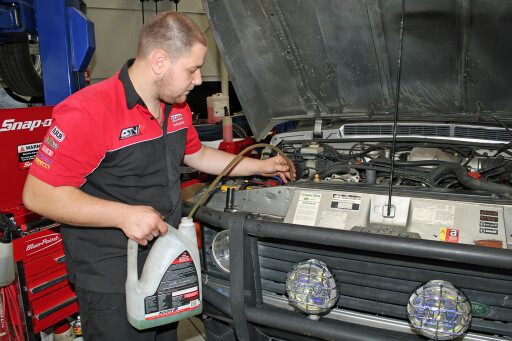
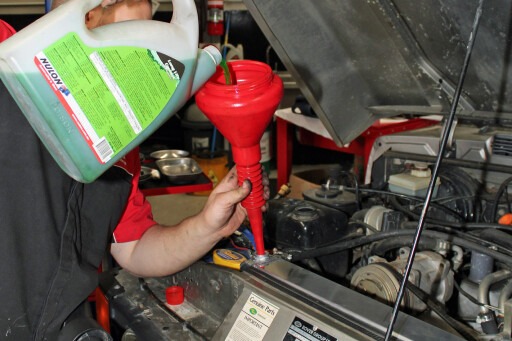
 11. With all transmission lines and coolant hoses reconnected, the radiator is filled with coolant.
 12. Transmission fluid level is topped up and checked as some fluid was lost when the lines were disconnected.
2
Please enable JavaScript to view the comments powered by Disqus.
COMMENTS