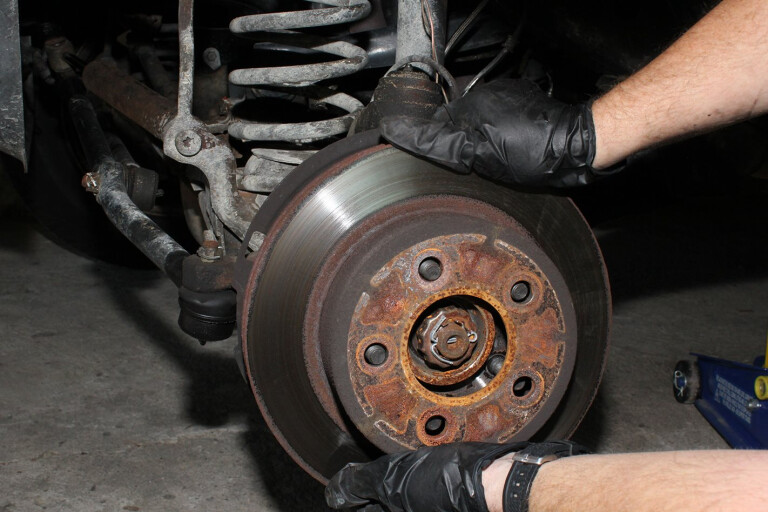
Replacing brake rotors and pads is a basic maintenance job for your 4x4. If you have zero experience on the tools and you’re not confident working on vehicles, then don’t attempt this job –– you don’t want to be messing with the brake system.
Having a good clean work area with plenty of light is a good start. You won’t need any fancy tools for this one, just a basic socket set, a clamp (to push in the piston back into the calliper) and some way of removing brake fluid from the brake fluid reservoir (syringes from a chemist are an option).
After jacking the vehicle up, make sure you use a vehicle stand for support.
Then you’re all set to take off the road wheel, unbolt the calliper and remove and replace the rotor and pads. Some rotors are secured to the hub with a single screw, others are integral with the wheel bearing assembly and may require considerable extra work.
Brake callipers are bolted onto the carrier and are usually pretty simple to remove. You just have to make sure that the calliper is supported at all times –– don’t leave it hanging on the brake hose alone, as the hose is not designed to support the calliper’s weight and doing this may damage the hose. A piece of welding wire or an old coat hanger will do for support.
You should be able to complete this job in under two hours, and save a few bucks doing so.
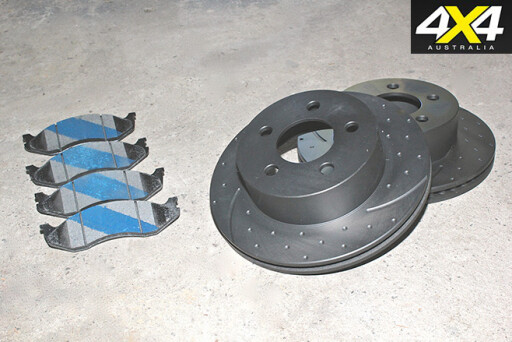 01. Parts needed for this job include a set of two rotors and four brake pads.
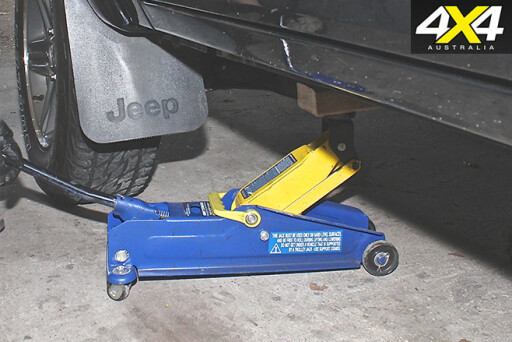 02. After wheel nuts are loosened, raise the vehicle and support with stands.
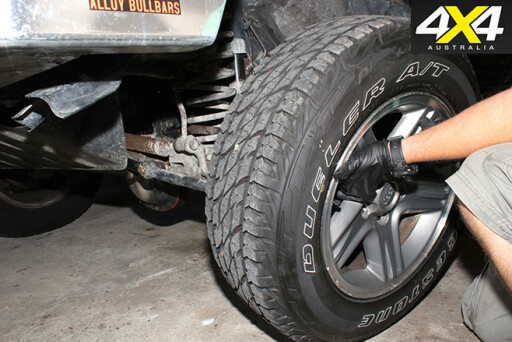 03. Remove the wheel nuts and take road wheel off.
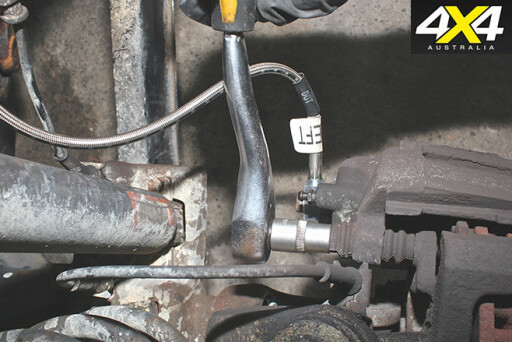 04. Remove the securing bolts for the brake calliper.
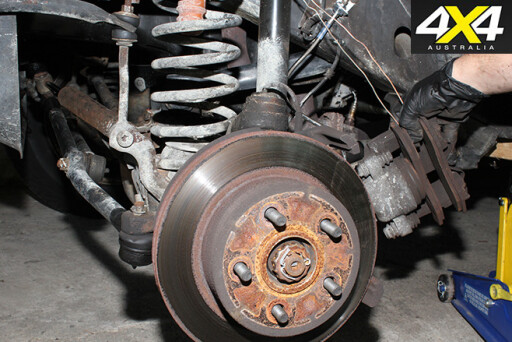 05. Remove calliper and support with wire to a suspension component.
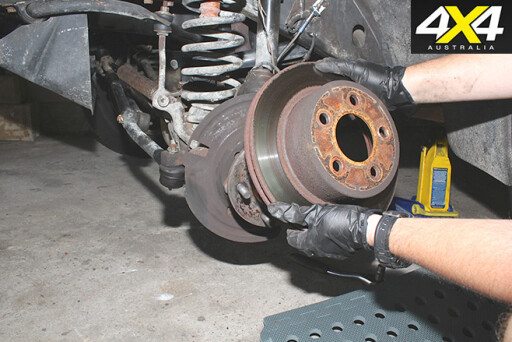 06. Remove rotor. Some sit loose on hub, others are secured, with bearings or screws.
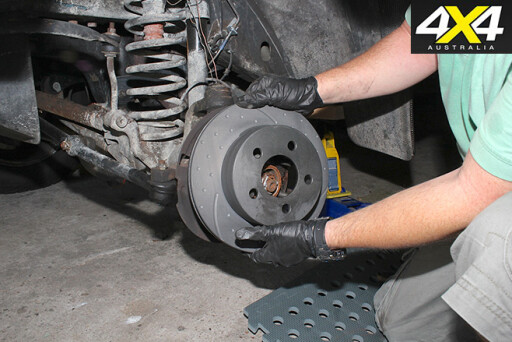 07. After wiping clean with solvent, fit the new rotor to the hub assembly.
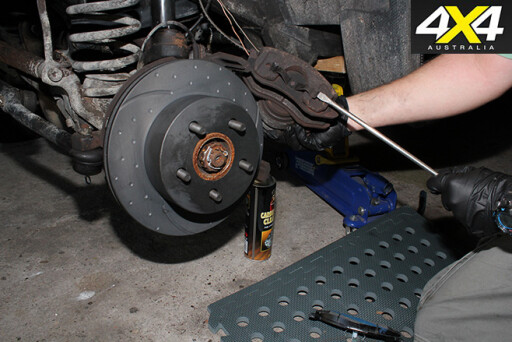 08. Remove the outer brake pad from calliper.
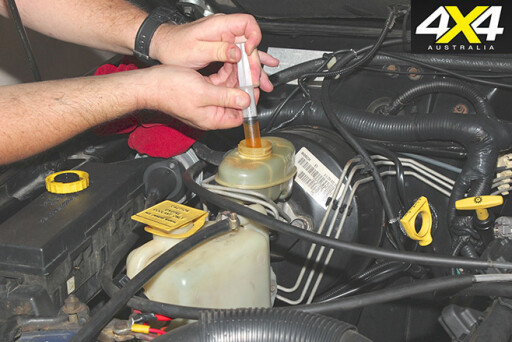 09. Remove some brake fluid from reservoir before step 10.
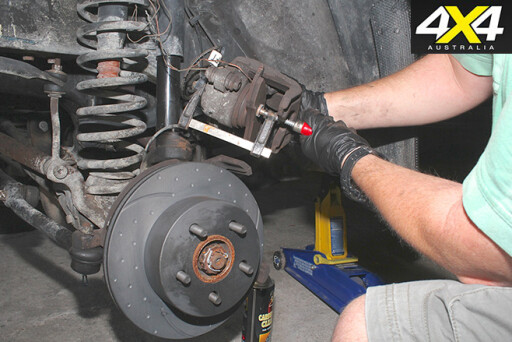 10. Using a clamp on the old inner pad, push in the brake piston.
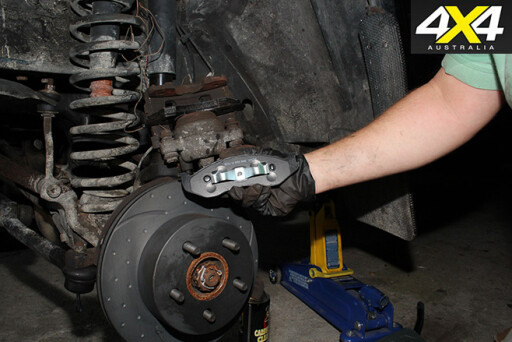 11. Brake pads often fit in a certain position. This one has it marked on the back of the pad.
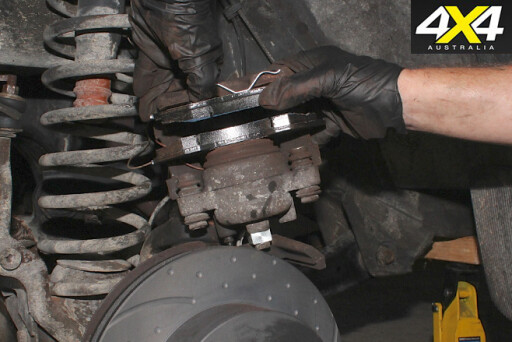 12. Fit new pads to calliper assembly, checking each is properly seated.
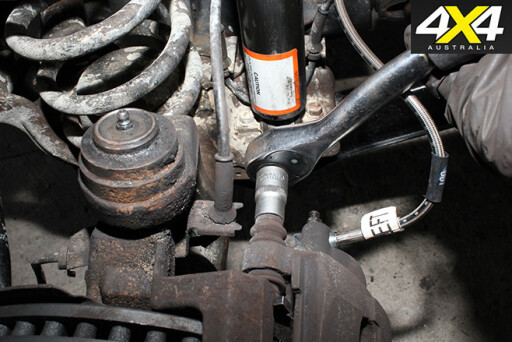 13. Re-attach calliper to mount and secure bolts to correct torque.
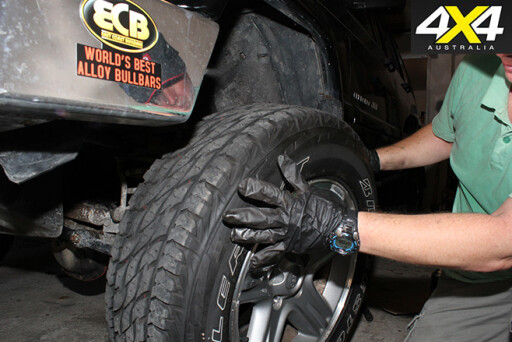 14. Re-fit wheel, remove stands and jack and torque wheel nuts to specification. Top up brake fluid.
Want to install an electric brake controller? Here's how!
Mastered this! How about rebuilding a live-axle front knuckle

COMMENTS