
Features
- Home /
- Features – Motoring Interviews, Expert Opinions and Classic Content
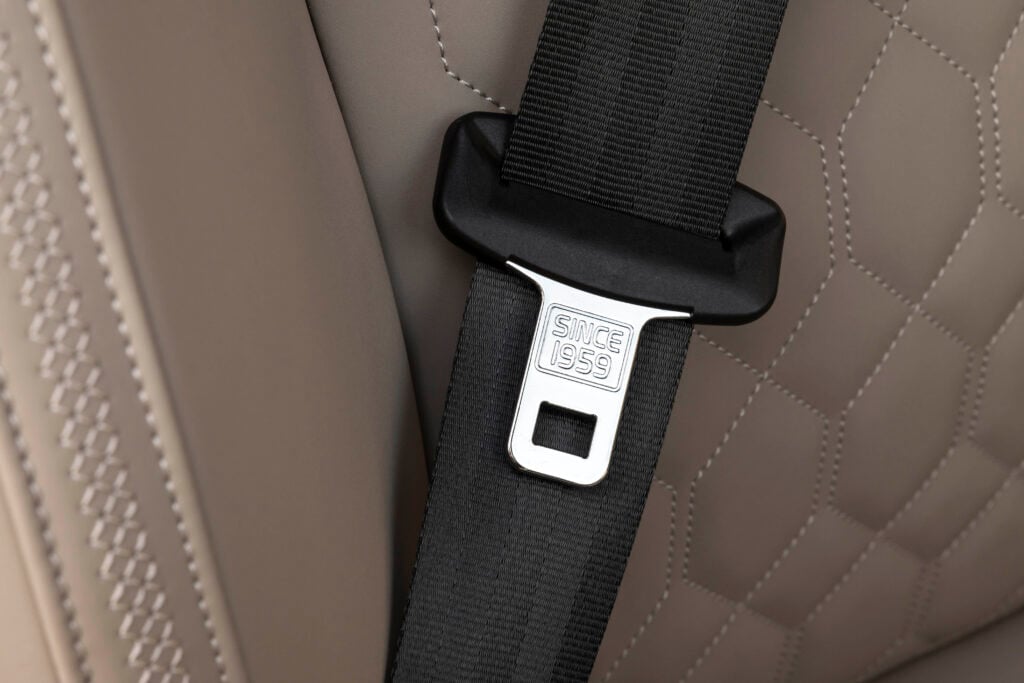
10 cars that introduced tech we now take for granted
It’s easy to forget that the tech in modern cars had to start somewhere. These are the starting points for commonplace features that were revolutionary when they debuted.

Origin story: A walk through time visiting Stuttgart’s famous Mercedes Museum
The stunning Mercedes-Benz Museum in Stuttgart is more than just a history of the brand – it’s a walk through history itself.
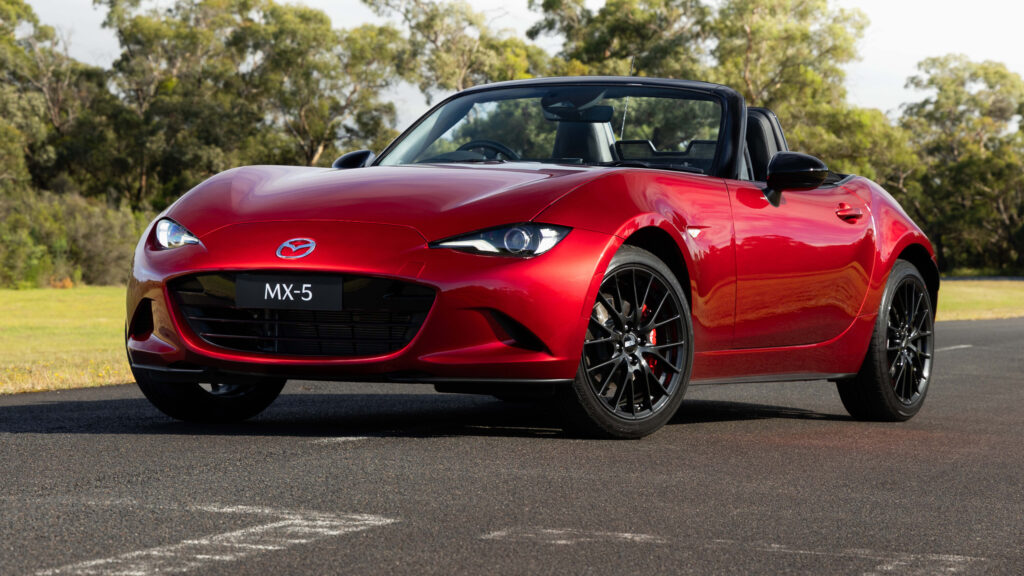
Dying breed: The last remaining manual cars available in Australia
The mechanical connection of a clutch and manually manipulated gear lever continues to be a rare find on Australia’s new car market, with just 25 cars and light commercial vehicles left with the three-pedal option.
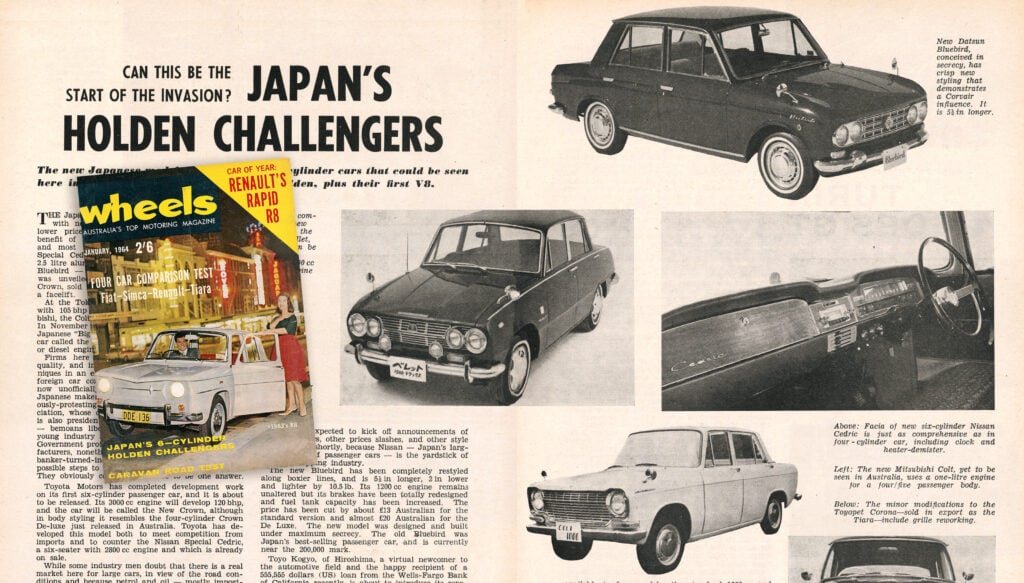
From the Wheels Archive: The start of the Invasion – Japan challenges Holden’s supremacy
A 1964 Wheels story predicted Japan would challenge Holden. Six decades later, history may be repeating itself as China’s BYD closes on Toyota.
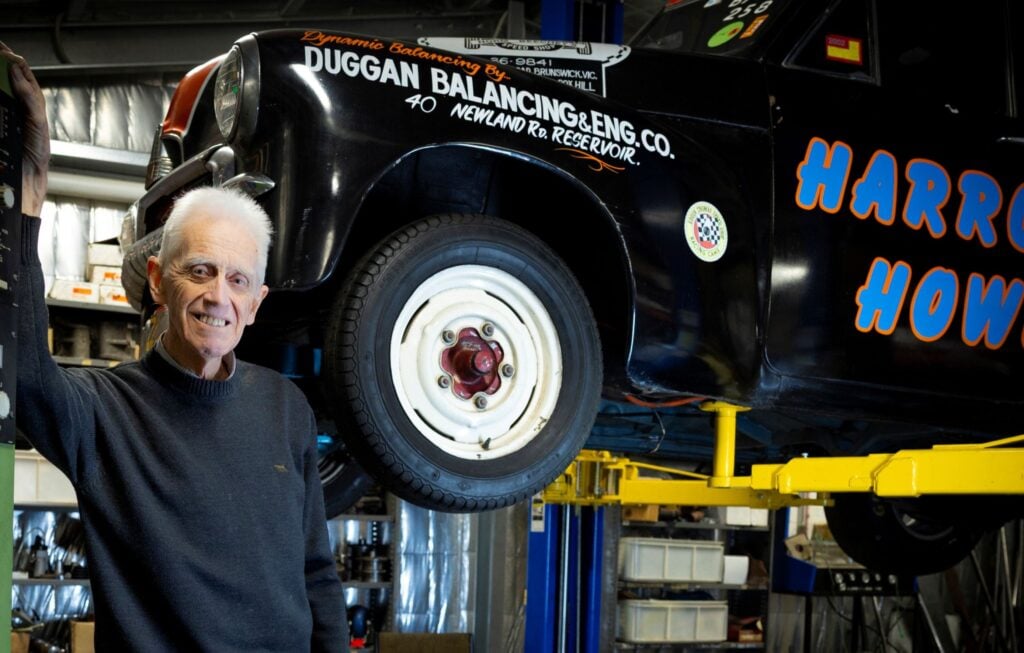
The Wheels Interview: Ron Harrop, Australian motoring’s Mr Fix-It
Ron Harrop’s 60-year career as a designer, engineer and tinkerer saw him work with some of the biggest names in the automotive industry
From the Wheels Archive: Granny Turismo – the 10 best cars your grandma drove
These favourites of the blue-rinse set packed some perm-straightening performance.
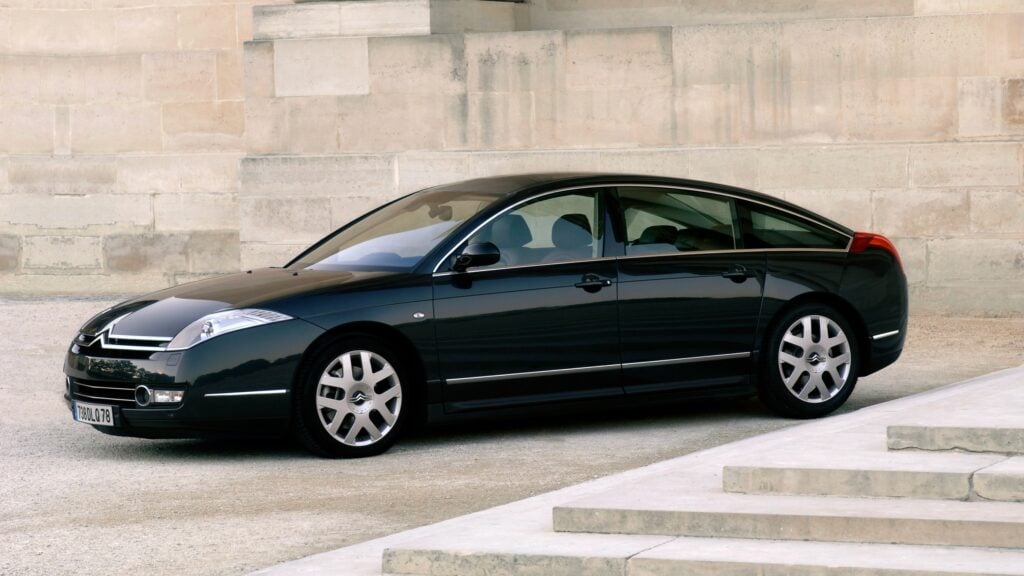
10 forgotten ‘luxury’ cars that didn’t quite capture the imagination
When you think of luxury cars, there are some obvious contenders, but some mainstream brands have tried – and largely failed – to offer something more upmarket.
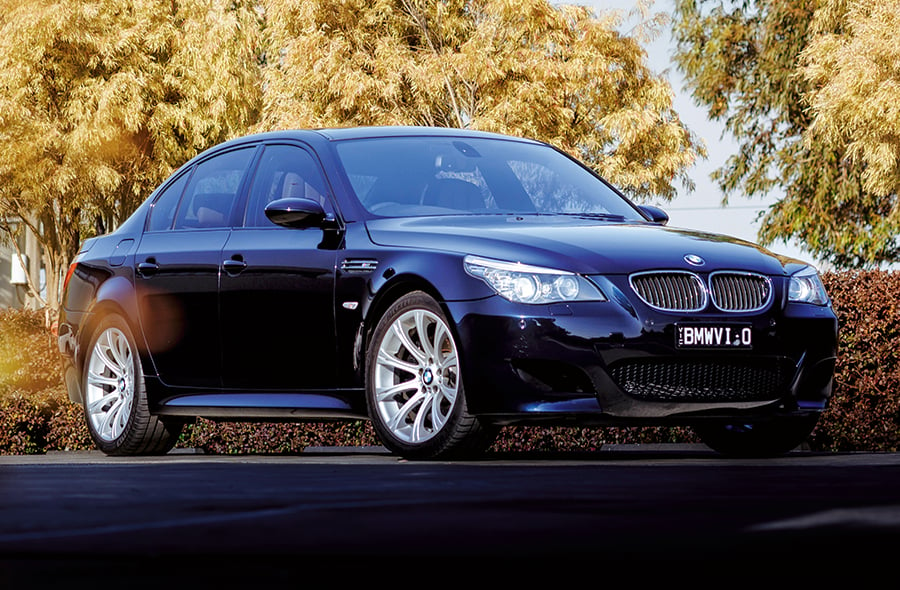
Modern Classic: BMW E60 M5, a sedan like no other
BMW threw away the rulebook when it created the fourth-generation M5, an audacious yet utterly beguiling V10-powered executive sedan that still sets pulses racing.
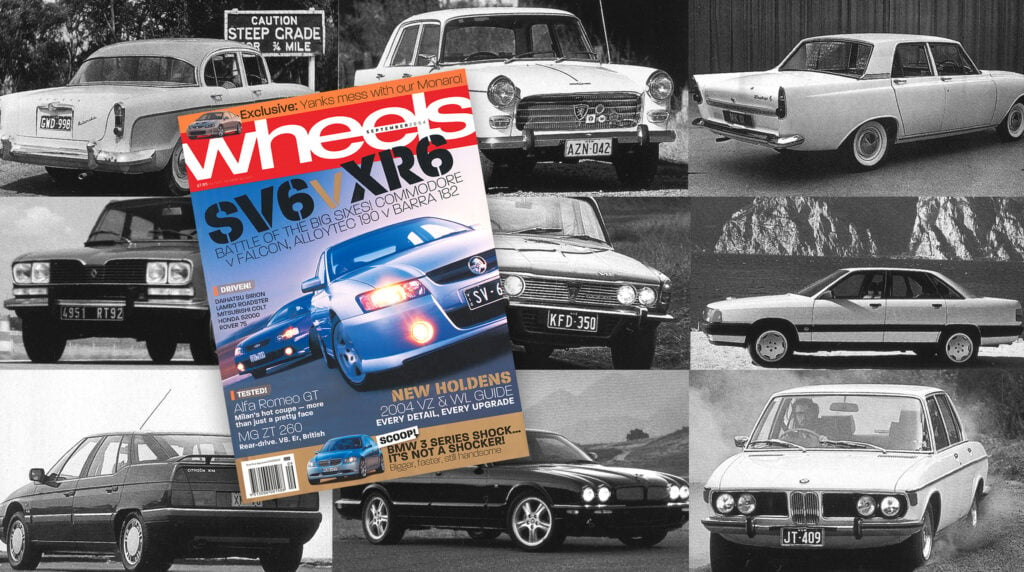
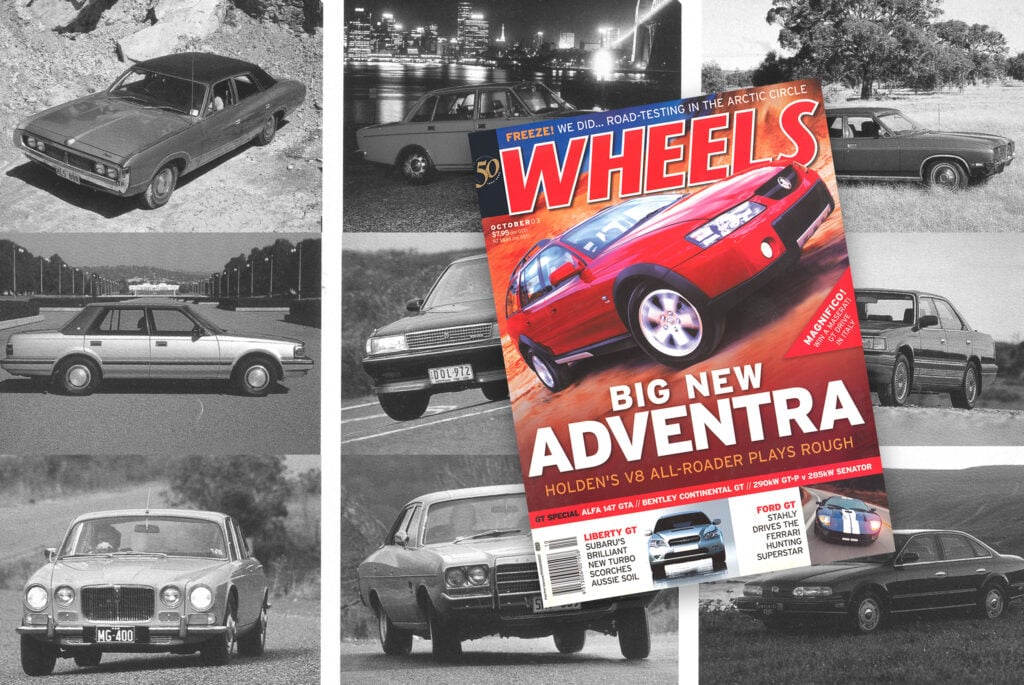
From the Wheels Archive: The 10 most underrated cars in Australia
They came, we saw… and little conquering occurred. But did this lot deserve to fade into obscurity?
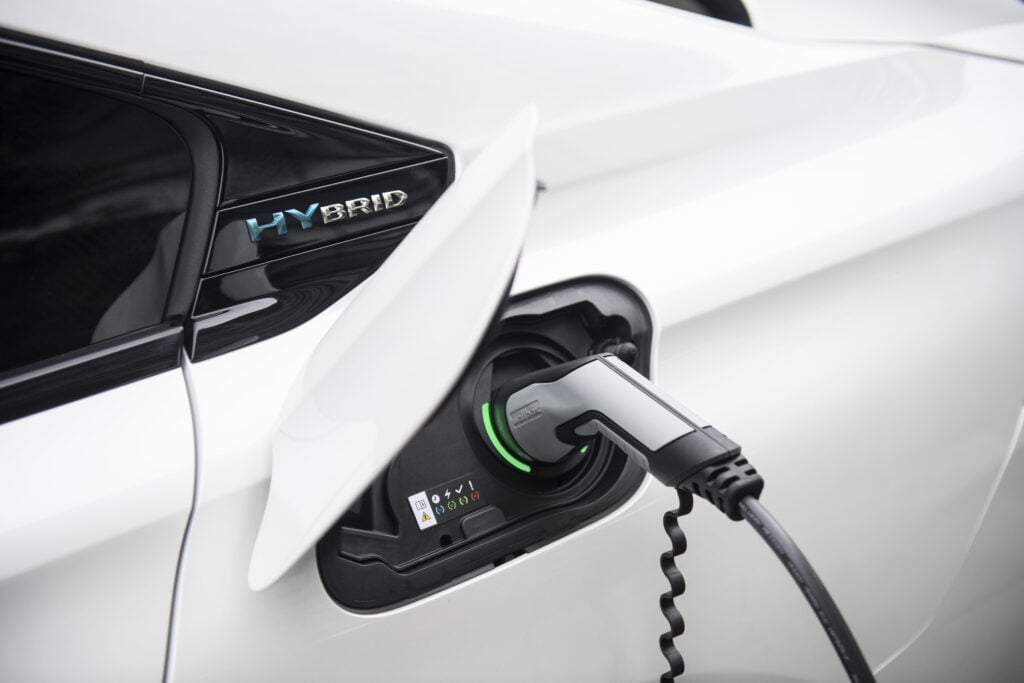
The 10 cheapest plug-in hybrids you can buy in Australia in 2026
For urban buyers, plug-in hybrids can combine the best of both worlds – weekday electric-only commuting and extended-range capabilities. As high fuel prices persist, they start to make more sense than ever.

Cars we wish were sold here: Ford Bronco Sport
The Bronco has been a big success for Ford, but did you know that it also sells the smaller Bronco Sport? Here’s why we think it should be sold here.
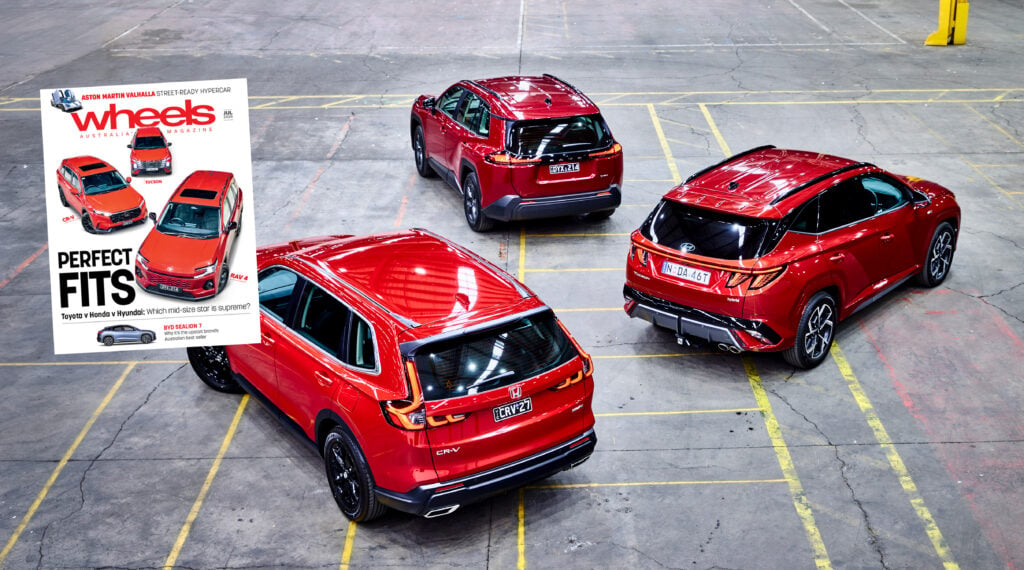
Wheels July 2026 issue now on sale!
Australia’s favourite hybrid SUVs battle for supremacy, while we look at the new Aston Martin Valhalla and drive the new editions of the BYD Shark 6, Mazda CX-5, Lexus RZ, Ford Ranger, MGS6 and more.
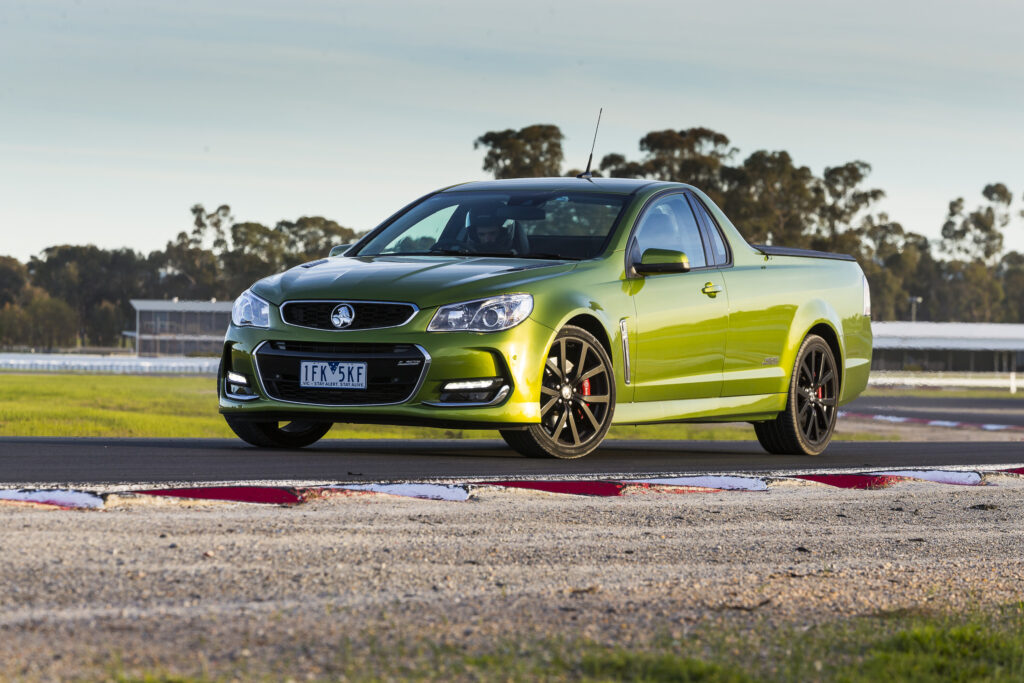
What if the Holden Commodore ute were given another update? AI helps us imagine…
The Commodore ute was one of the biggest losses to the local motoring scene when Holden exited Australia, but what would a new model look like? Thanks to AI, we imagined what a 2026 Holden ute would look like…
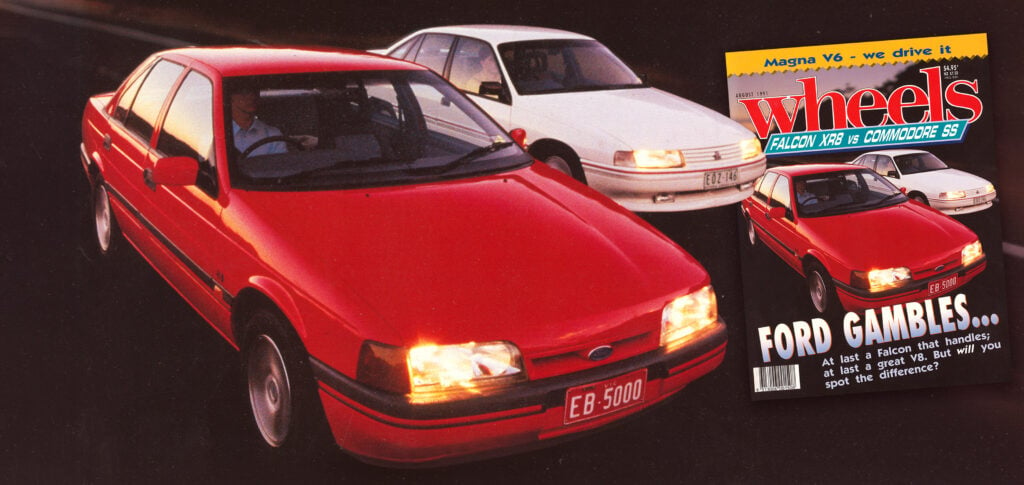
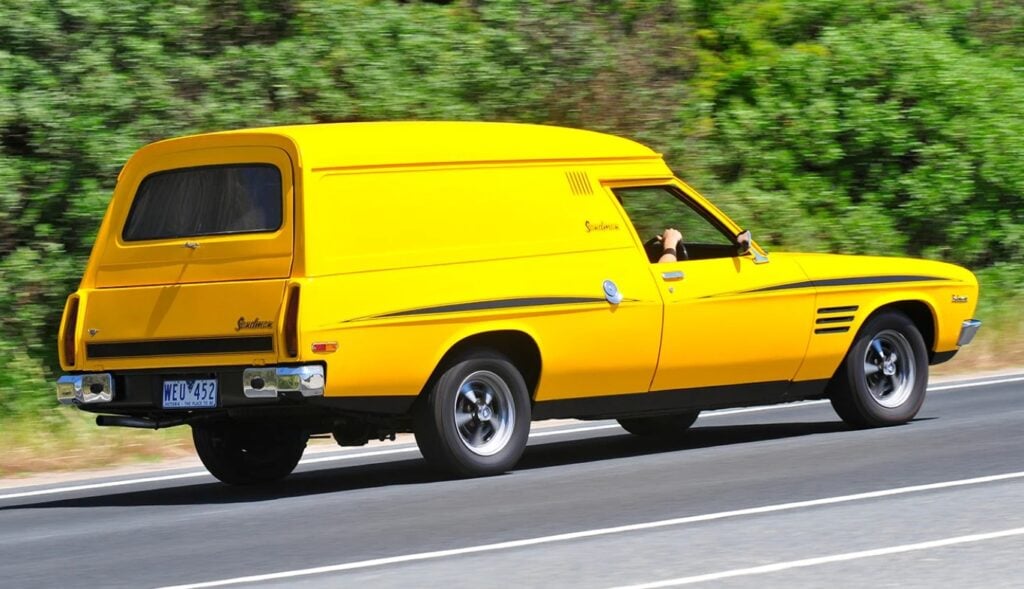
From the Wheels Archive: Thumping V8s and tyre smoke, a ’90s style Aussie muscle car showdown
Ford returned to the V8 title fight with its all-new EB Falcon. But did it have the muscle to dethrone King Commodore?
10 Australian cars that rewrote the rules
Australia’s motoring history followed a mostly predictable pattern, but every so often an outlier came along to shake things up.
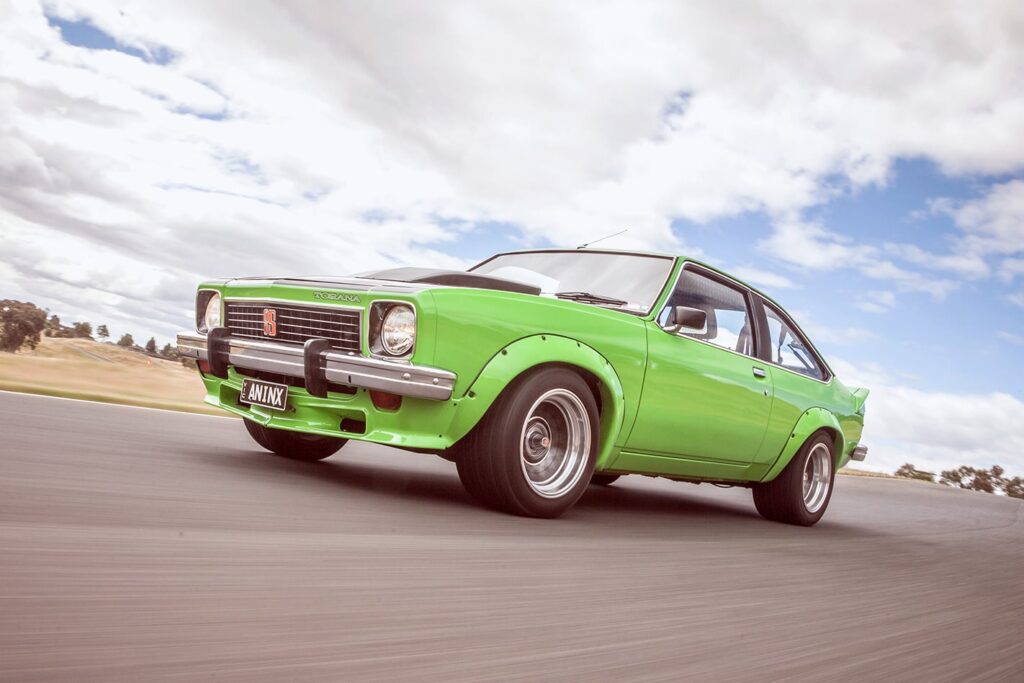
Holden Torana returns: Using AI to imagine an Australian legend in 2026
The Torana is a legendary product in Australian motoring, so how would it look if it were still made today? Thanks to AI, we created a modern Torana line-up.
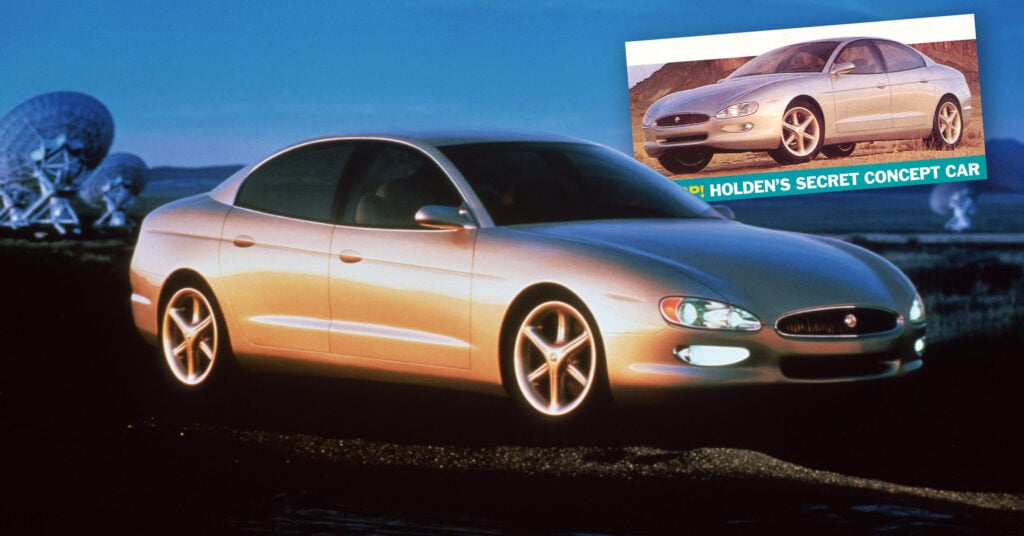
From the Wheels Archive: The top secret Holden Commodore concept
Wheels got the scoop on the Holden Commodore-based concept that was destined to underpin a legendary American brand.
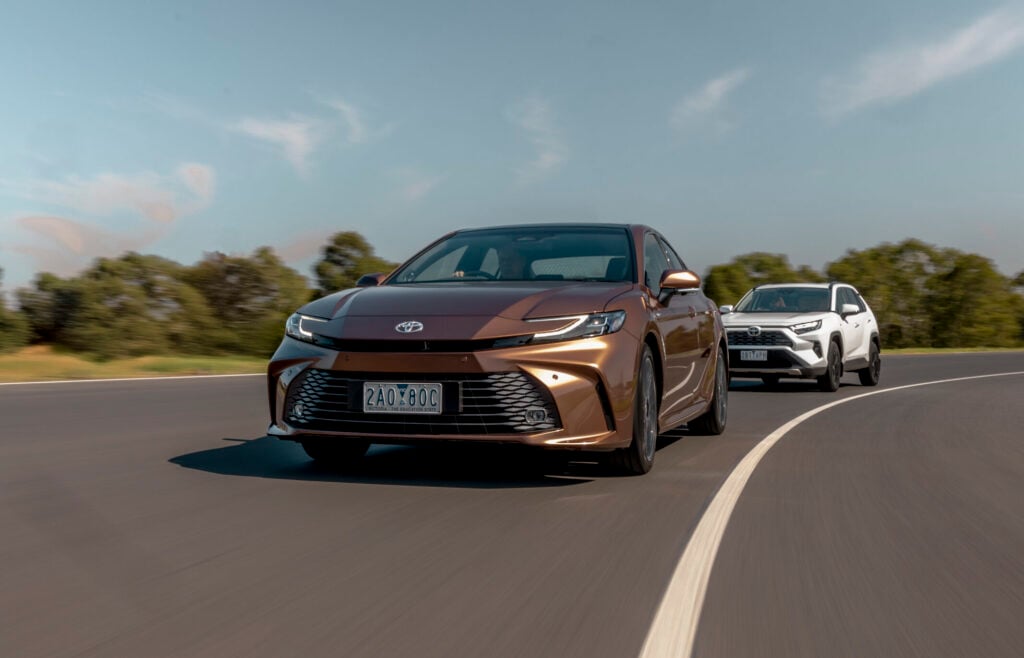
Want a hybrid family car that isn’t an SUV? Here are five great options
Today’s received wisdom for new car buyers is that they need an SUV for practical hybrid motoring but that’s not the case, as these five cars prove…
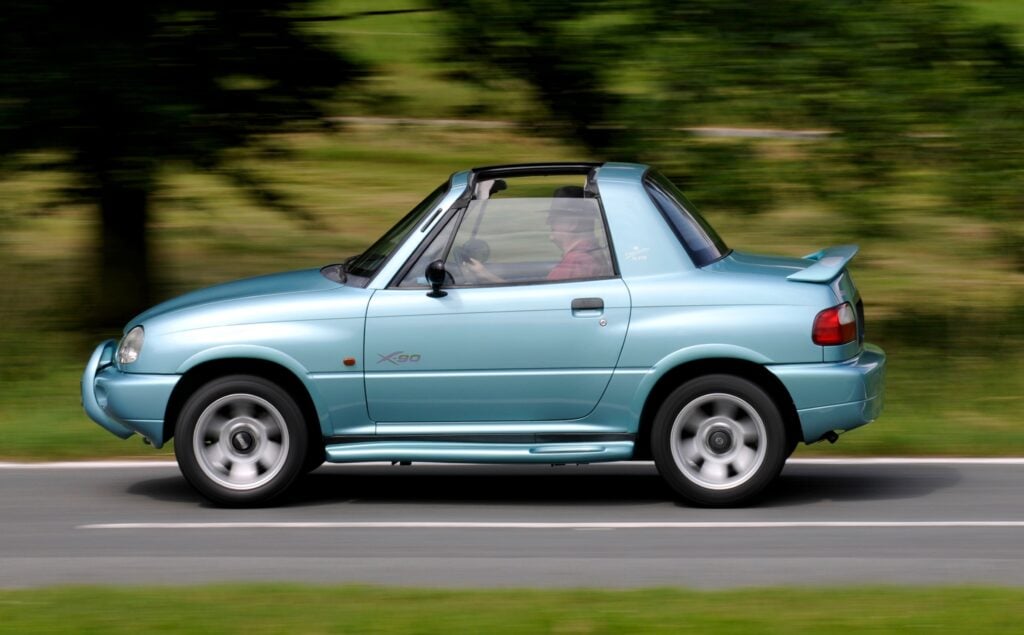
10 cars that defied logic… but went into production anyway
Every so often, a car brand will launch a car that breaks the mould and goes against the industry’s high-volume norms.
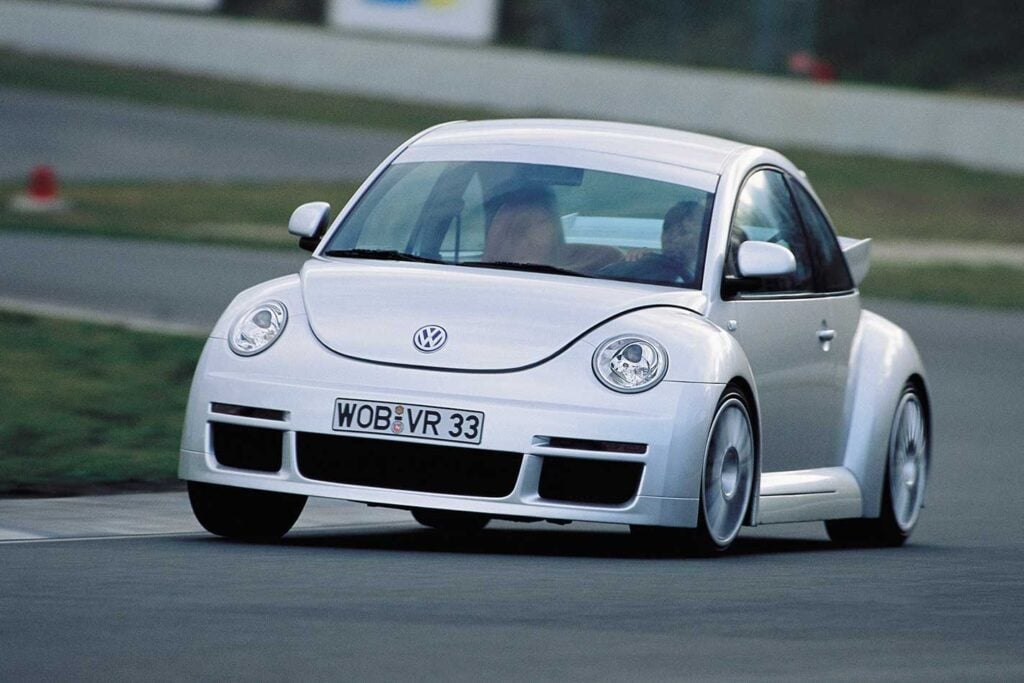
10 high-performance versions of cars with humble beginnings
You may think of most of the cars on this list as mundane appliances, but that didn’t stop some extreme versions from being spun from their humble underpinnings.

From the Wheels Archive: Three generations of Ford Falcon, but which one was best?
The Falcon was the answer to Holden’s dominance Ford Australia had been looking. We tested three generations back-to-back.

Most fuel efficient petrol/diesel medium SUV models on the market: Top 10
Are you searching for a new medium SUV, but don’t want any form of electrification? Here are the 10 most fuel efficient models you can currently buy.
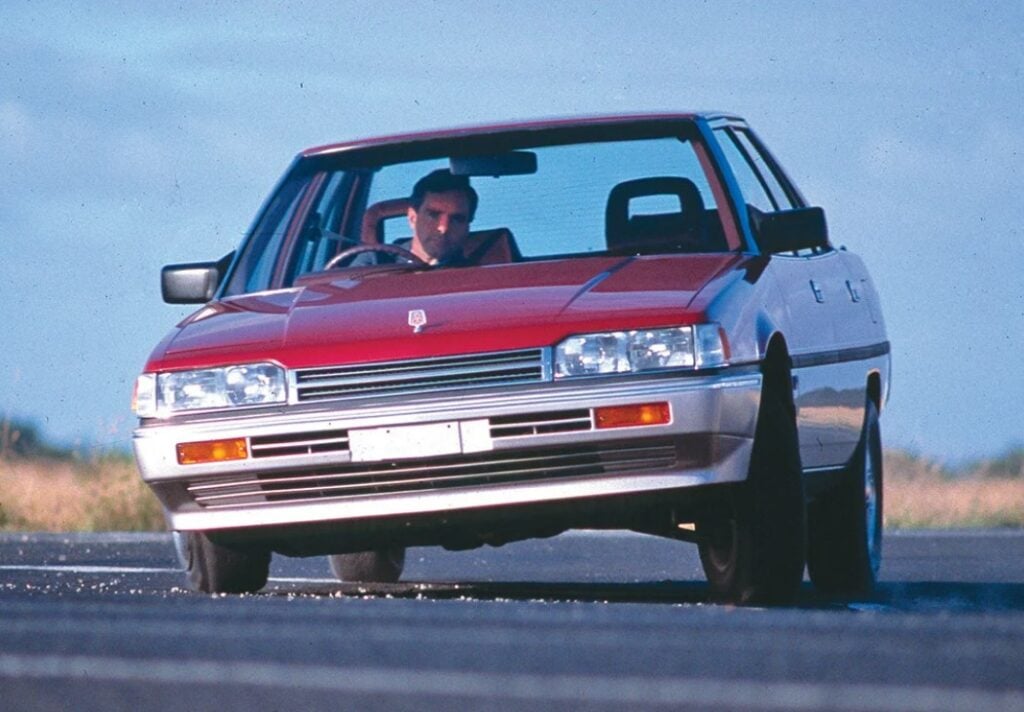
AI helps imagine what a Mitsubishi Magna might look like today…
While the Falcon and Commodore were iconic Australian cars, the Mitsubishi Magna was also a long-time favourite, winning Wheels Car of the Year in 1985 and 1996. Here, AI helps us see into a future that will never happen…
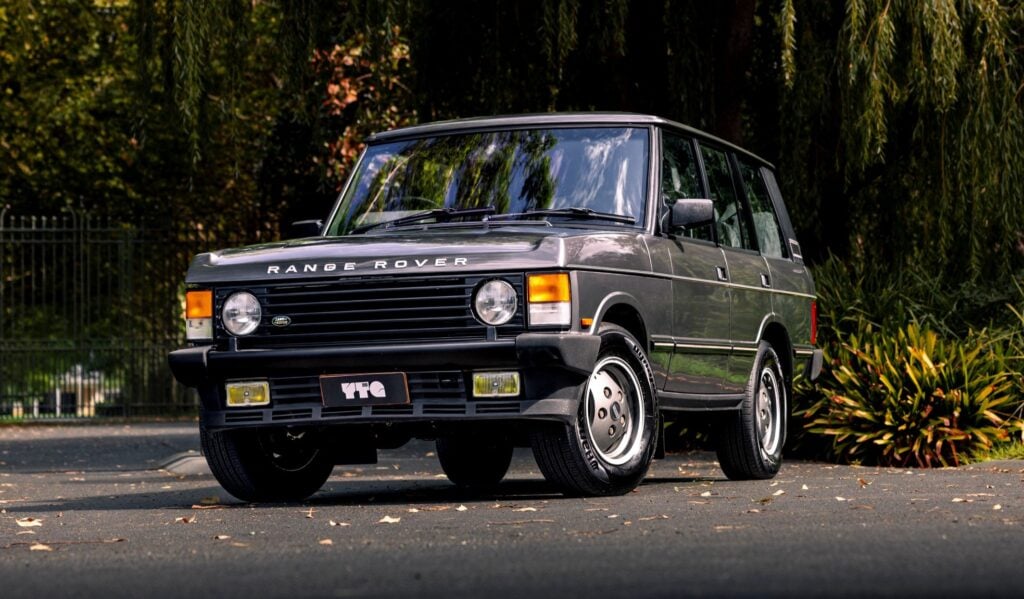
Modern Classic: Range Rover Vogue, the farmer’s car that became a luxury icon
The idea of a luxury SUV was completely alien when Land Rover launched the original Range Rover in 1970 but a single photo shoot in a magazine changed the course of automotive history.